Elasticsearch: Build an application on top of Elasticsearch
Overview
Introduction to Elasticsearch
Get familiar with Elasticsearch with an overview on how to ingest, and view your data with Elastic Cloud.
Let's get started
Create an Elastic Cloud deployment
Get started with a 14-day trial. Once you go to cloud.elastic.co and create an account, follow the steps below to learn how to launch your first Elastic stack in any one of our 50+ supported regions globally.
If you click on Edit settings you can choose a cloud provider, including AWS, Microsoft Azure, or Google Cloud. Once you select your cloud provider you’ll be able to select the relevant region. Next, you have the option to choose between a few different hardware profiles so you can better customize the deployment to suit your needs. Plus, the latest version of Elastic has already been preselected for you.
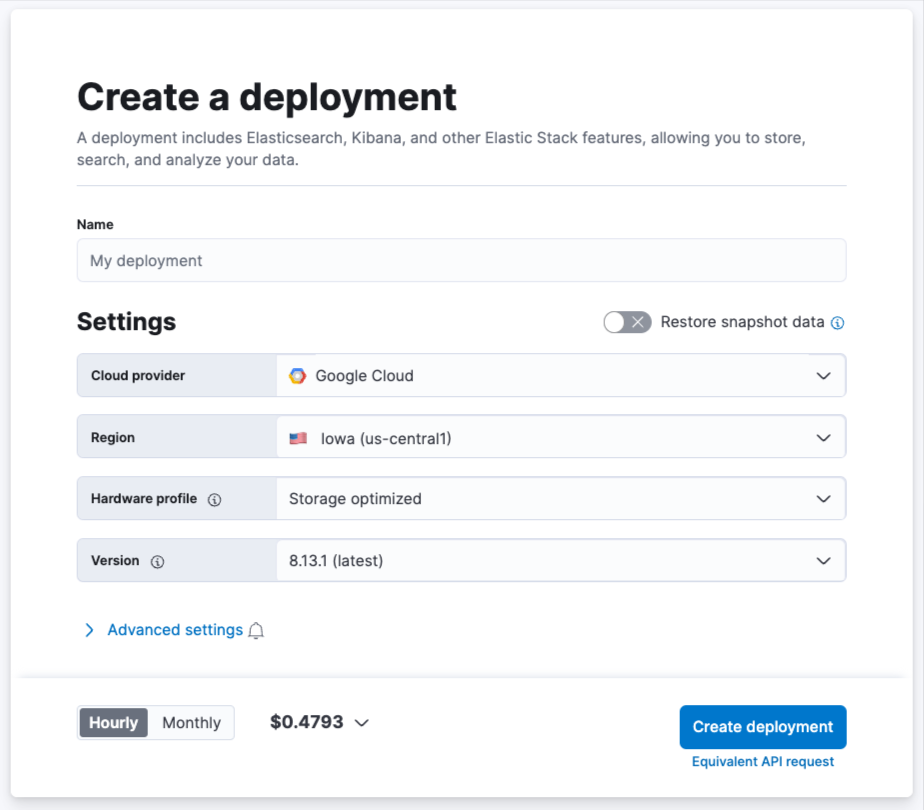
While your deployment is being created, you’ll be given a username and password. Be sure to copy or download this as you'll need it when you install your integrations.
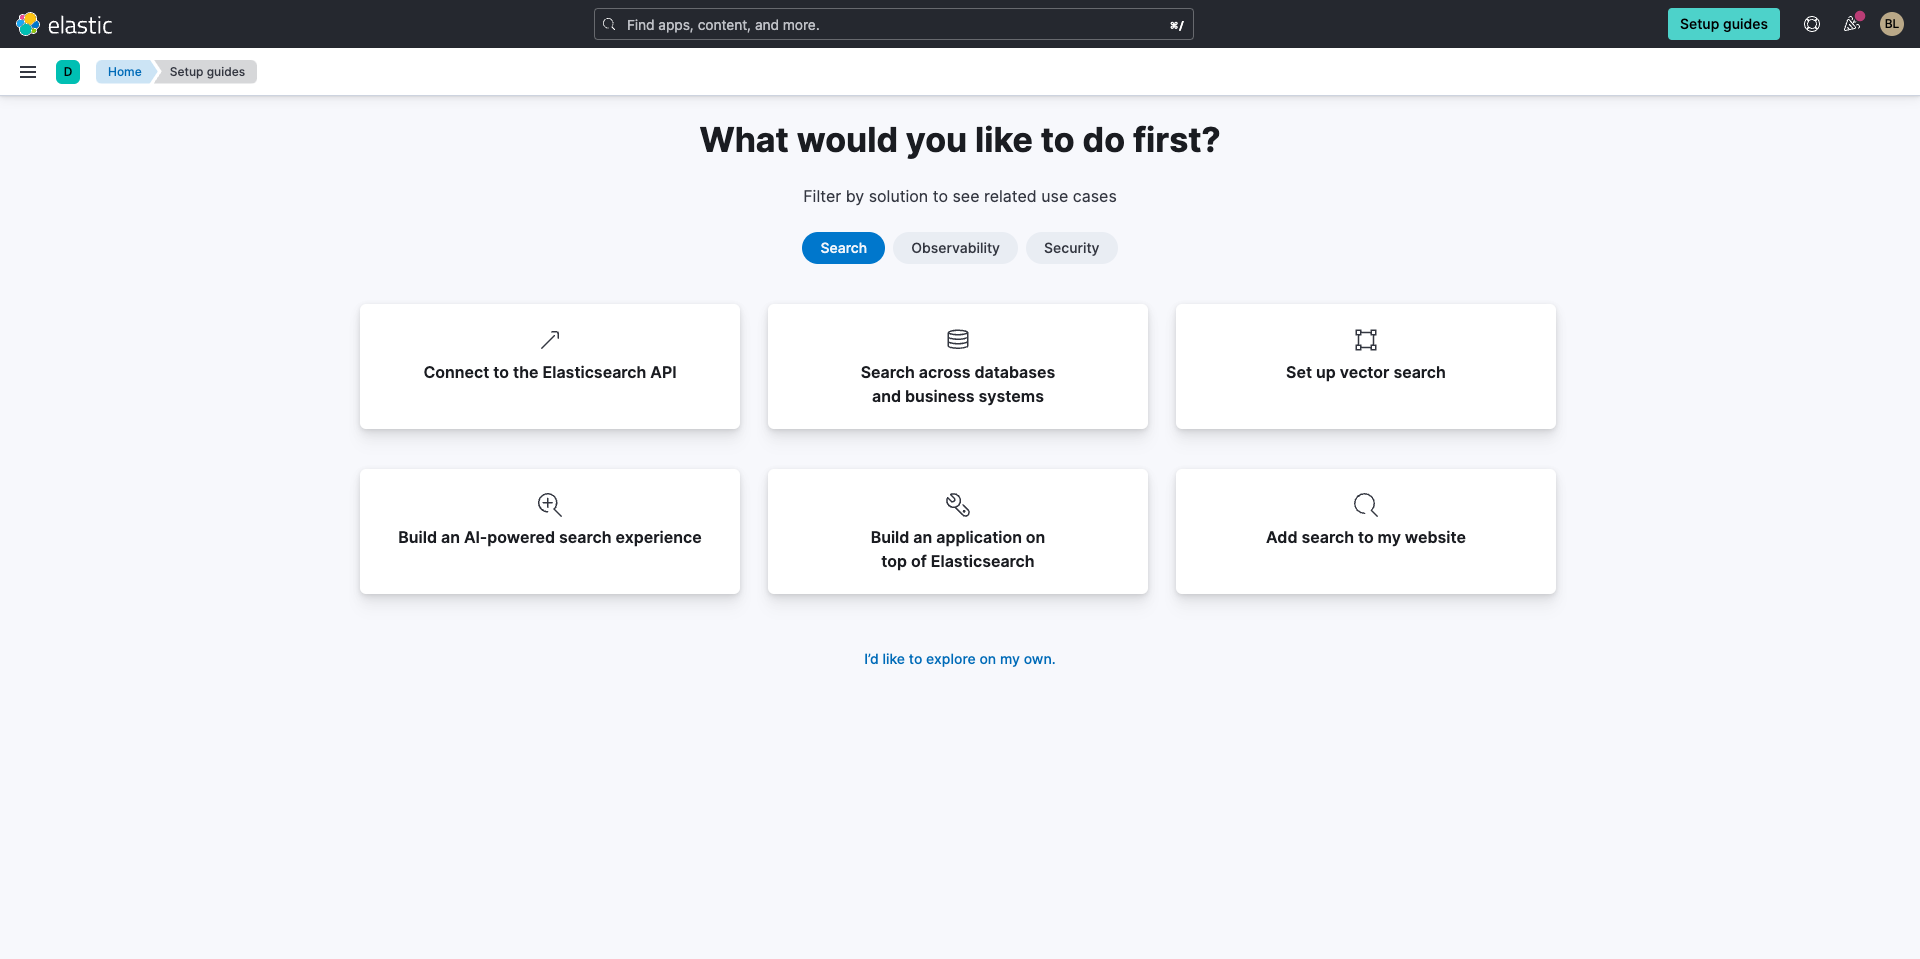
Get started data into Elasticsearch
Now that you've created your deployment it's time to get data into Elastic. First, under the Search tab, you'll select the tile, Build an application on top of Elasticsearch.
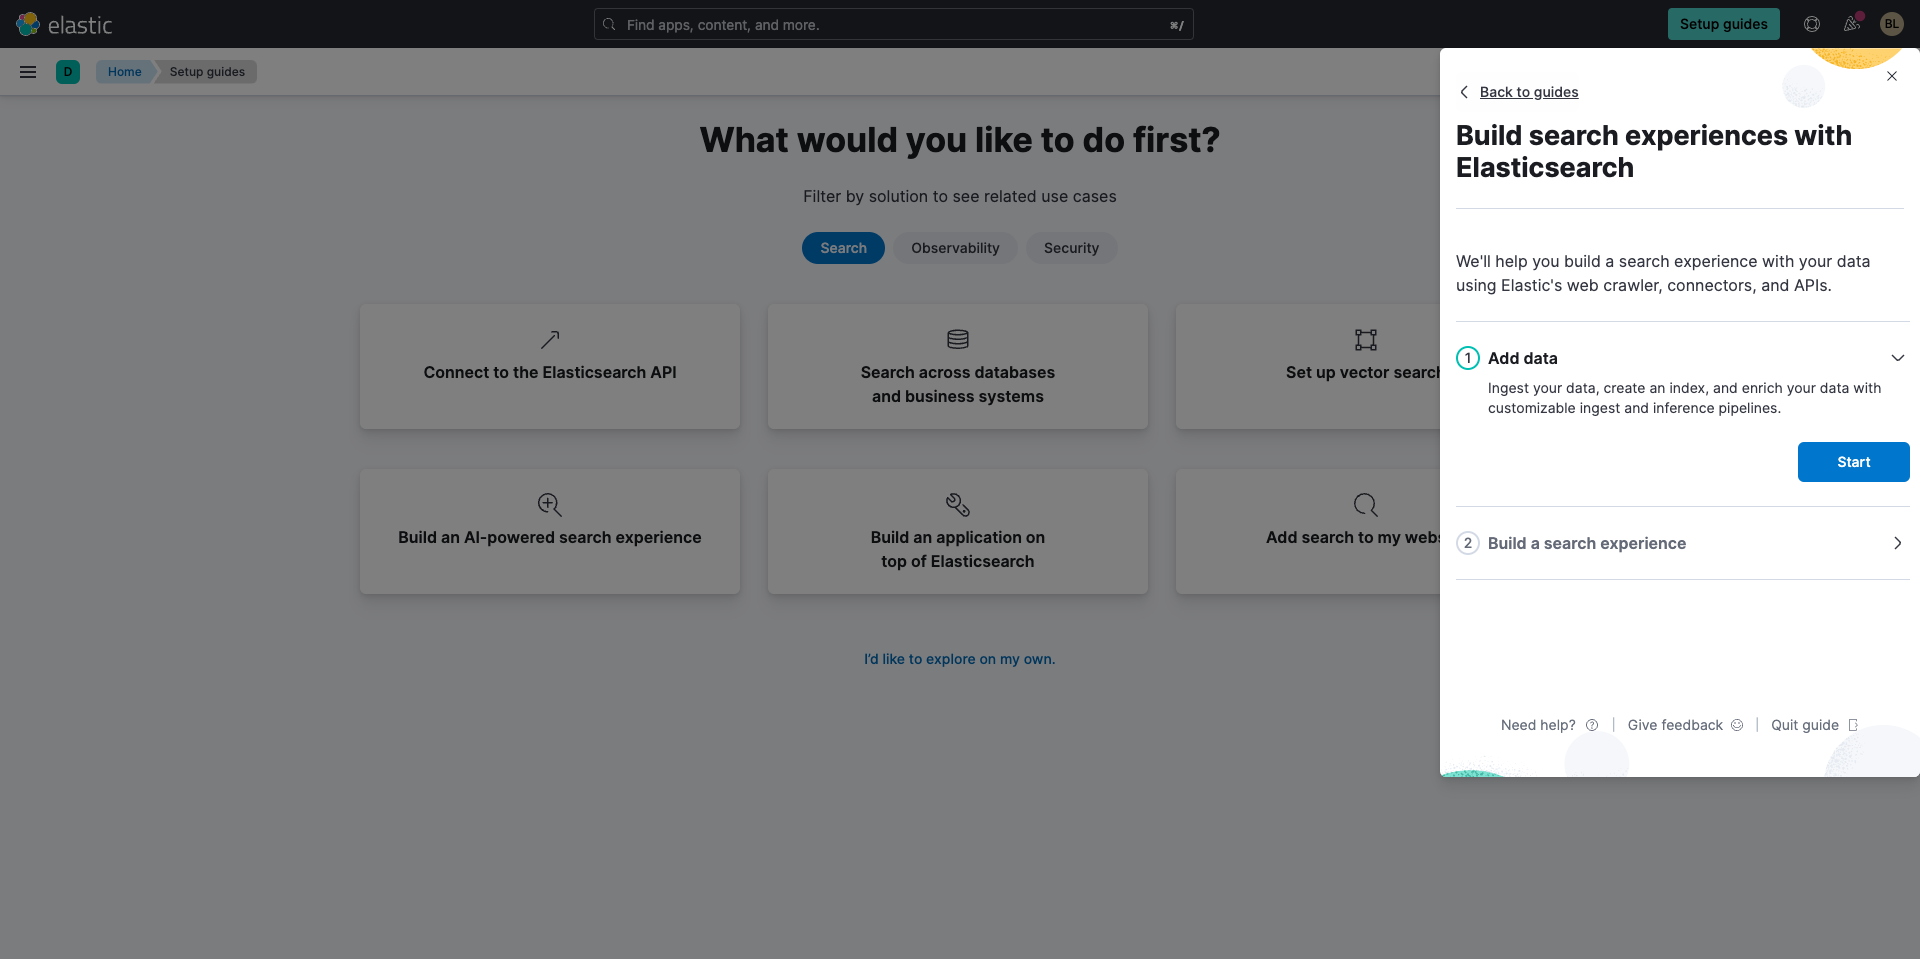
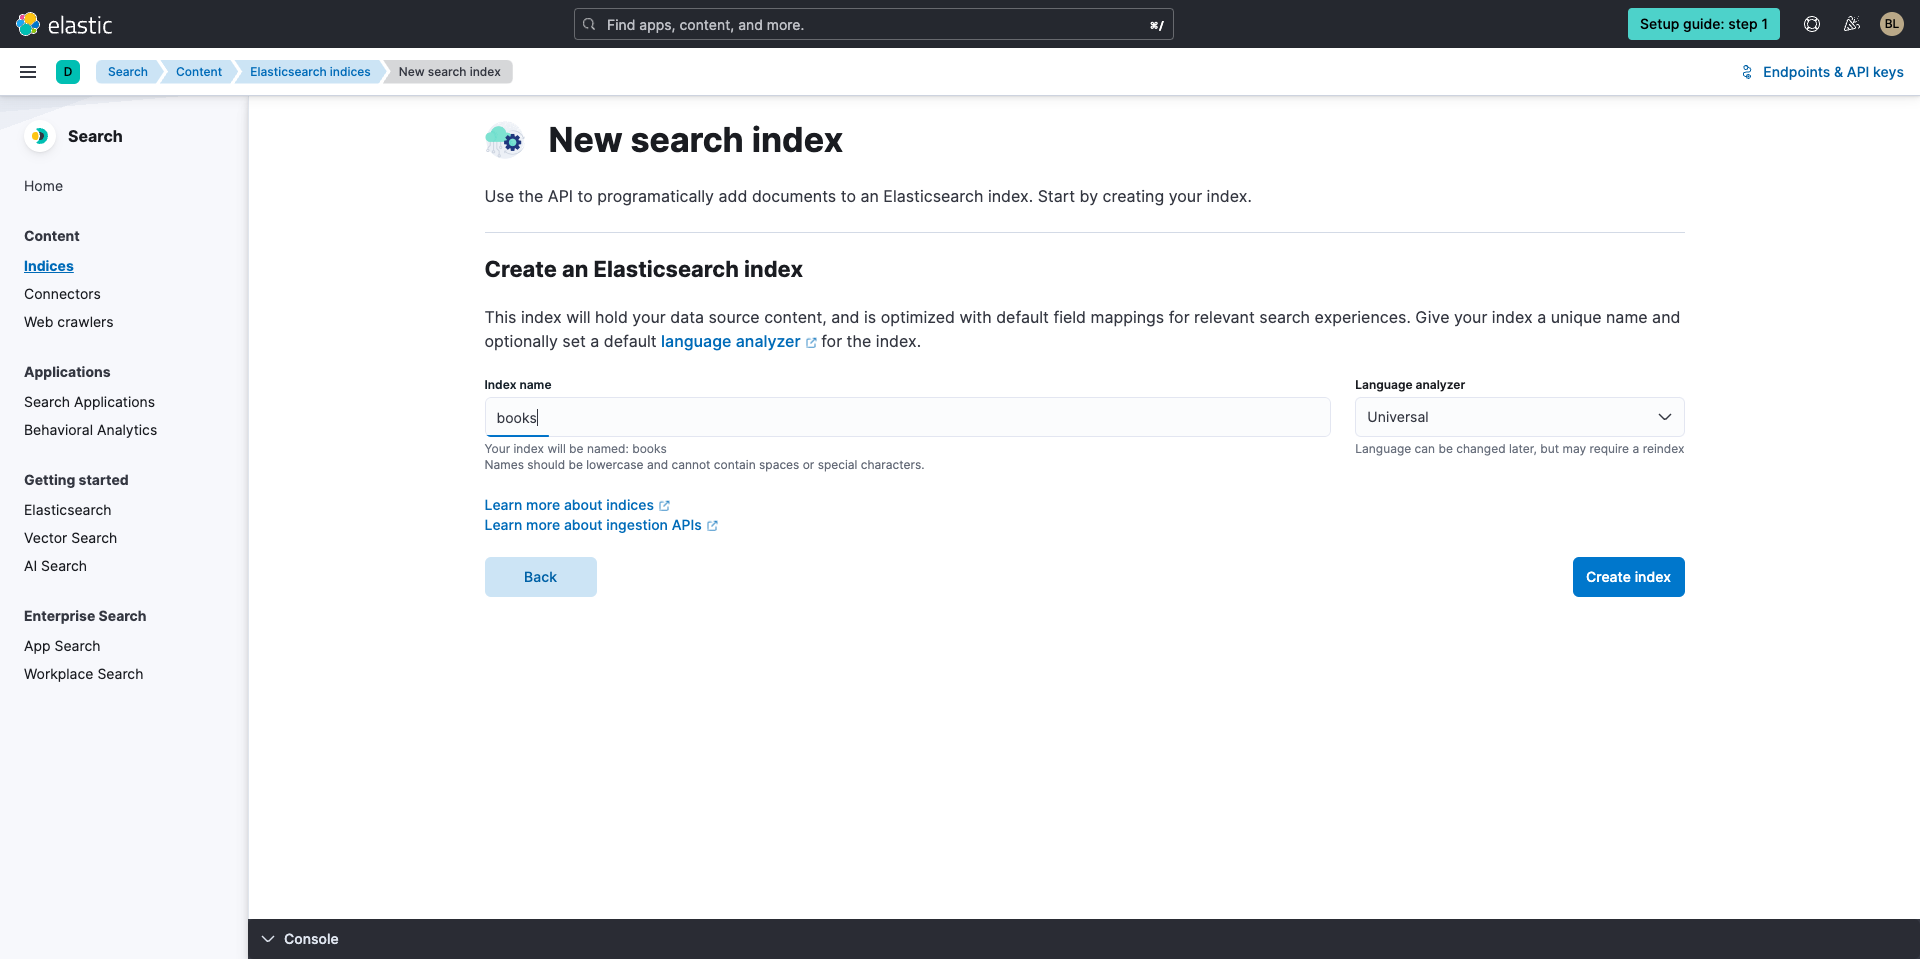
Next, you'll be prompted to create a new search index. After giving it a name, select Create index.
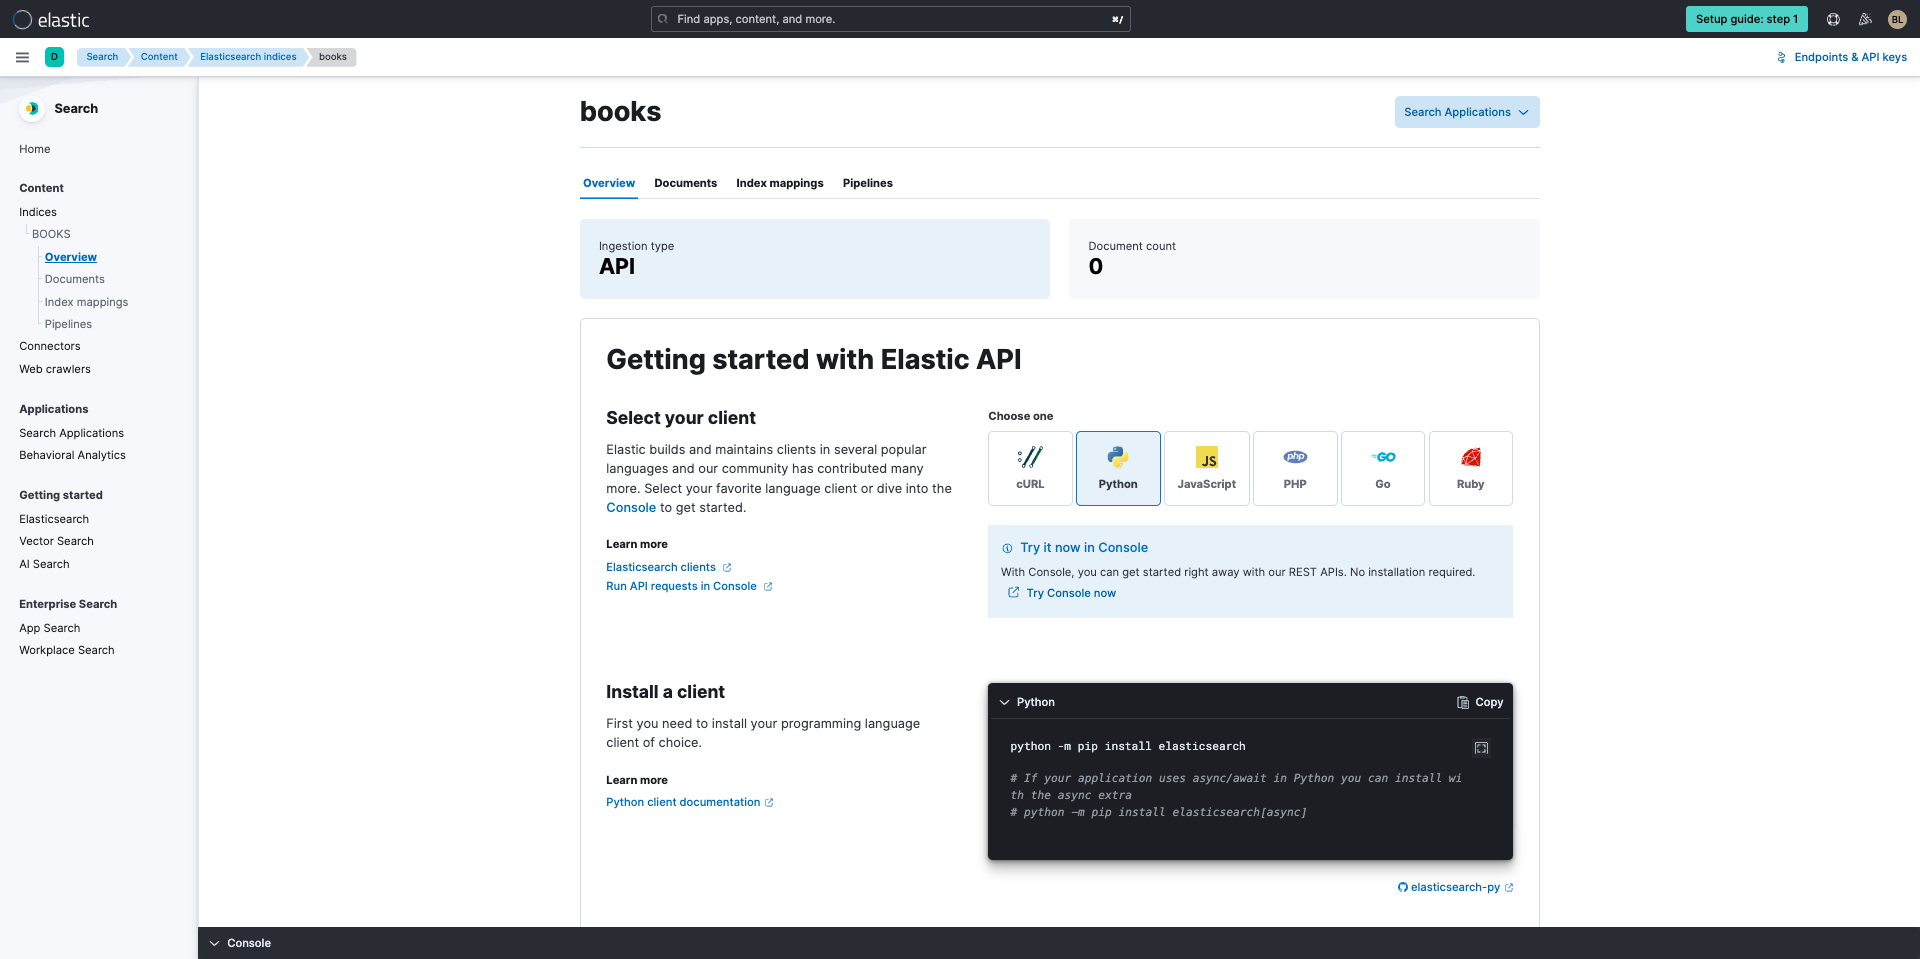
Next you'll be brought to the Getting Started with Elastic API onboarding page. You can select your preferred language but for this guide let's leverage Python to get started with building an application on top of Elasticsearch.
Next, copy the relevant code and paste it into your terminal. This code below will install the Elasticsearch python library so you can get started.

python -m pip install elasticsearch
Now select New and give it a name then save your API key.

Next, navigate to Configure your client and Test your connection. The code in both of these sections should be copied into your preferred code editor, such as Visual Studio Code or Sublime Text to create a new file and save the code as a Python file.
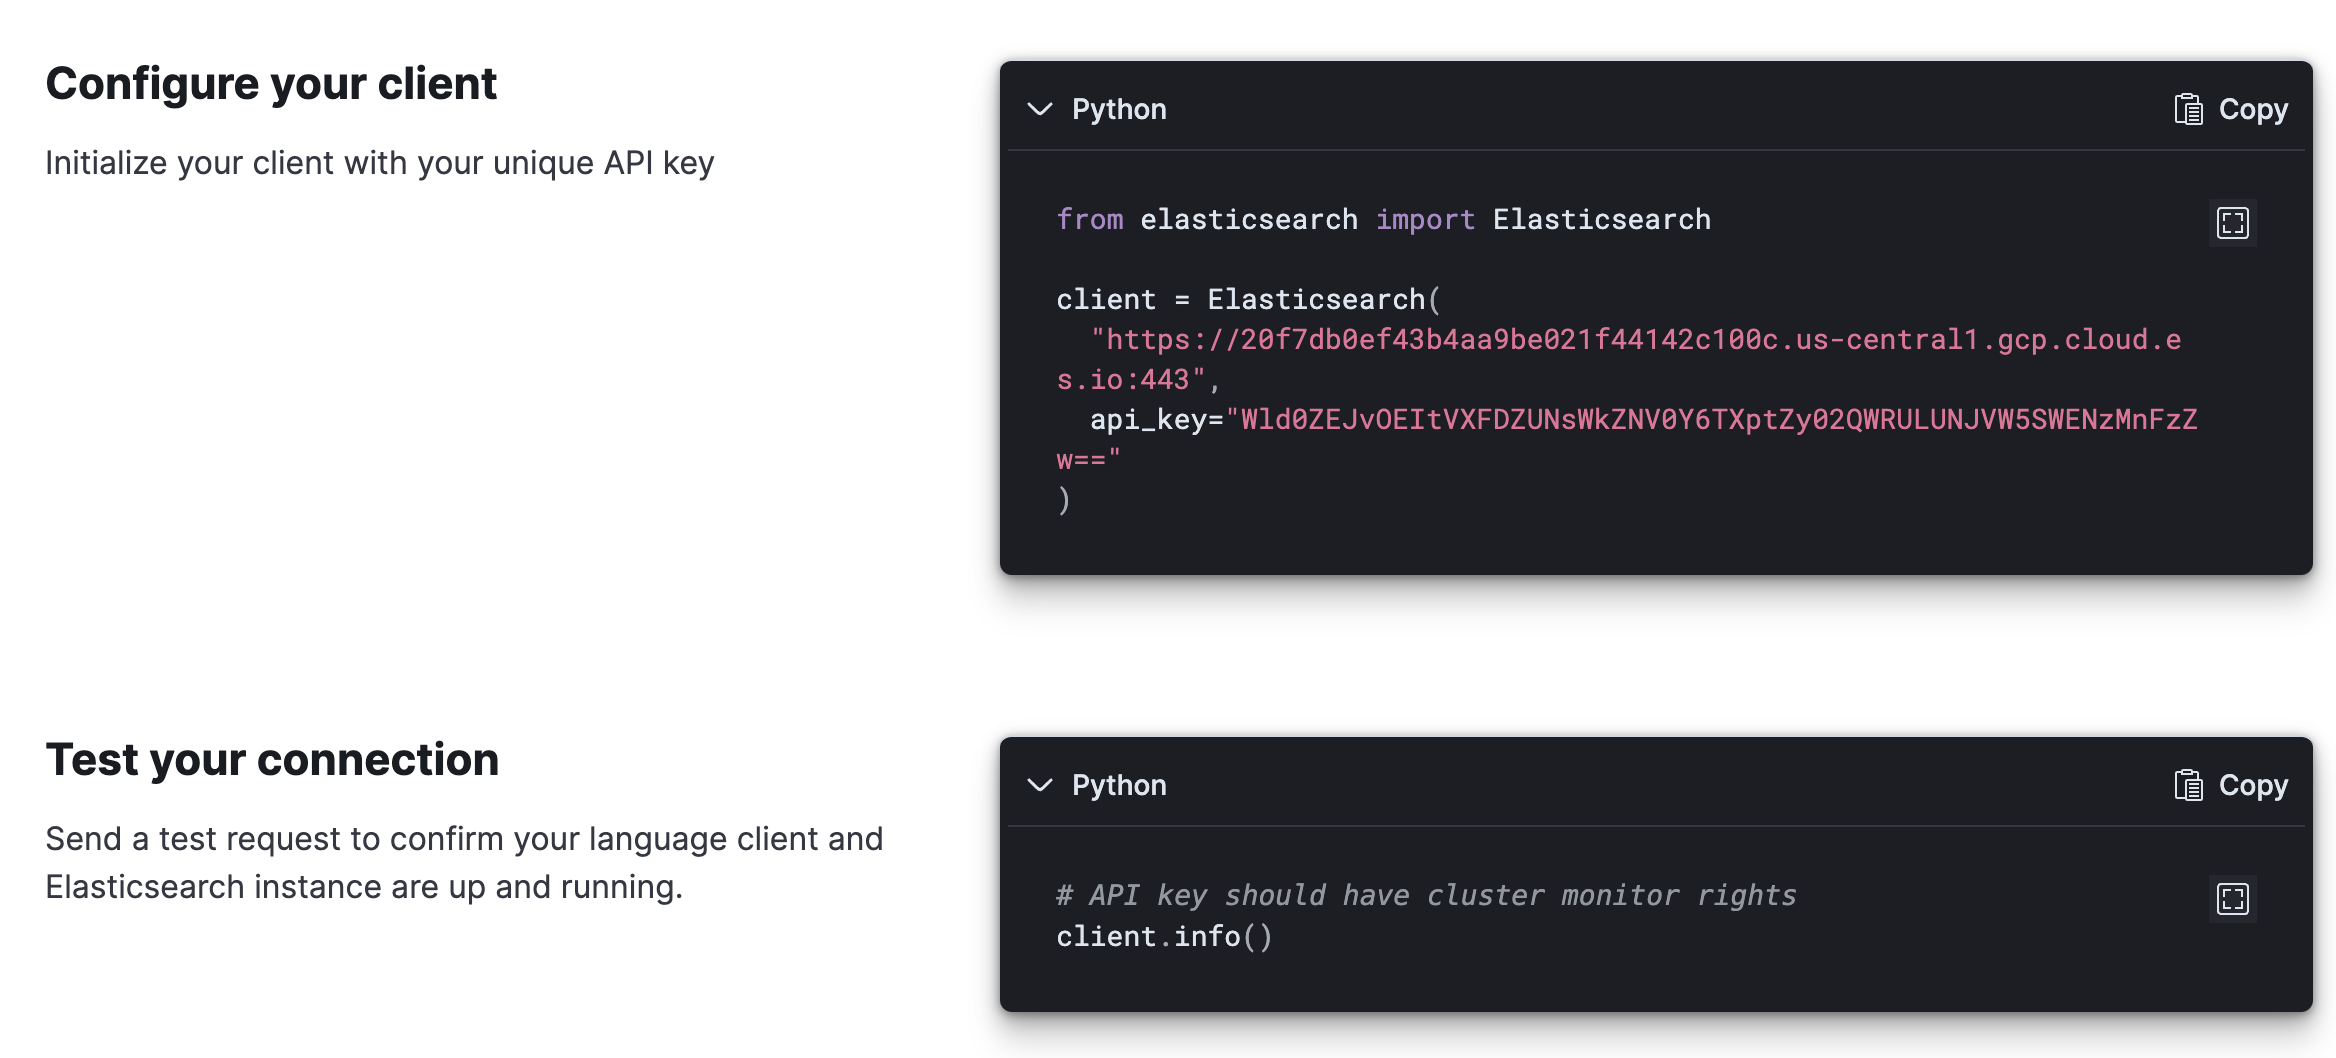
The code should read in your code editor as follows. Keep in mind the last line of the code below has been modified to give you more information in the terminal:

Now open the terminal again and navigate to where the code is. For this demo, the file has been saved on the desktop. To navigate to the file use the code below:
cd ~/desktop/
Next execute the following code, which should be the name of your file. In this instance, the name of the file created is python getting-started.py.
python getting-started.py
Executing the code will print information about your elasticsearch deployment in the terminal.
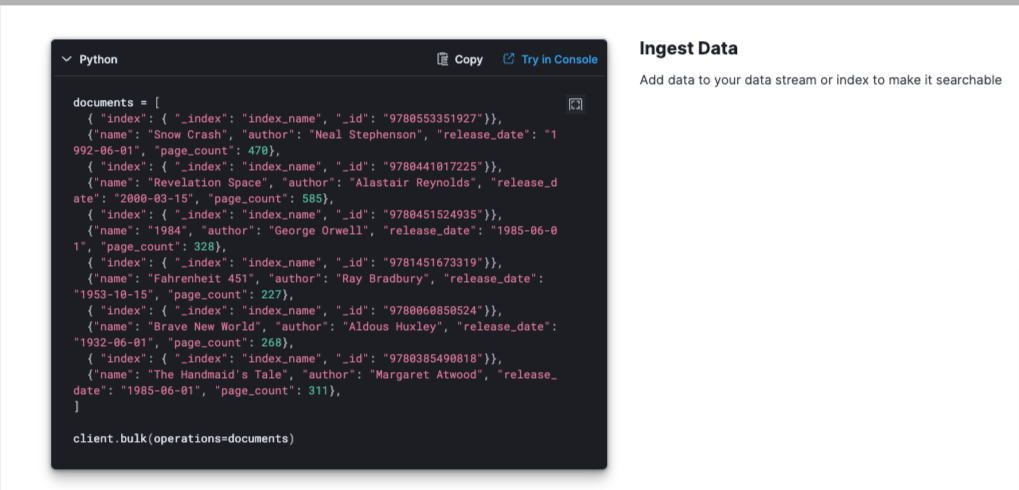
Finally it's time to start ingesting data. Simply copy the code below in your chosen code editor and save your file. You can also select Try in Console and click the Send request button ▶ to run the code and see the results you'll generate.
It's time to execute your code. Once again run your file to index the documents in elasticsearch.
python getting-started.py
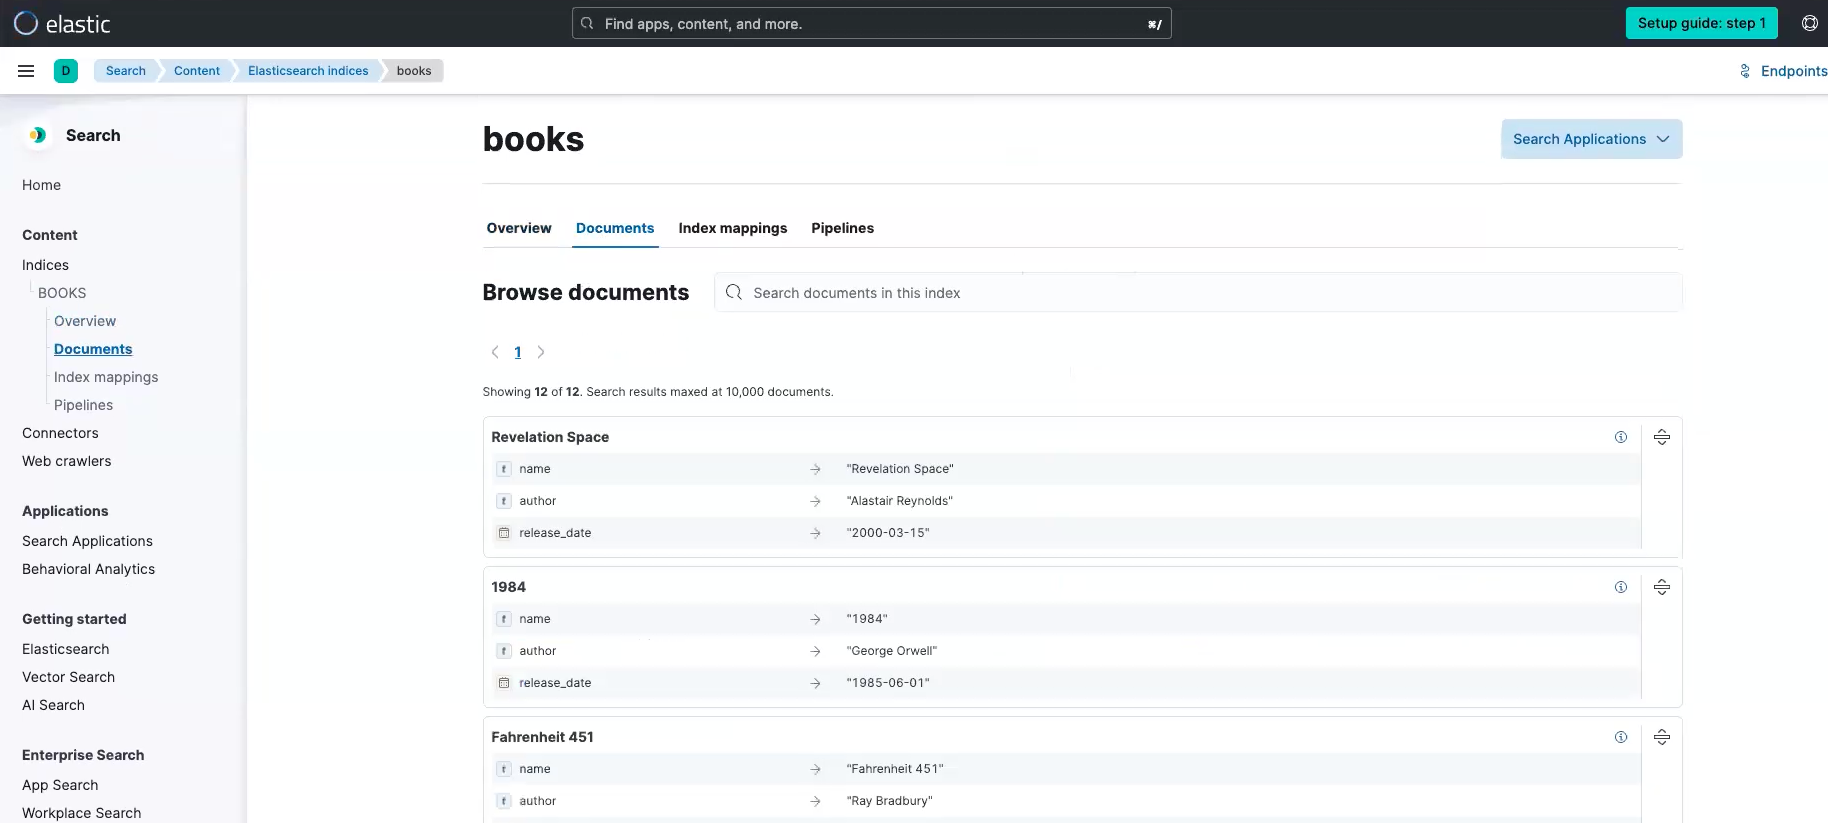
Now if you navigate back to the cloud console and select Documents in the top navigation you'll see documents you have ingested.
Working with Elasticsearch
Build your query
Finally, let's build a query. Simply copy the final code in your file and comment out the code you added for the Ingest data section. You can also select Try in Console and click the Send request button ▶ to see the results you'll generate.

Be sure to modify to add the print functionality in the code so you can see what it returns.
print(client.search(index="index_name", q="snow"))
Once you save the file simply execute the code in the terminal with the below:
python getting-started.py
You should see documents with "snow" in the title printed in your terminal.
Next steps
Thanks for taking the time to learn how to build an application on top of elasticsearch for your data with Elastic Cloud.As you begin your journey with Elastic, understand some operational, security, and data components you should manage as a user when you deploy across your environment. Ready to get started? Spin up a free 14-day trial on Elastic Cloud.