Role mappings
editRole mappings
editRole mappings allow you to describe which roles to assign to your users using a set of rules. Role mappings are required when authenticating via an external identity provider, such as Active Directory, Kerberos, PKI, OIDC, or SAML.
Role mappings have no effect for users inside the native or file realms.
To manage your role mappings, open the main menu, then click Stack Management > Role Mappings.
With Role mappings, you can:
- View your configured role mappings
- Create/Edit/Delete role mappings

Required permissions
editThe manage_security cluster privilege is required to manage Role Mappings.
Create a role mapping
edit- Open the main menu, then click Stack Management > Role Mappings.
- Click Create role mapping.
-
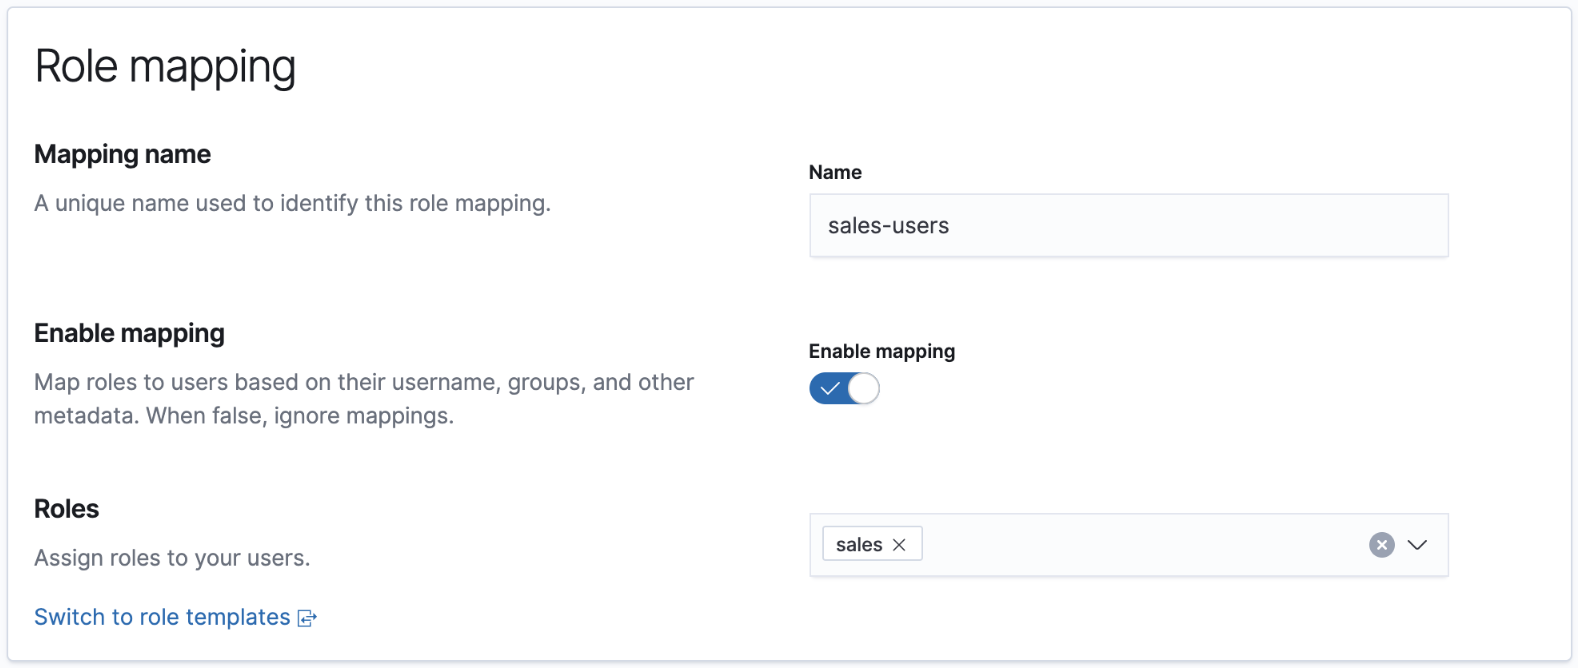
Give your role mapping a unique name, and choose which roles you wish to assign to your users.
If you need more flexibility, you can use role templates instead.
- Define the rules describing which users should receive the roles you defined. Rules can optionally grouped and nested, allowing for sophisticated logic to suite complex requirements.
- View the role mapping resources for an overview of the allowed rule types.
Example
editLet’s create a sales-users role mapping, which assigns a sales role to users whose username
starts with sls_, or belongs to the executive group.
First, we give the role mapping a name, and assign the sales role:

Next, we define the two rules, making sure to set the group to Any are true:

Click Save role mapping once you’re finished.