Build your first search query with Python
In this quickstart, you'll index a couple of documents and query them using Python. These concepts and techniques will help you connect a backend application to Elasticsearch to answer your queries.
This quickstart also introduces you to the official Elasticsearch clients, which are available for multiple programming languages. These clients offer full API support for indexing, searching, and cluster management. They are optimized for performance and kept up to date with Elasticsearch releases, ensuring compatibility and security.
This quickstart does not require previous knowledge of Elasticsearch but assumes a basic familiarity with Python development. To follow the steps, you must have a recent version of a Python interpreter.
-
Create a project
There are two options to create serverless projects:
- If you are a new user, sign up for a free 14-day trial to create a serverless project. For more information about the Elastic Cloud trials, check Trial features.
- If you are an existing customer, log in to Elastic Cloud. On the home page, you will see a new option to create serverless projects. The
adminpredefined role or an equivalent custom role is required to create projects. Refer to User roles and privileges.
Choose the Elasticsearch project type and provide a name. You can optionally edit the project settings, such as the region.
To add the sample data in subsequent steps, you must have a
developeroradminpredefined role or an equivalent custom role. To learn about role-based access control, go to User roles. -
Create an index
An index is a collection of documents uniquely identified by a name or an alias. To create an index:
- Go to Index Management using the navigation menu or the global search field.
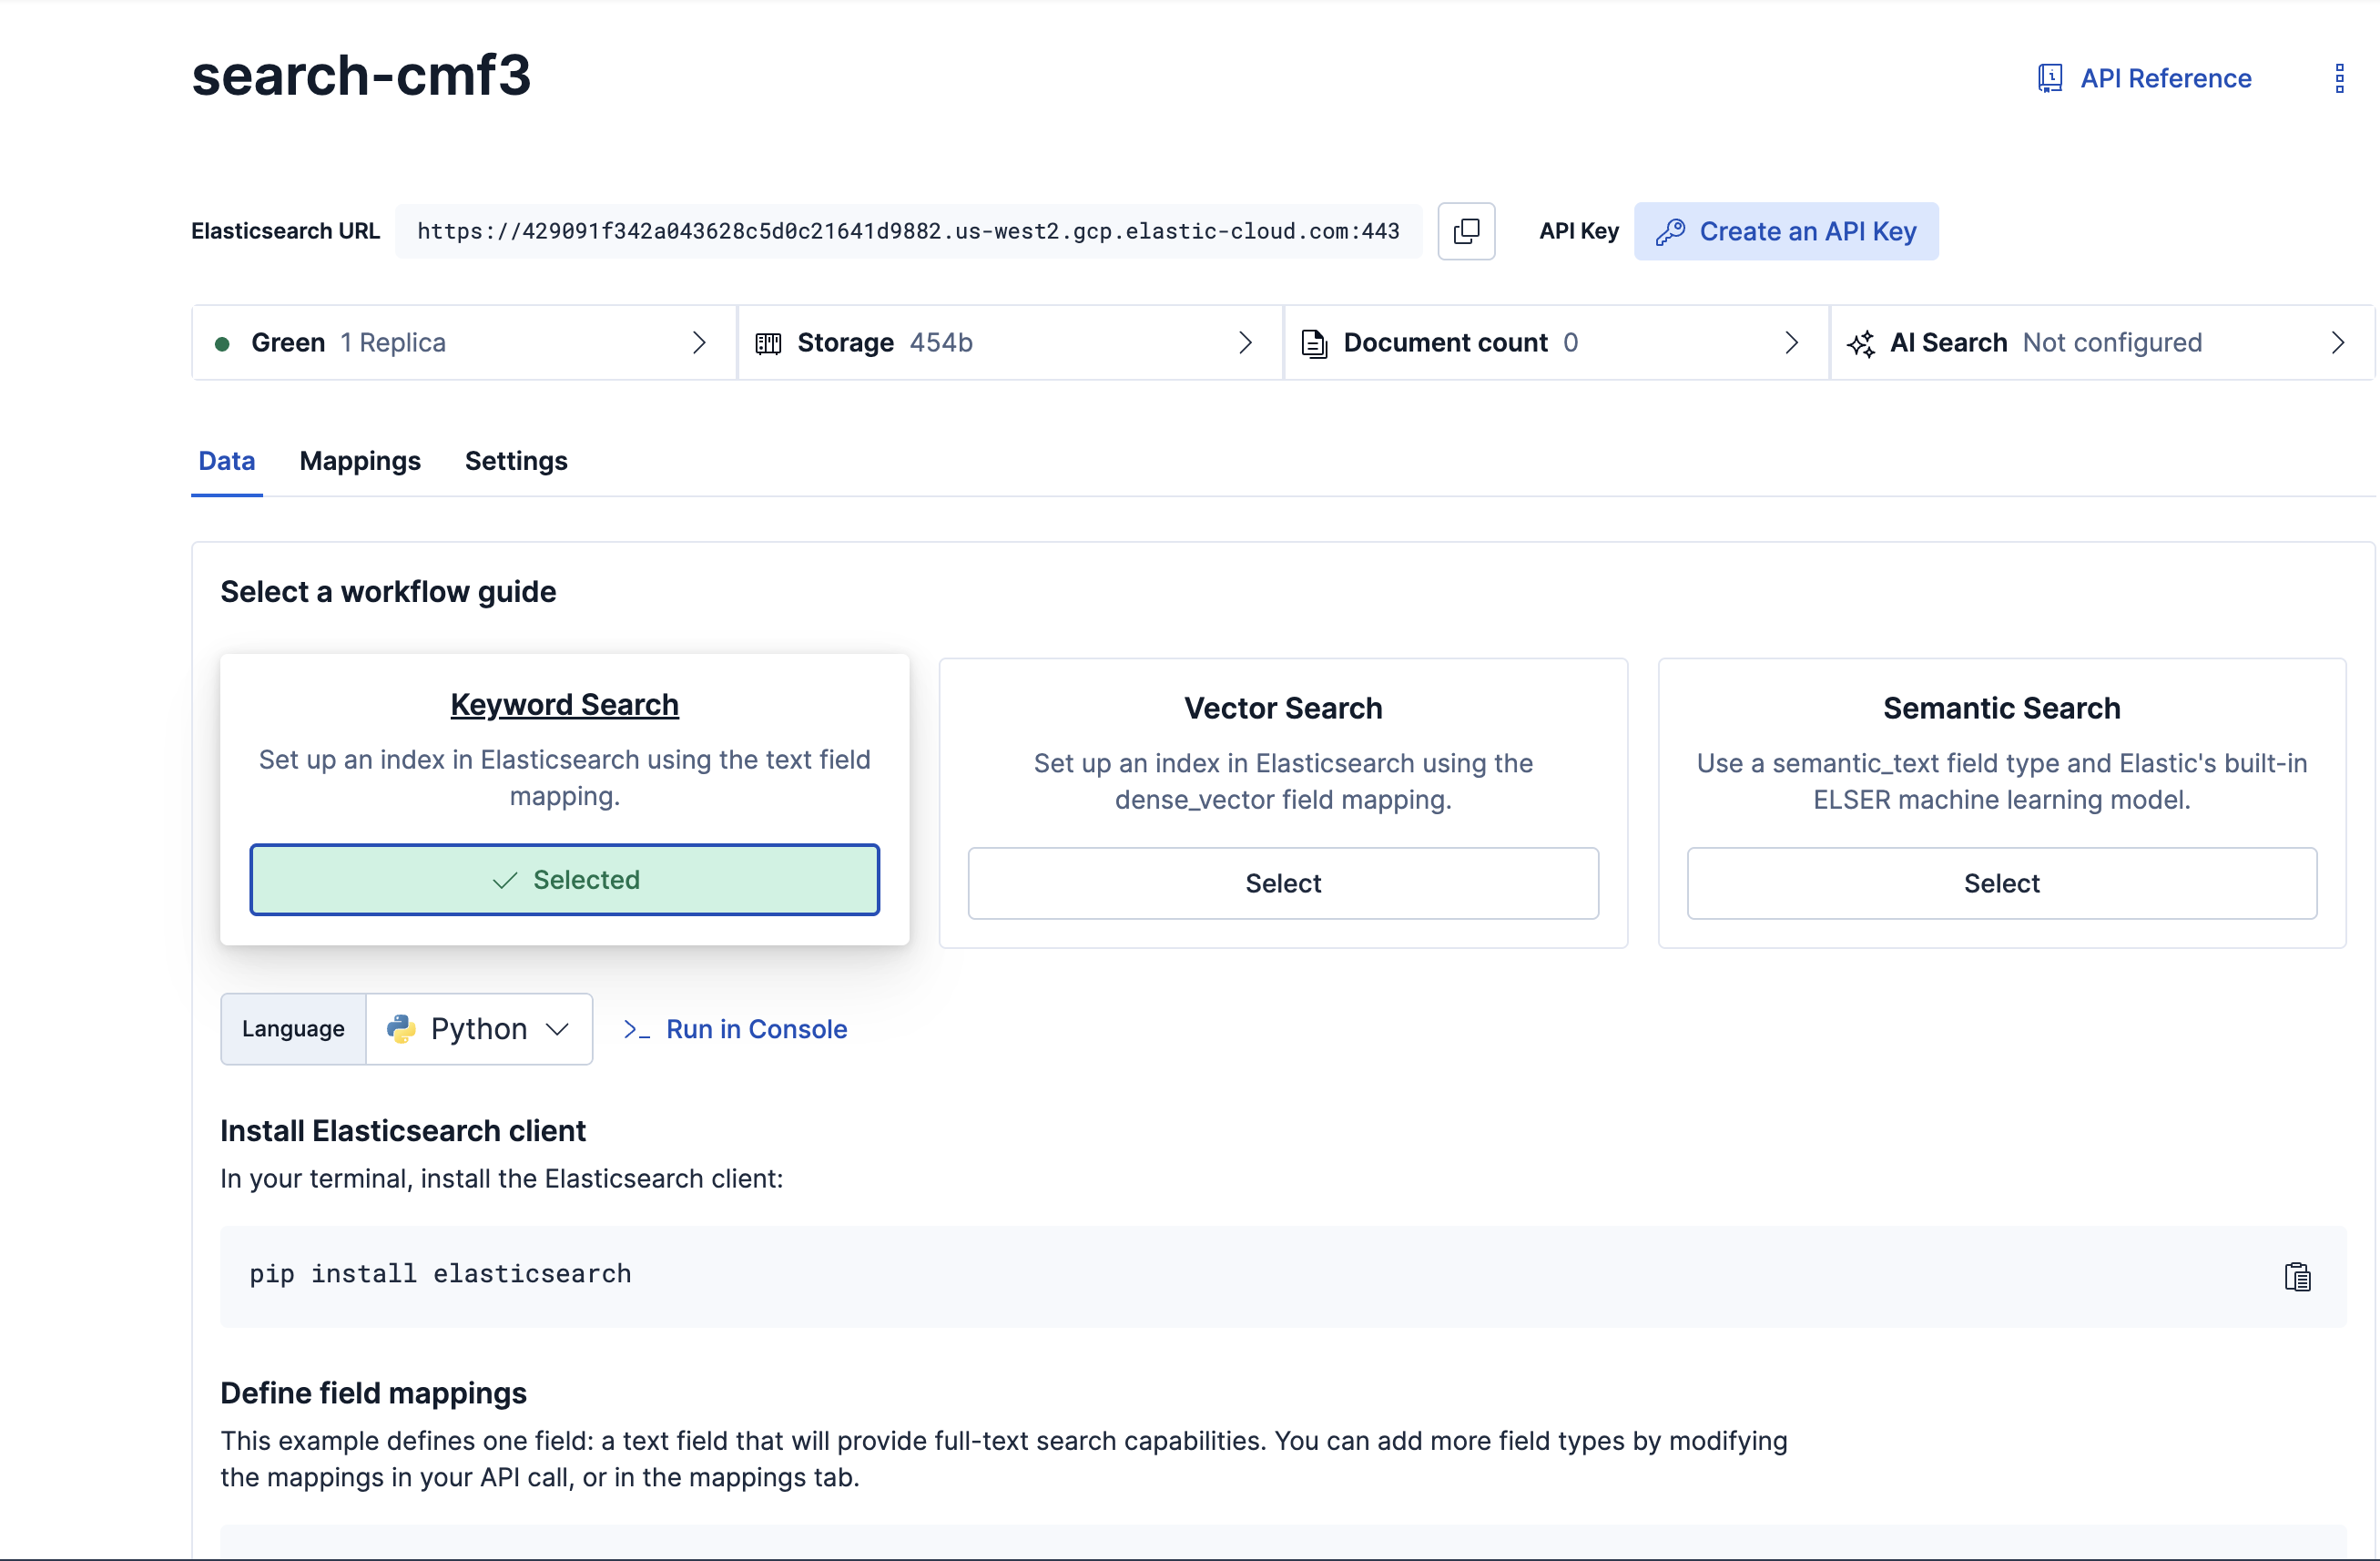
- Select Create index, select Keyword Search, and follow the guided workflow.
To enable your client to talk to your project, you must also create an API key. Select Create an API Key and use the default values, which are sufficient for this quickstart.
TipFor more information about indices and API keys, go to Index basics and Serverless project API keys.
-
Install the Python client
Select your preferred language in the keyword search workflow. For this quickstart, use Python.

The Elasticsearch client library is a Python package that is installed with
pip:python -m pip install elasticsearch -
Connect to your project
To connect from your client to your Elasticsearch Serverless project, copy the following code example from the guided workflow into your Python interpreter in interactive mode: For example, connect from your client to your Elasticsearch Serverless project:
from elasticsearch import Elasticsearch, helpers

client = Elasticsearch(
    "YOUR-PROJECT-URL",
    api_key="YOUR-API-KEY"
)

index_name = "YOUR-INDEX"
You must replace the project URL, API key, and index name with the appropriate values.
-
Define field mappings
An index has mappings that define how data is stored and indexed. Create mappings for your index, including a single text field named
text:mappings = { "properties": { "text": { "type": "text" } } } mapping_response = client.indices.put_mapping(index=index_name, body=mappings) print(mapping_response)A successful response will acknowledge the creation of the mappings:
{'acknowledged': True} -
Ingest documents
Next, use a bulk helper function to add three documents to your index. Bulk requests are the preferred method for indexing large volumes of data, from hundreds to billions of documents.
docs = [
    {
        "text": "Yellowstone National Park is one of the largest national parks in the United States. It ranges from the Wyoming to Montana and Idaho, and contains an area of 2,219,791 acress across three different states. Its most famous for hosting the geyser Old Faithful and is centered on the Yellowstone Caldera, the largest super volcano on the American continent. Yellowstone is host to hundreds of species of animal, many of which are endangered or threatened. Most notably, it contains free-ranging herds of bison and elk, alongside bears, cougars and wolves. The national park receives over 4.5 million visitors annually and is a UNESCO World Heritage Site."
    },
    {
        "text": "Yosemite National Park is a United States National Park, covering over 750,000 acres of land in California. A UNESCO World Heritage Site, the park is best known for its granite cliffs, waterfalls and giant sequoia trees. Yosemite hosts over four million visitors in most years, with a peak of five million visitors in 2016. The park is home to a diverse range of wildlife, including mule deer, black bears, and the endangered Sierra Nevada bighorn sheep. The park has 1,200 square miles of wilderness, and is a popular destination for rock climbers, with over 3,000 feet of vertical granite to climb. Its most famous and cliff is the El Capitan, a 3,000 feet monolith along its tallest face."
    },
    {
        "text": "Rocky Mountain National Park  is one of the most popular national parks in the United States. It receives over 4.5 million visitors annually, and is known for its mountainous terrain, including Longs Peak, which is the highest peak in the park. The park is home to a variety of wildlife, including elk, mule deer, moose, and bighorn sheep. The park is also home to a variety of ecosystems, including montane, subalpine, and alpine tundra. The park is a popular destination for hiking, camping, and wildlife viewing, and is a UNESCO World Heritage Site."
    }
]

bulk_response = helpers.bulk(client, docs, index=index_name)
print(bulk_response)
For more details about bulker helpers, refer to Client helpers.
-
Explore the data
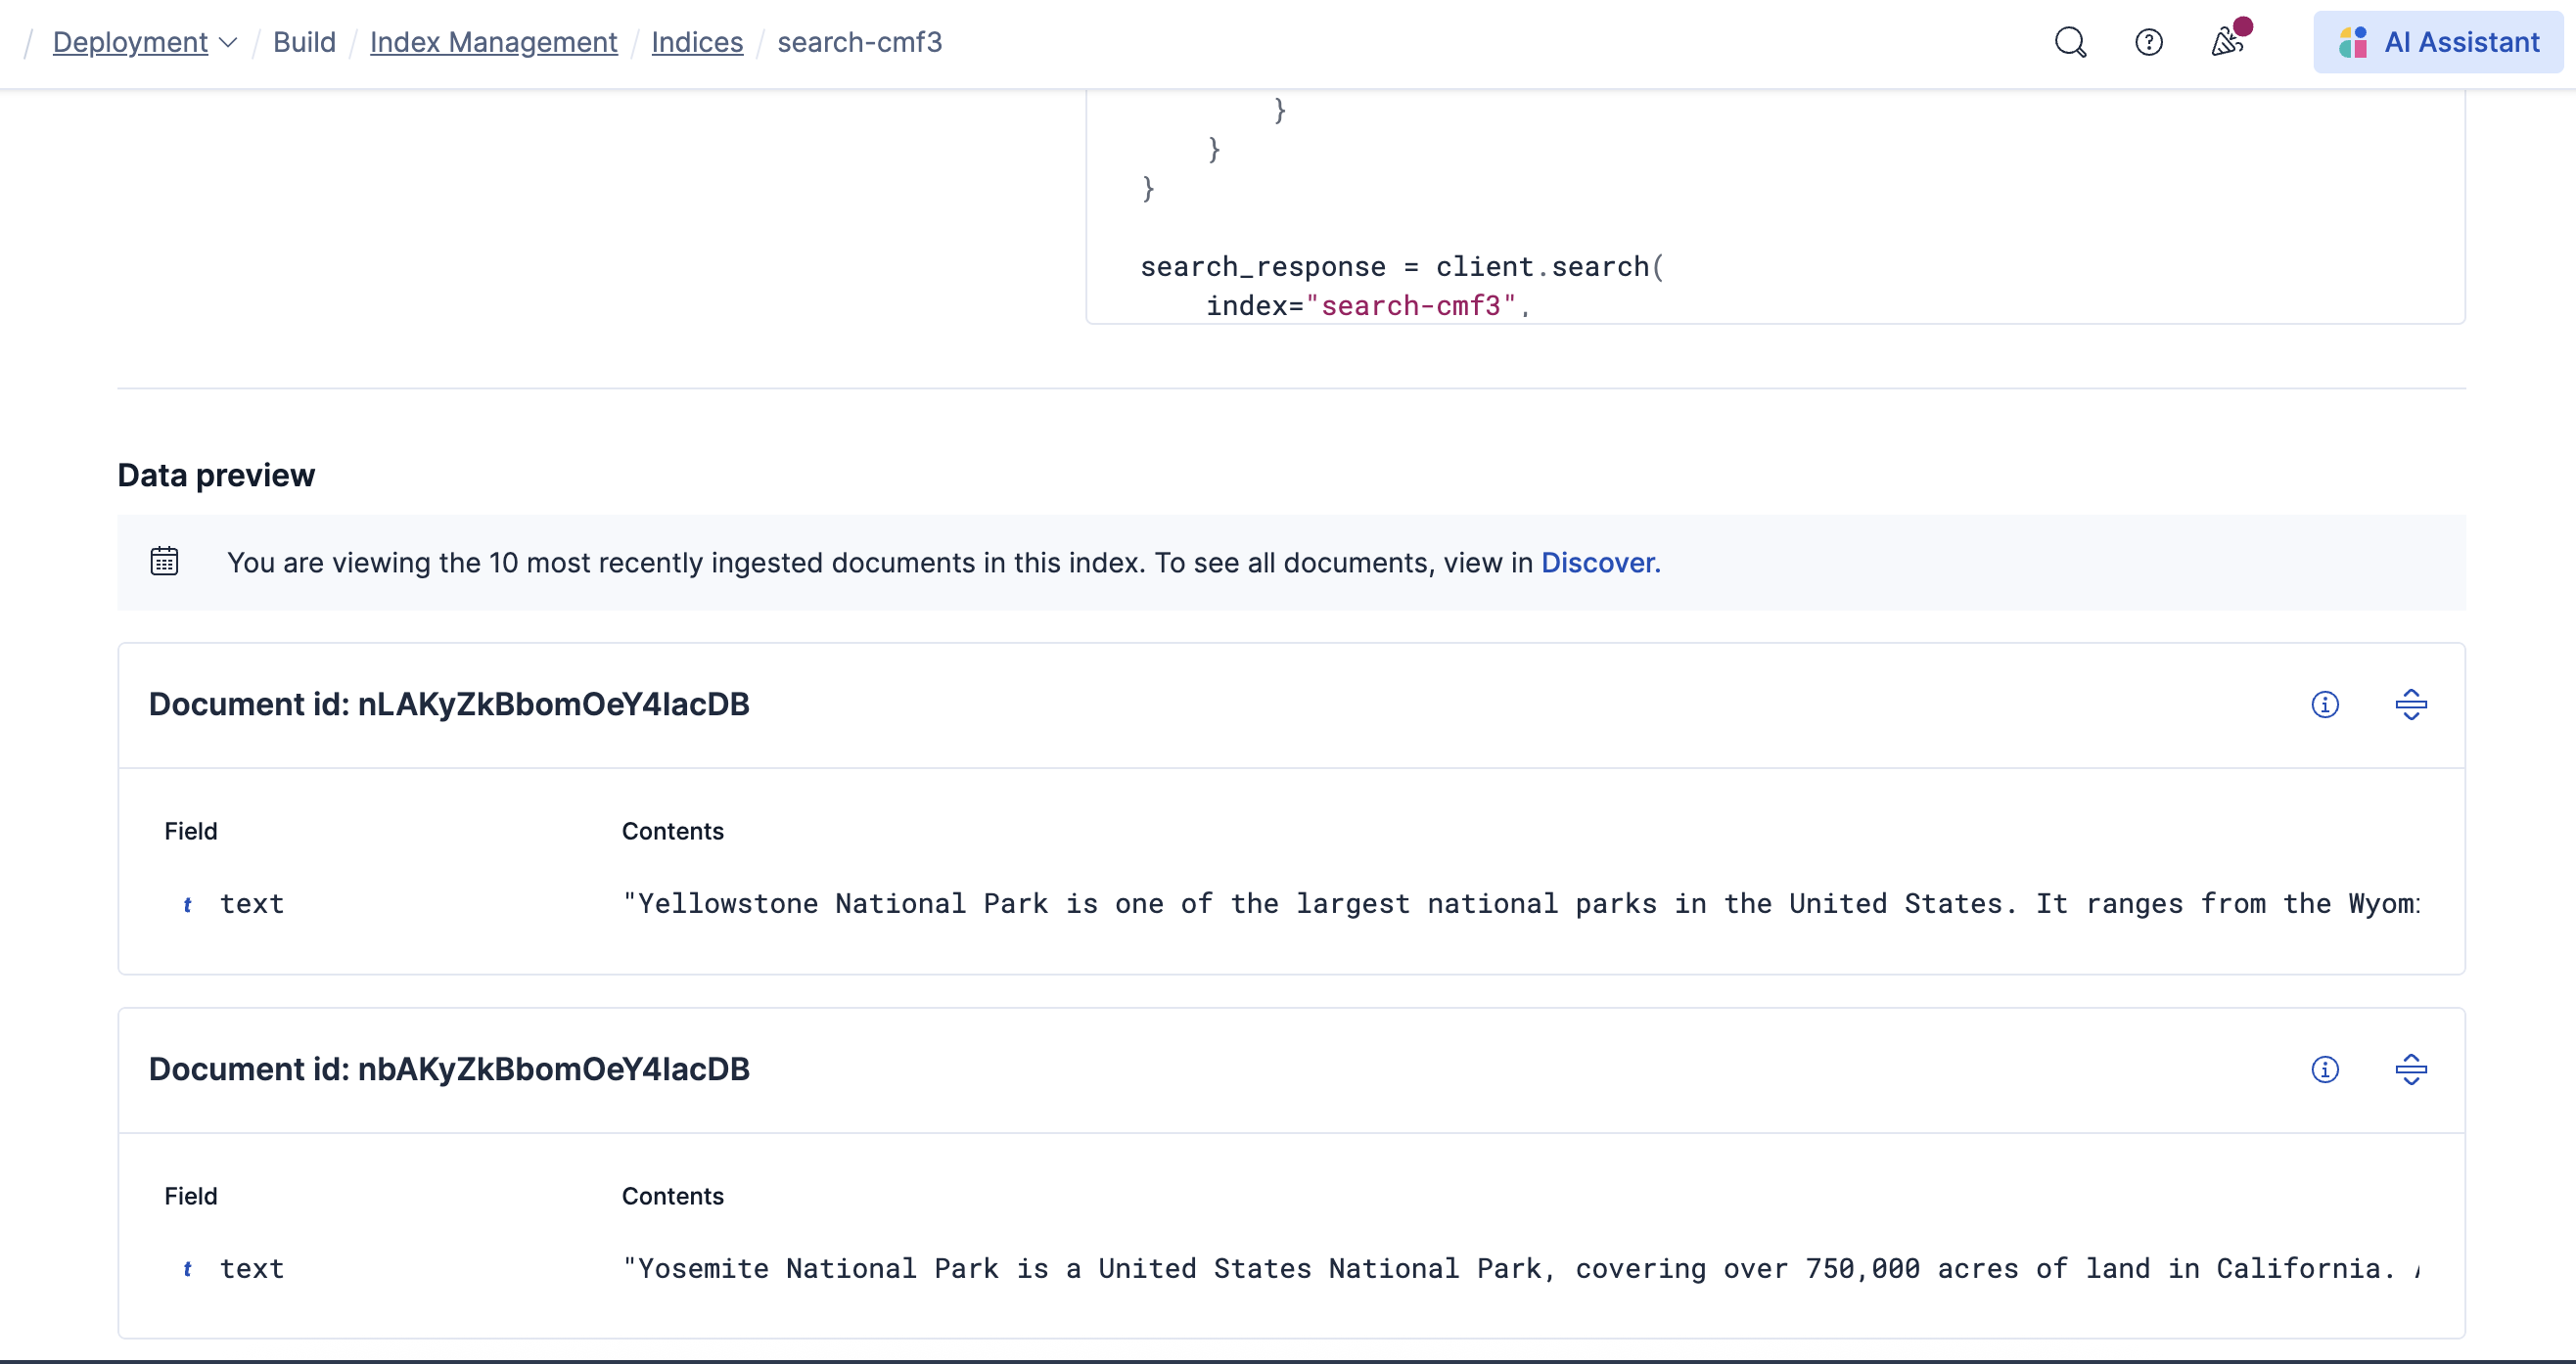
You should now be able to see the documents in the guided workflow:

Optionally open Discover from the navigation menu or the global search field to familiarize yourself with this data set.
-
Test keyword search
A keyword search, also known as lexical search or full-text search finds relevant documents in your indices using exact matches, patterns, or similarity scoring. The guided workflow provides an example that uses Query DSL. Alternatively, try out Elasticsearch Query Language (ES|QL) to find documents that match a specific keyword:
response = client.esql.query( query=""" FROM * | WHERE MATCH(text, "yosemite") | LIMIT 5 """, format="csv" ) print(response)TipInstead of using the
*wildcard, you can narrow the query by using your index name. For more details, refer to the ES|QL referenceThe results in this case contain the document that matches the query:
"Yosemite National Park is a United States National Park, covering over 750,000 acres of land in California. A UNESCO World Heritage Site, the park is best known for its granite cliffs, waterfalls and giant sequoia trees. Yosemite hosts over four million visitors in most years, with a peak of five million visitors in 2016. The park is home to a diverse range of wildlife, including mule deer, black bears, and the endangered Sierra Nevada bighorn sheep. The park has 1,200 square miles of wilderness, and is a popular destination for rock climbers, with over 3,000 feet of vertical granite to climb. Its most famous and cliff is the El Capitan, a 3,000 feet monolith along its tallest face."
Now you are ready to use the client to query Elasticsearch from any Python backend like Flask, Django, etc. Check out the Elasticsearch Python Client documentation to explore further
Test some more keyword search queries or go to the Index Management page and follow the workflows for vector search or semantic search queries.
When you finish your tests and no longer need the sample data set, delete your index:
client.indices.delete(index=index_name)
This quickstart covered the basics of working with Elasticsearch. For a deeper dive, refer to the following resources: