Reporting and security
editReporting and security
editReporting operates by creating and updating documents in Elasticsearch in response to user actions in Kibana.
To use X-Pack reporting with X-Pack security enabled, you need to set up Kibana to work with X-Pack security. If you are automatically generating reports with Watcher, you also need to configure Watcher to trust the Kibana server’s certificate.
To enable users to generate reports, you must assign them the built-in reporting_user
role. Users will also need the appropriate Kibana privileges to access the objects
to report on and the Elasticsearch indices.
If you are using the native realm
editYou can assign roles through the
Management app in Kibana or with the user API.
This example shows how to use Management to create a user who has a custom role and the
reporting_user role.
- Go to Management > Roles, and click Create role.
-
Give the new role a name, for example,
custom_reporting_user. -
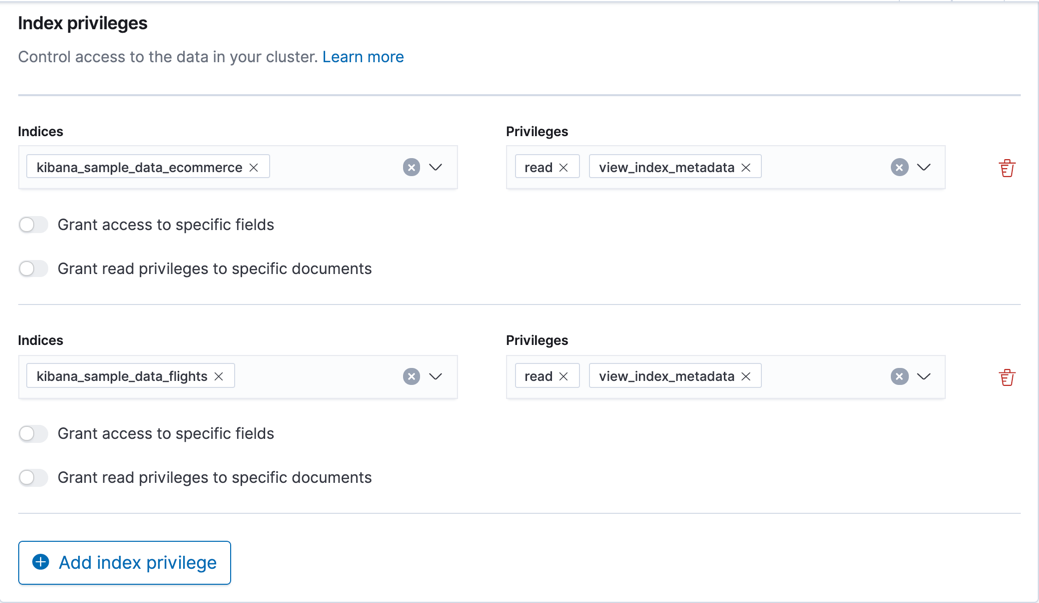
Specify the indices and privileges.
Access to data is an index-level privilege, so in Create role, add a line for each index that contains the data for the report and give each index
readandview_index_metadataprivileges. For more information, see Security privileges.
-
Add space privileges.
Reporting users typically save searches, create visualizations, and build dashboards. They require a space that provides read and write privileges in Discover, Visualize, and Dashboard.
- Save your new role.
-
Create a user account with the proper roles.
Go to Management > Users, add a new user, and assign the user the built-in
reporting_userrole and your new custom role,custom_reporting_user.
With a custom index
editIf you are using Reporting with a custom index,
the xpack.reporting.index setting should begin
with .reporting-*. The default Kibana system user has
all privileges against the .reporting-* pattern of indices.
xpack.reporting.index: '.reporting-custom-index'
If you use a different pattern for the xpack.reporting.index setting,
you must create a custom role with appropriate access to the index, similar
to the following:
- Go to Management > Roles, and click Create role.
-
Name the role
custom-reporting-user. -
Specify the custom index and assign it the
allindex privilege. -
Go to Management > Users and create a new user with
the
kibana_systemrole and thecustom-reporting-userrole. -
Configure Kibana to use the new account:
elasticsearch.username: 'custom_kibana_system'
With the user API
editThis example uses the user API to create a user who has the
reporting_user role and the kibana_user role:
POST /_security/user/reporter
{
  "password" : "x-pack-test-password",
  "roles" : ["kibana_user", "reporting_user"],
  "full_name" : "Reporting User"
}
If you are using an external identity provider
editIf you are using an external identity provider, such as
LDAP or Active Directory, you can either assign
roles on a per user basis, or assign roles to groups of users. By default, role
mappings are configured in
config/role_mapping.yml.
For example, the following snippet assigns the user named Bill Murray the
kibana_user and reporting_user roles:
kibana_user:
  - "cn=Bill Murray,dc=example,dc=com"
reporting_user:
  - "cn=Bill Murray,dc=example,dc=com"