Configure an integration policy for Elastic Defend
editConfigure an integration policy for Elastic Defend
editAfter the Elastic Agent is installed with the Elastic Defend integration, several protections features — including preventions against malware, ransomware, memory threats, and malicious behavior — are automatically enabled on protected hosts (some features require a Platinum or Enterprise license). If needed, you can update the integration policy to configure protection settings, event collection, antivirus settings, trusted applications, event filters, host isolation exceptions, and blocked applications to meet your organization’s security needs.
You can also create multiple Elastic Defend integration policies to maintain unique configuration profiles. To create an additional Elastic Defend integration policy, go to Management → Integrations, then follow the steps for adding the Elastic Defend integration.
In addition to configuring an Elastic Defend policy through the Elastic Security UI, you can create and customize an Elastic Defend policy through the API.
To configure an integration policy:
- In the Elastic Security app, go to Manage → Policies to view the Policies page.
- Select the integration policy you want to configure. The integration policy configuration page appears.
-
On the Policy settings tab, review and configure the following settings as appropriate:
-
Click the Trusted applications, Event filters, Host isolation exceptions, and Blocklist tabs to review the endpoint policy artifacts assigned to this integration policy (for more information, refer to Trusted applications, Event filters, Host isolation exceptions, and Blocklist). On these tabs, you can:
- Expand and view an artifact — Click the arrow next to its name.
- View an artifact’s details — Click the actions menu (…), then select View full details.
- Unassign an artifact (Platinum or Enterprise subscription) — Click the actions menu (…), then select Remove from policy. This does not delete the artifact; this just unassigns it from the current policy.
- Assign an existing artifact (Platinum or Enterprise subscription) — Click Assign x to policy, then select an item from the flyout. This view lists any existing artifacts that aren’t already assigned to the current policy.
You can’t create a new endpoint policy artifact while configuring an integration policy. To create a new artifact, go to its main page in the Elastic Security app (for example, to create a new trusted application, go to Manage → Trusted applications).
- Click the Protection updates tab to configure how Elastic Defend receives updates from Elastic with the latest threat detections, malware models, and other protection artifacts. Refer to Configure updates for protection artifacts for more information.
Malware protection
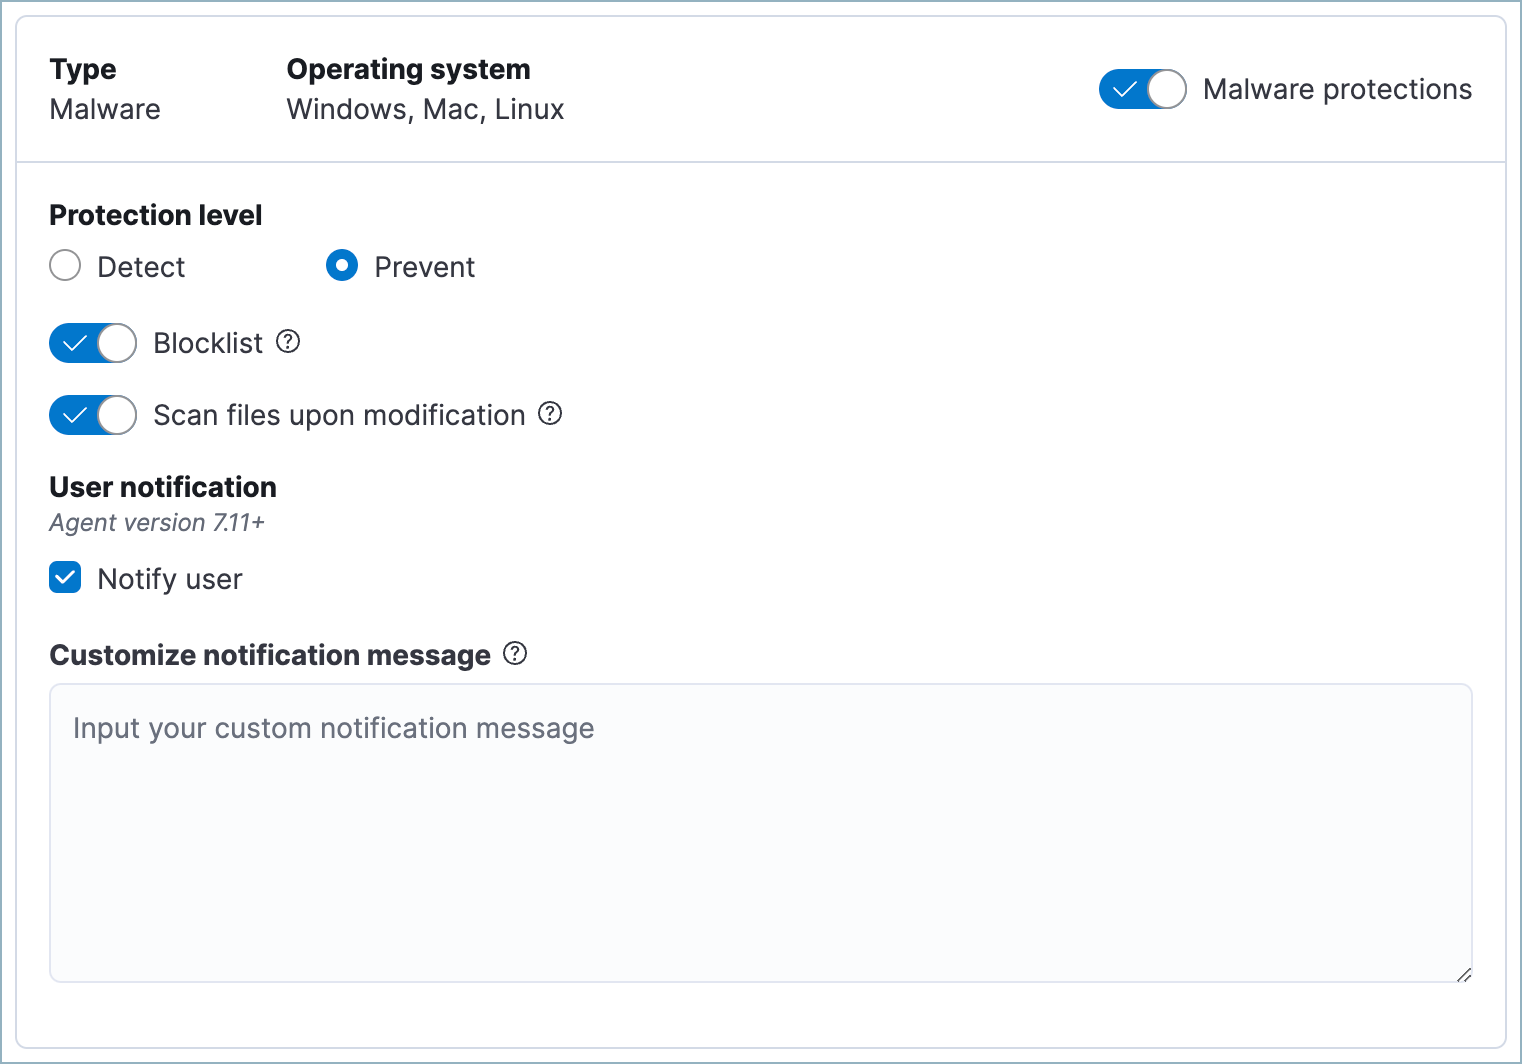
editElastic Defend malware prevention detects and stops malicious attacks by using a machine learning model that looks for static attributes to determine if a file is malicious or benign.
By default, malware protection is enabled on Windows, macOS, and Linux hosts. To disable malware protection, turn off the Malware protections toggle.
Malware protection levels are:
- Detect: Detects malware on the host and generates an alert. The agent will not block malware. You must pay attention to and analyze any malware alerts that are generated.
- Prevent (Default): Detects malware on the host, blocks it from executing, and generates an alert.
These additional options are available for malware protection:
- Blocklist: Enable or disable the blocklist for all hosts associated with this Elastic Defend policy. The blocklist allows you to prevent specified applications from running on hosts, extending the list of processes that Elastic Defend considers malicious.
- Scan files upon modification: By default, Elastic Defend scans files every time they’re modified, which can be resource-intensive on hosts where files are frequently modified, such as servers and developer machines. Turn off this option to only scan files when they’re executed. Elastic Defend will continue to identify malware as it attempts to run, providing a robust level of protection while improving endpoint performance.
Select Notify user to send a push notification in the host operating system when activity is detected or prevented. Notifications are enabled by default for the Prevent option.
Platinum and Enterprise customers can customize these notifications using the Elastic Security {action} {filename} syntax.
Manage quarantined files
editWhen Prevent is enabled for malware protection, Elastic Defend will quarantine any malicious file it finds (this includes files defined in the Blocklist). Specifically Elastic Defend will remove the file from its current location, encrypt it with the encryption key ELASTIC, move it to a different folder, and rename it as a GUID string, such as 318e70c2-af9b-4c3a-939d-11410b9a112c.
The quarantine folder location varies by operating system:
-
macOS:
/System/Volumes/Data/.equarantine -
Linux:
.equarantineat the root of the mount point of the file being quarantined -
Windows - Elastic Defend versions 8.5 and later:
[DriveLetter:]\.equarantine, unless the files are from theC:drive. These files are moved toC:\Program Files\Elastic\Endpoint\state\.equarantine. -
Windows - Elastic Defend versions 8.4 and earlier:
[DriveLetter:]\.equarantine, for any drive
To restore a quarantined file to its original state and location, add an exception to the rule that identified the file as malicious. If the exception would’ve stopped the rule from identifying the file as malicious, Elastic Defend restores the file.
You can access a quarantined file by using the get-file response action command in the response console. To do this, copy the path from the alert’s Quarantined file path field (file.Ext.quarantine_path), which appears under Highlighted fields in the alert details flyout. Then paste the value into the --path parameter. This action doesn’t restore the file to its original location, so you will need to do this manually.
Response actions and the response console UI are Enterprise subscription features.
Ransomware protection
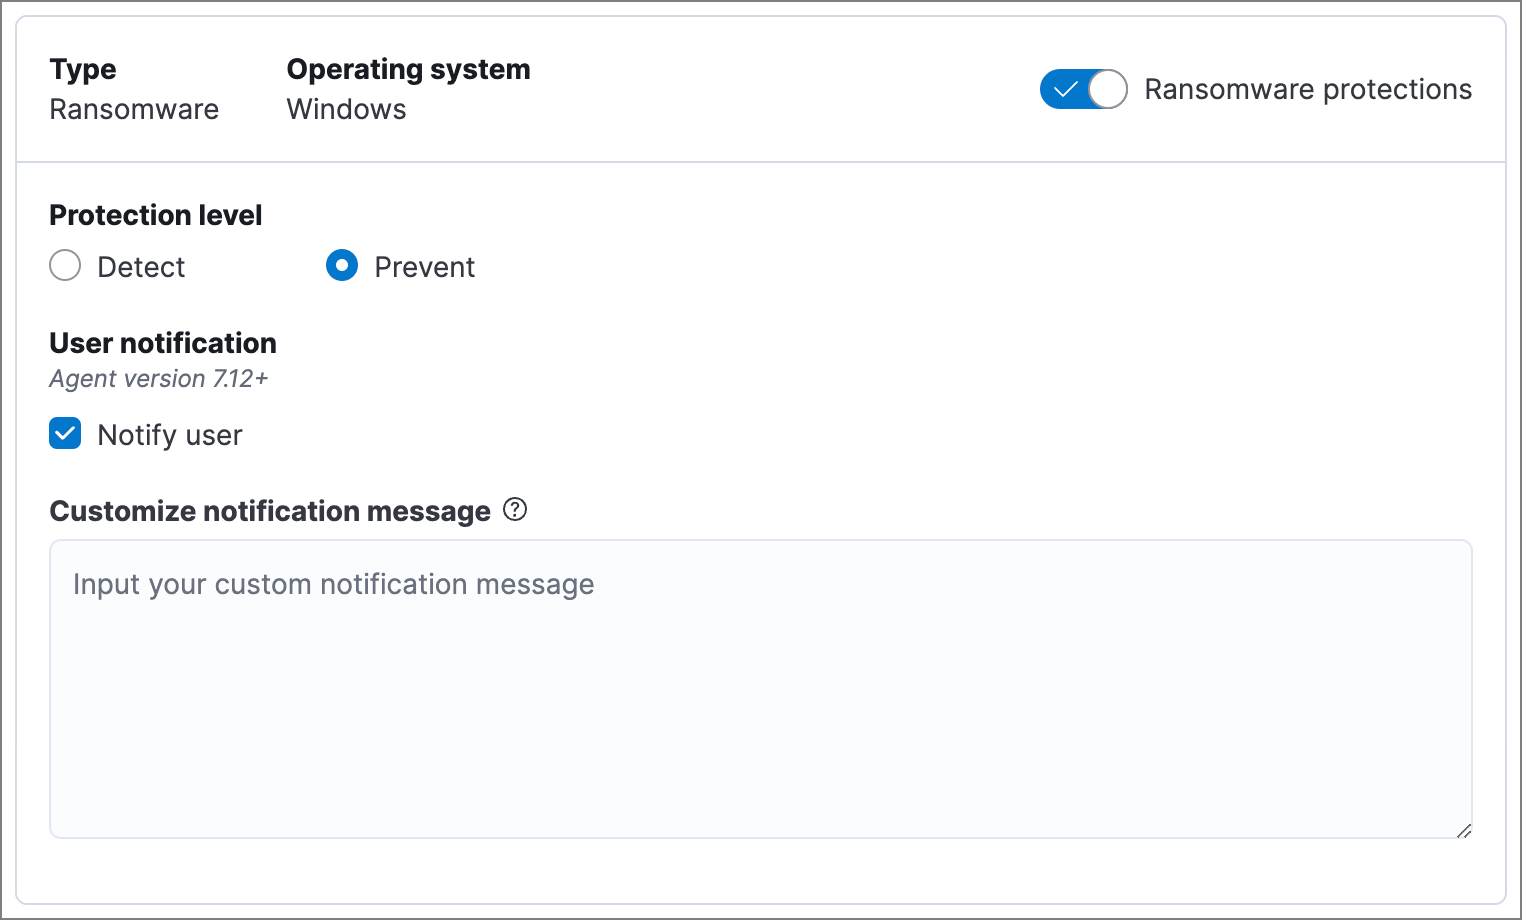
editBehavioral ransomware prevention detects and stops ransomware attacks on Windows systems by analyzing data from low-level system processes. It is effective across an array of widespread ransomware families — including those targeting the system’s master boot record.
Ransomware protection is a paid feature and is enabled by default if you have a Platinum or Enterprise license. If you upgrade to a Platinum or Enterprise license from Basic or Gold, ransomware protection will be disabled by default.
Ransomware protection levels are:
- Detect: Detects ransomware on the host and generates an alert. Elastic Defend will not block ransomware. You must pay attention to and analyze any ransomware alerts that are generated.
- Prevent (Default): Detects ransomware on the host, blocks it from executing, and generates an alert.
When ransomware protection is enabled, canary files placed in targeted locations on your hosts provide an early warning system for potential ransomware activity. When a canary file is modified, Elastic Defend immediately generates a ransomware alert. If prevent ransomware is active, Elastic Defend terminates the process that modified the file.
Select Notify user to send a push notification in the host operating system when activity is detected or prevented. Notifications are enabled by default for the Prevent option.
Platinum and Enterprise customers can customize these notifications using the Elastic Security {action} {filename} syntax.
Memory threat protection
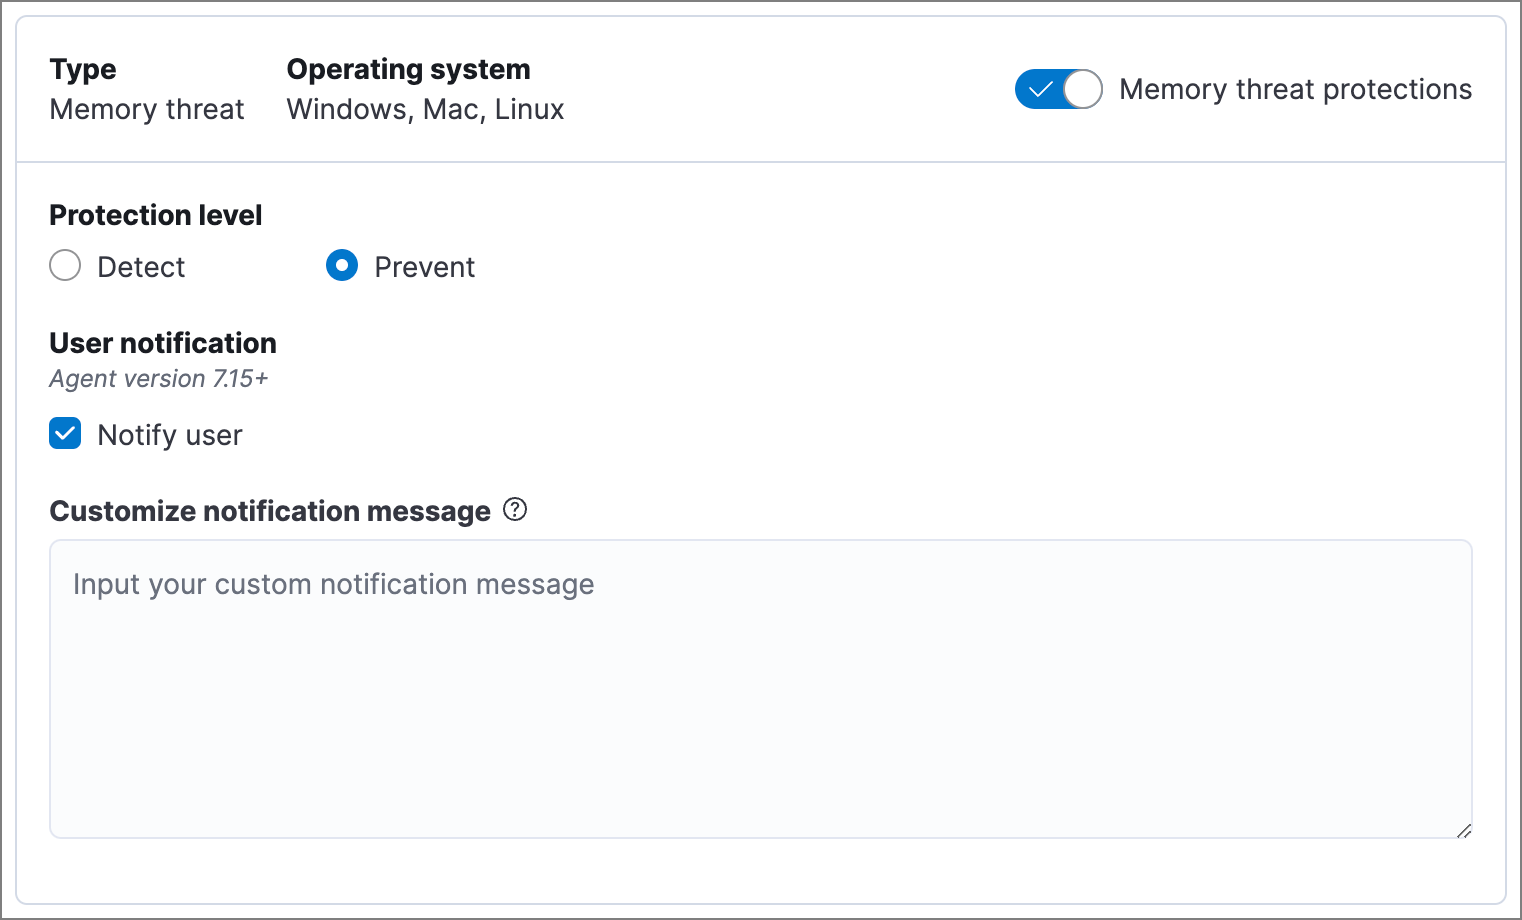
editMemory threat protection detects and stops in-memory threats, such as shellcode injection, which are used to evade traditional file-based detection techniques.
Memory threat protection is a paid feature and is enabled by default if you have a Platinum or Enterprise license. If you upgrade to a Platinum or Enterprise license from Basic or Gold, memory threat protection will be disabled by default.
Memory threat protection levels are:
- Detect: Detects memory threat activity on the host and generates an alert. Elastic Defend will not block the in-memory activity. You must pay attention to and analyze any alerts that are generated.
- Prevent (Default): Detects memory threat activity on the host, forces the process or thread to stop, and generates an alert.
Select Notify user to send a push notification in the host operating system when activity is detected or prevented. Notifications are enabled by default for the Prevent option.
Platinum and Enterprise customers can customize these notifications using the Elastic Security {action} {rule} syntax.
Malicious behavior protection
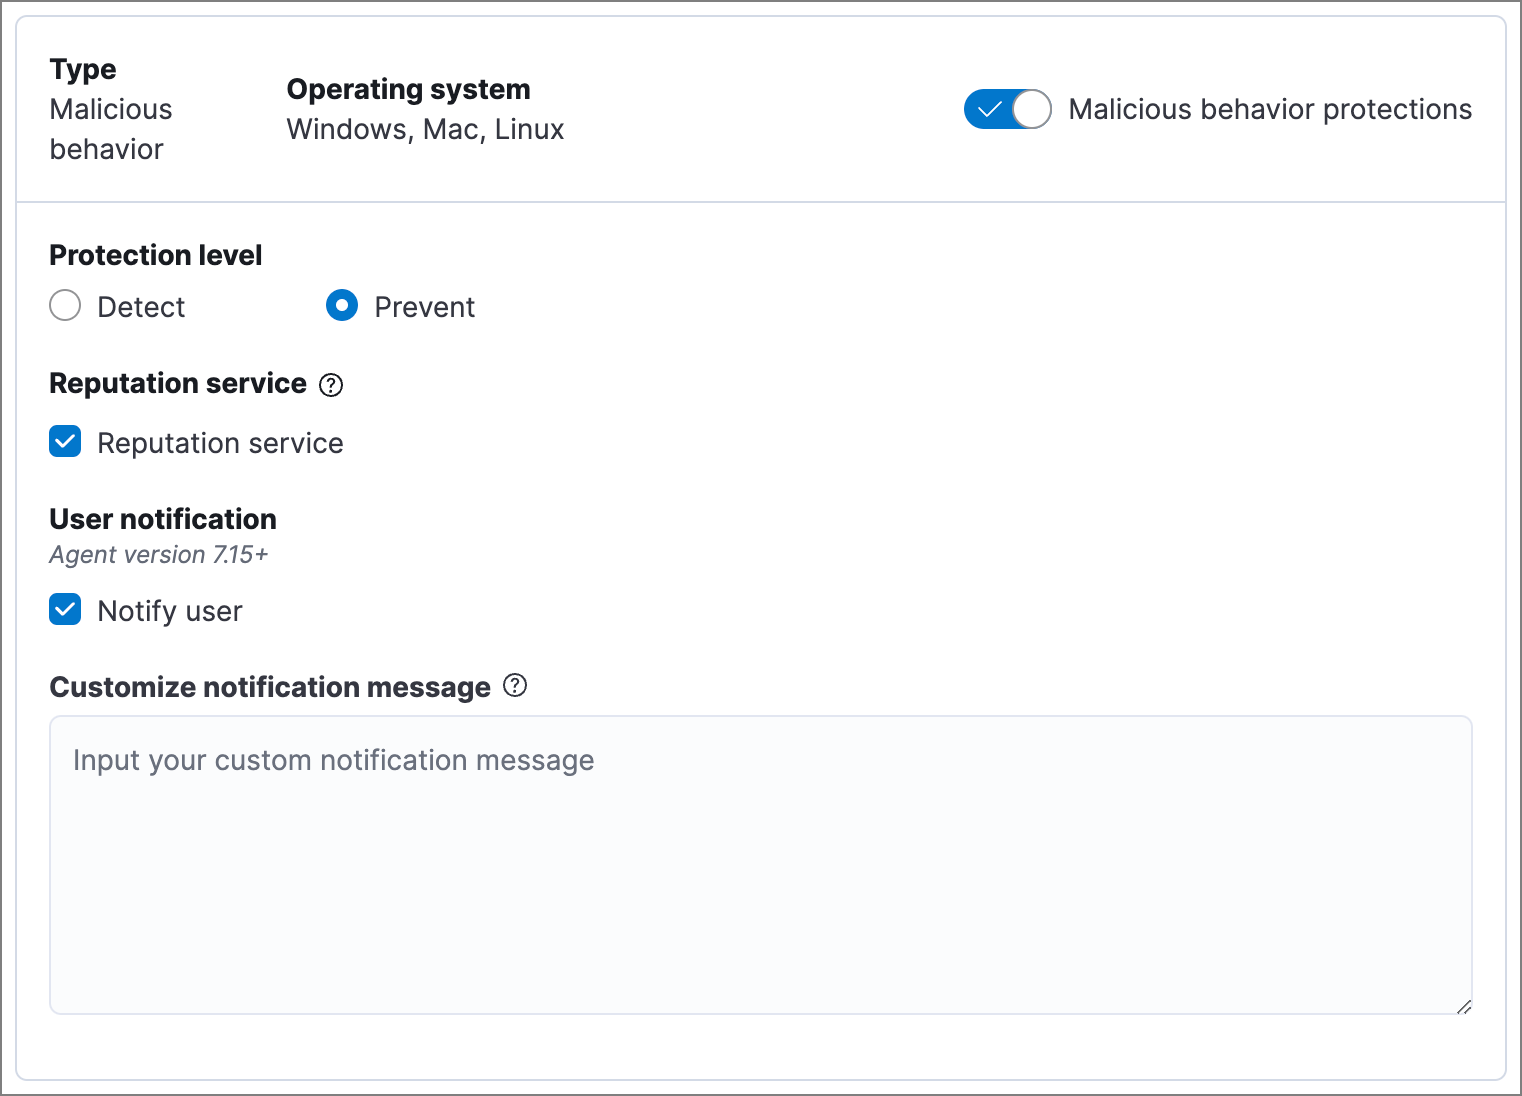
editMalicious behavior protection detects and stops threats by monitoring the behavior of system processes for suspicious activity. Behavioral signals are much more difficult for adversaries to evade than traditional file-based detection techniques.
Malicious behavior protection is a paid feature and is enabled by default if you have a Platinum or Enterprise license. If you upgrade to a Platinum or Enterprise license from Basic or Gold, malicious behavior protection will be disabled by default.
Malicious behavior protection levels are:
- Detect: Detects malicious behavior on the host and generates an alert. Elastic Defend will not block the malicious behavior. You must pay attention to and analyze any alerts that are generated.
- Prevent (Default): Detects malicious behavior on the host, forces the process to stop, and generates an alert.
Select whether you want to use Reputation service for additional protection. Elastic’s reputation service leverages our extensive threat intelligence knowledge to make high confidence real-time prevention decisions. For example, reputation service can detect suspicious downloads of binaries with low or malicious reputation. Endpoints communicate with the reputation service directly at https://cloud.security.elastic.co.
Reputation service requires an active Platinum or Enterprise subscription and is available on cloud deployments only.
Select Notify user to send a push notification in the host operating system when activity is detected or prevented. Notifications are enabled by default for the Prevent option.
Platinum and Enterprise customers can customize these notifications using the Elastic Security {action} {rule} syntax.
Attack surface reduction
editThis section helps you reduce vulnerabilities that attackers can target on Windows endpoints.
- Credential hardening: Prevents attackers from stealing credentials stored in Windows system process memory. Turn on the toggle to remove any overly permissive access rights that aren’t required for standard interaction with the Local Security Authority Subsystem Service (LSASS). This feature enforces the principle of least privilege without interfering with benign system activity that is related to LSASS.

Event collection
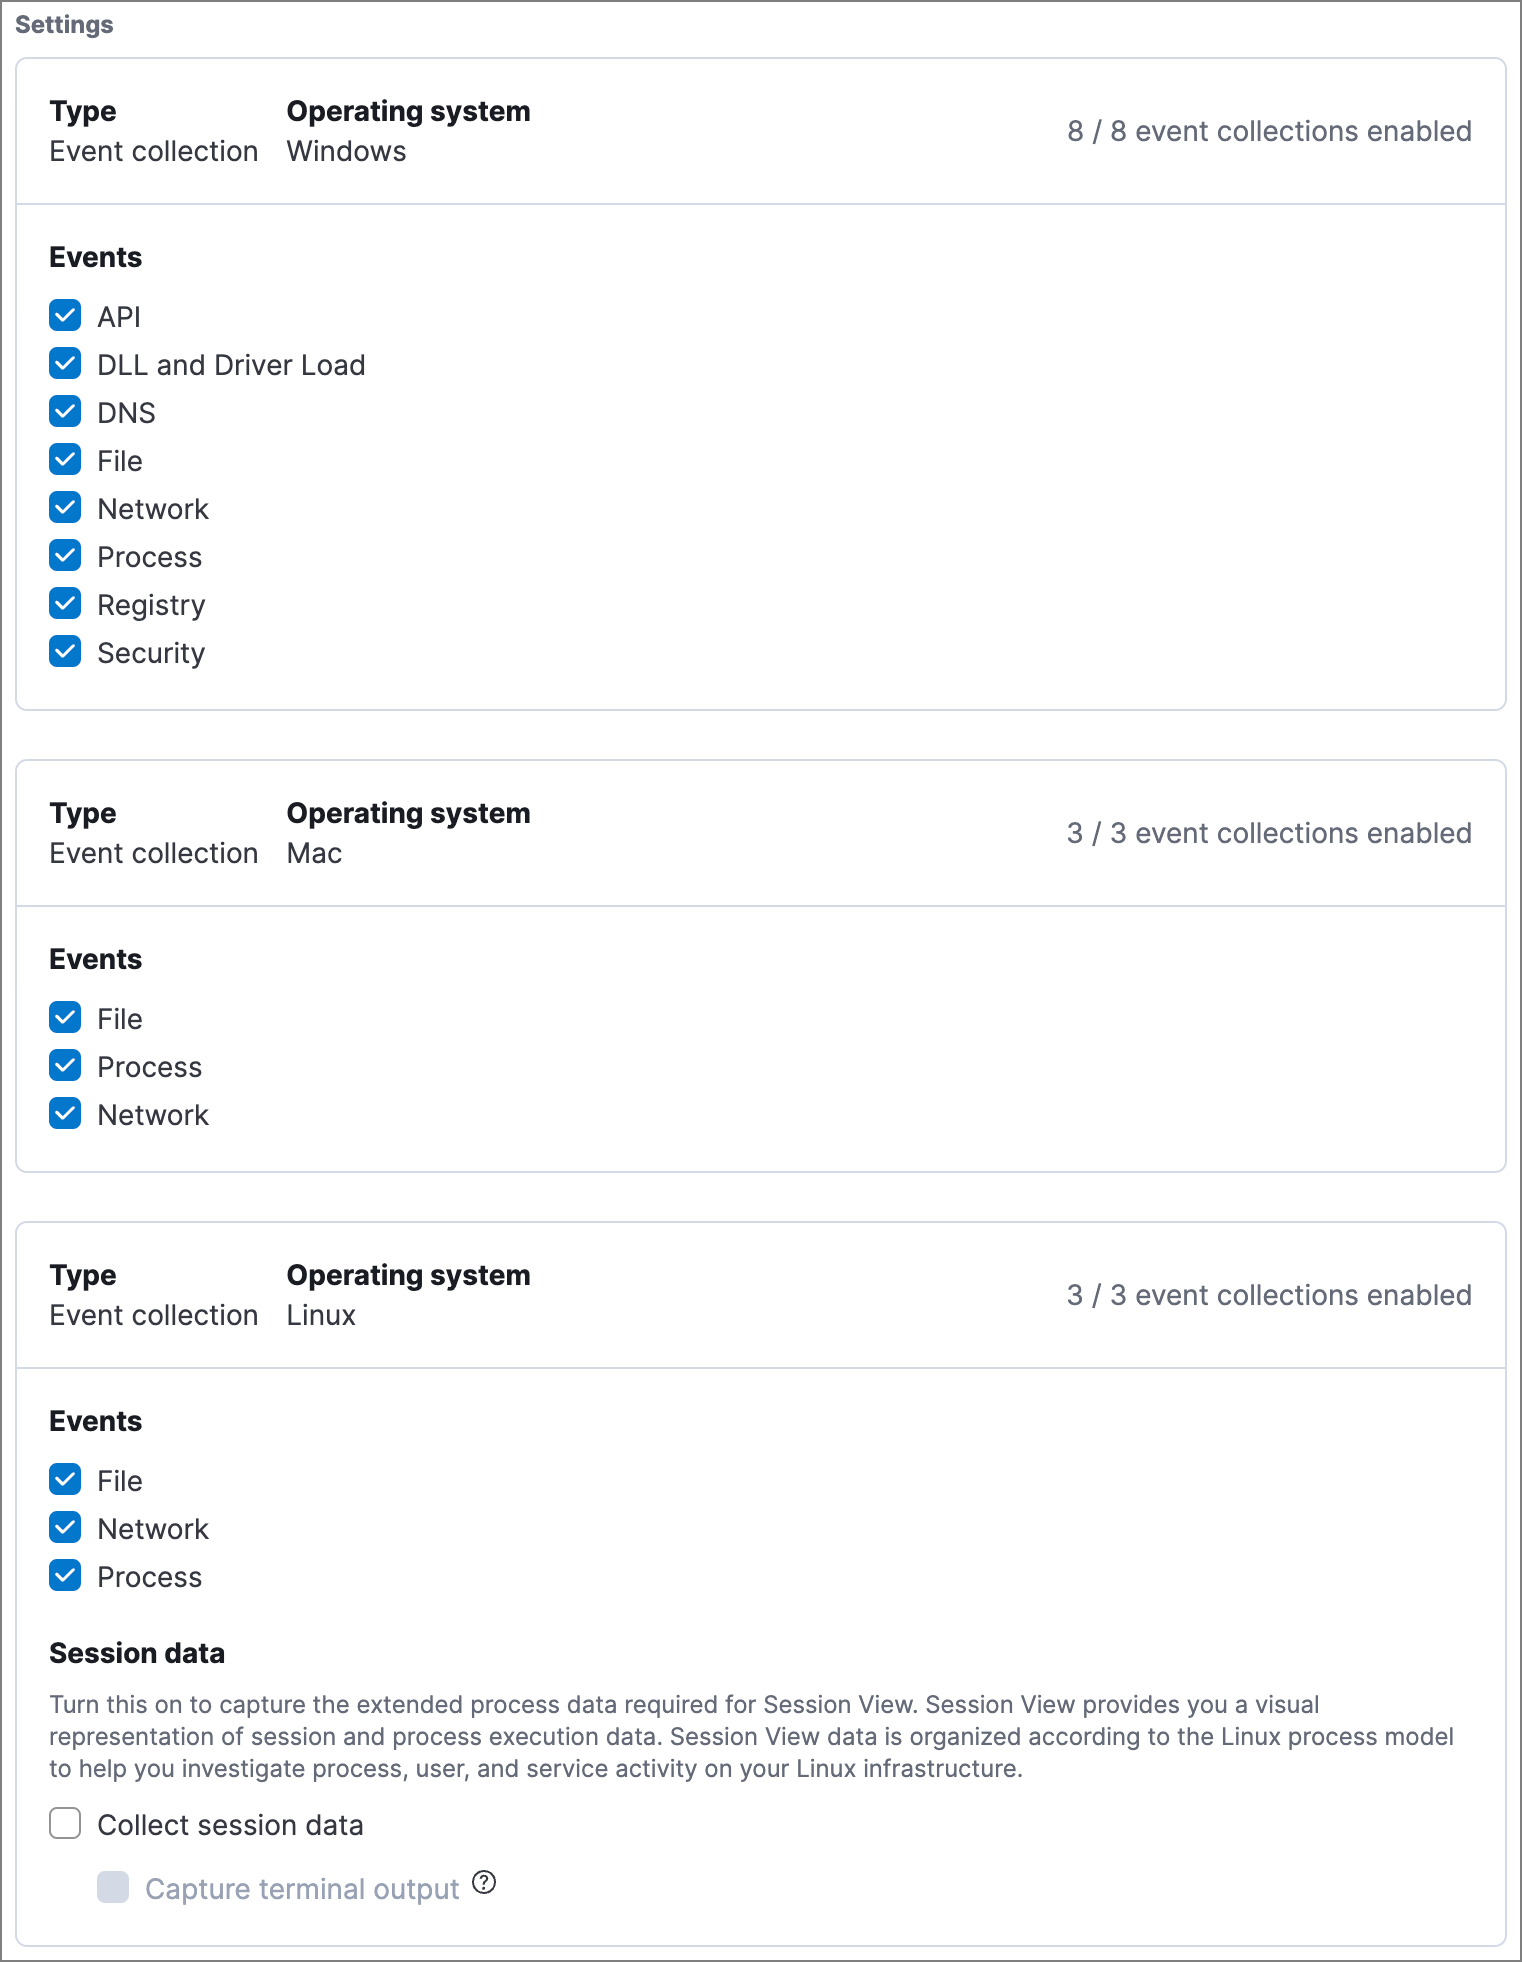
editIn the Settings section, select which categories of events to collect on each operating system. Most categories are collected by default, as seen below.
Register Elastic Security as antivirus (optional)
editWith Elastic Defend version 7.10 or later on Windows 7 or later, you can register Elastic Security as your hosts' antivirus software by enabling Register as antivirus.
Windows Server versions are not supported. Antivirus registration requires Windows Security Center, which is not included in Windows Server operating systems.
By default, the Sync with malware protection level is selected to automatically set antivirus registration to match how you’ve configured Elastic Defend’s malware protection. If malware protection is turned on and set to Prevent, antivirus registration will also be enabled; in any other case, antivirus registration will be disabled.
If you don’t want to sync antivirus registration, you can set it manually with Enabled or Disabled.

Advanced policy settings (optional)
editUsers with unique configuration and security requirements can select Show advanced settings while configuring an Elastic Defend integration policy to support advanced use cases. Hover over each setting to view its description.
Advanced settings are not recommended for most users.
This section includes:
Save the general policy settings
editAfter you have configured the general settings on the Policy settings tab, click Save. A confirmation message appears.