Slack connector and action
editSlack connector and action
editThe Slack connector uses incoming webhooks or an API method to send Slack messages.
Create connectors in Kibana
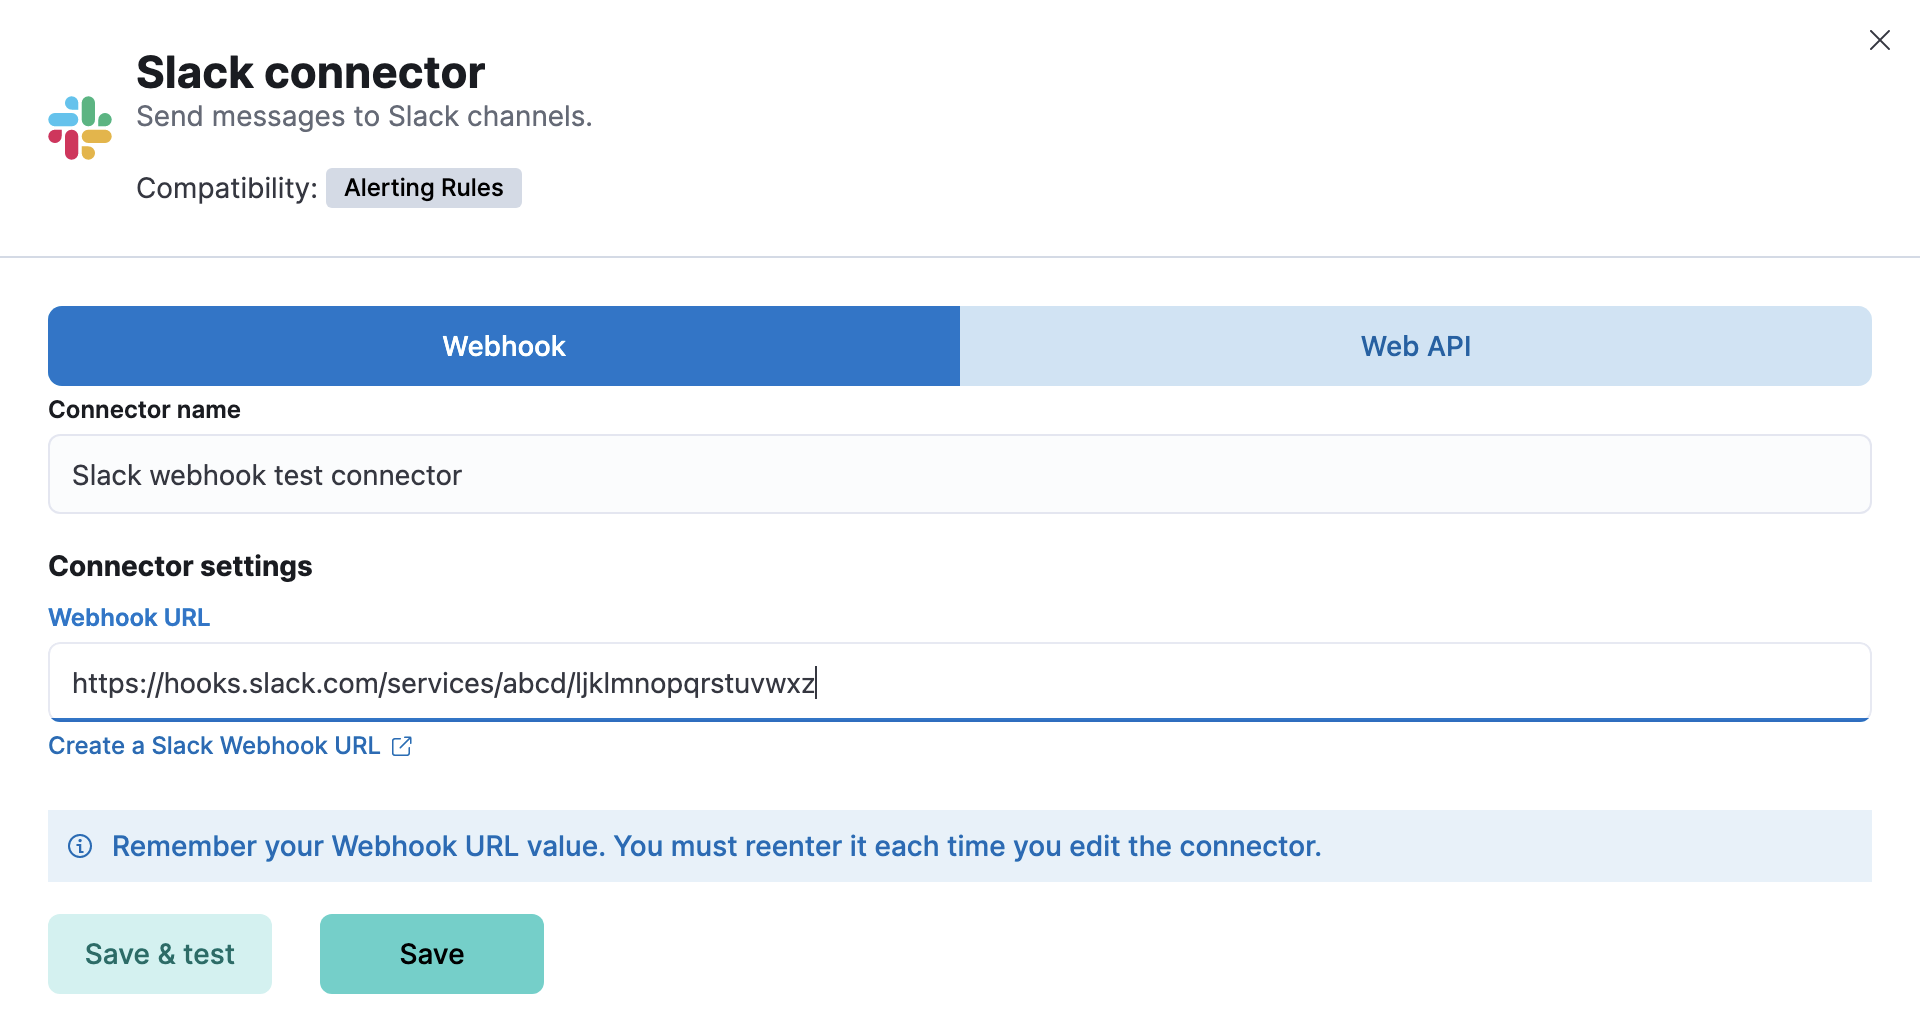
editYou can create connectors in Stack Management > Connectors or as needed when you’re creating a rule. You can choose to use a webhook URL that’s specific to a single channel. For example:

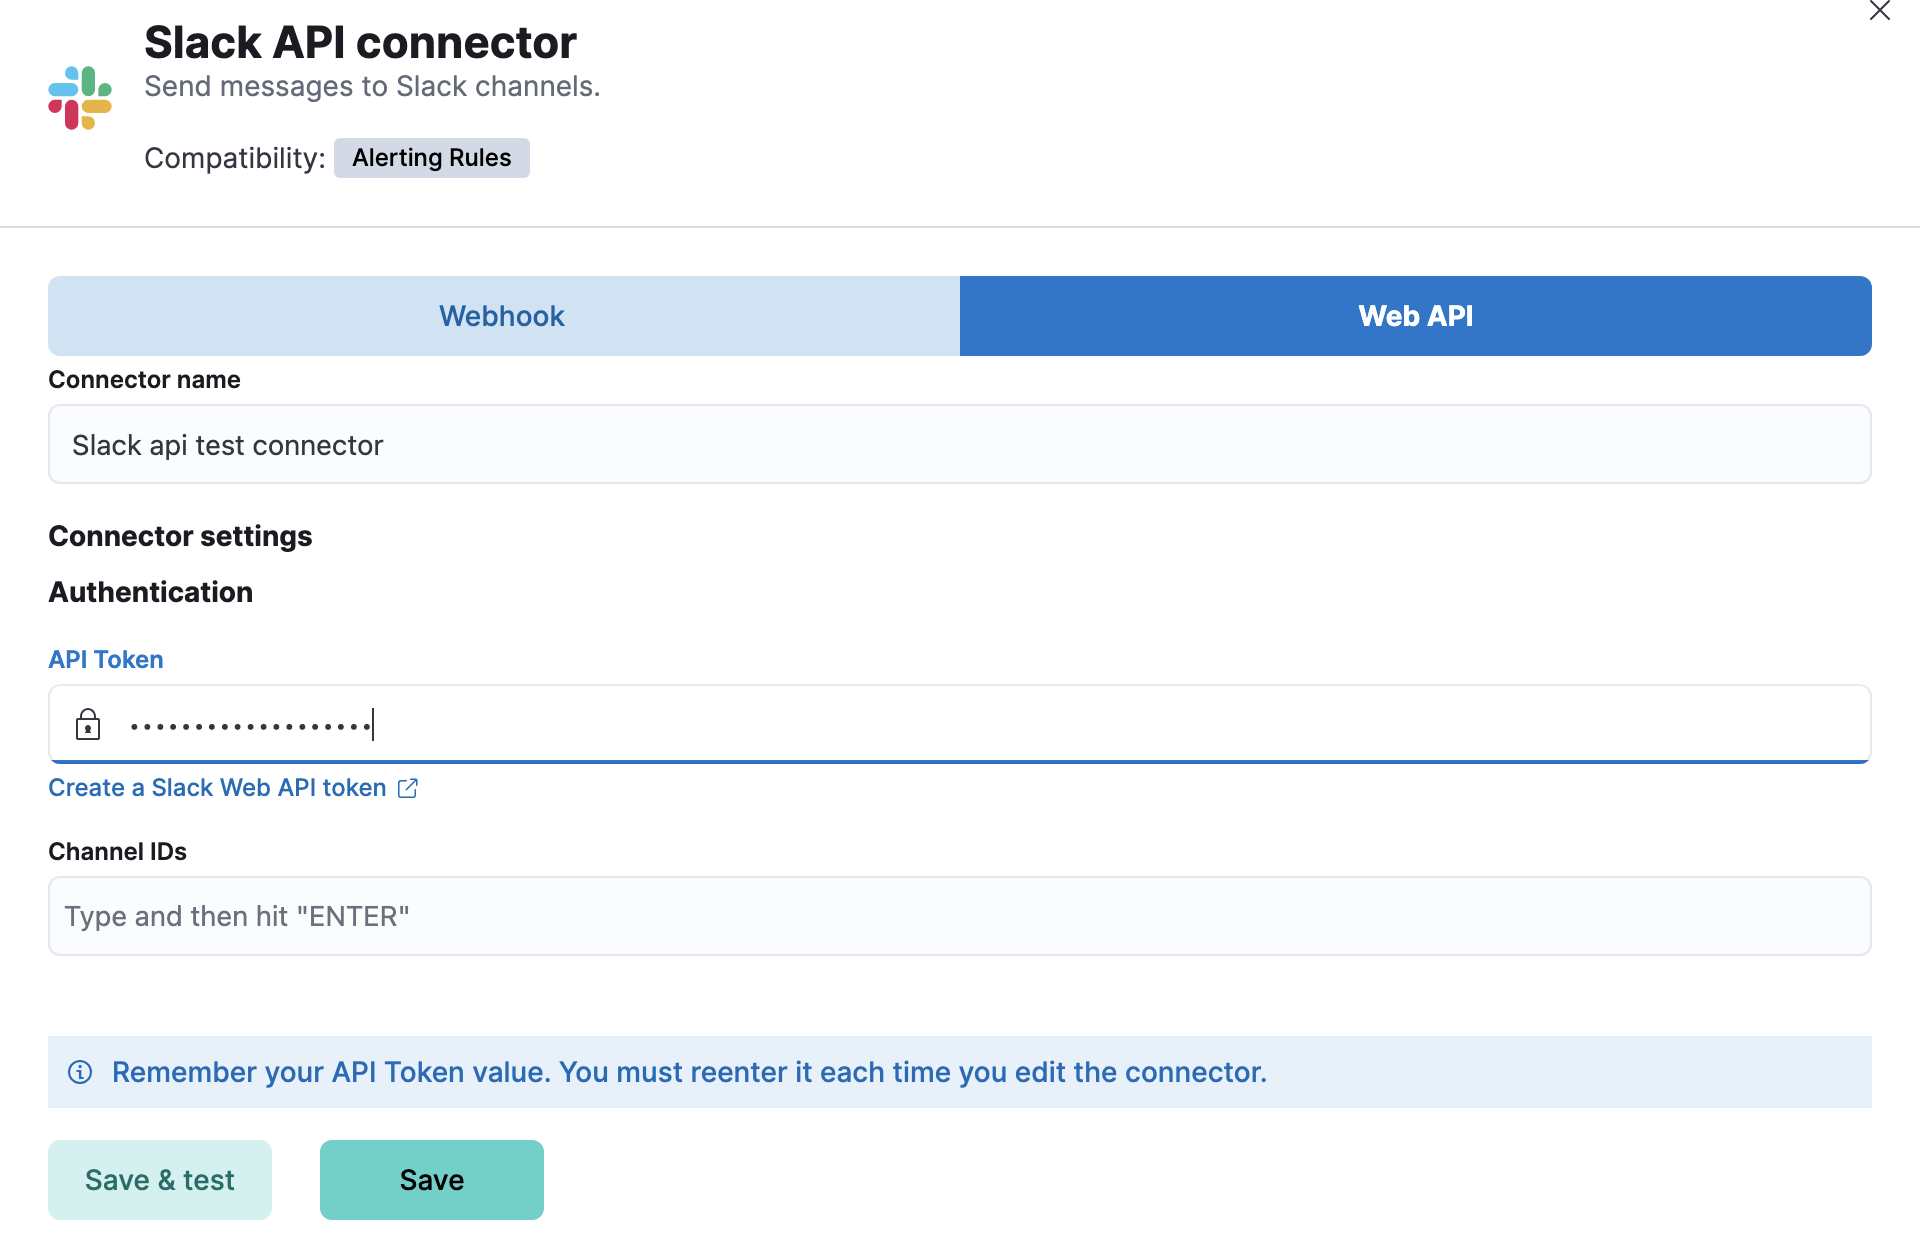
Alternatively, you can create a connector that supports multiple channels. For example:

If you use the latter method, you must provide a valid list of Slack channel IDs. When you create a rule, each action can communicate with one of these channels.
For Slack setup details, go to Configure a Slack account.
Test connectors
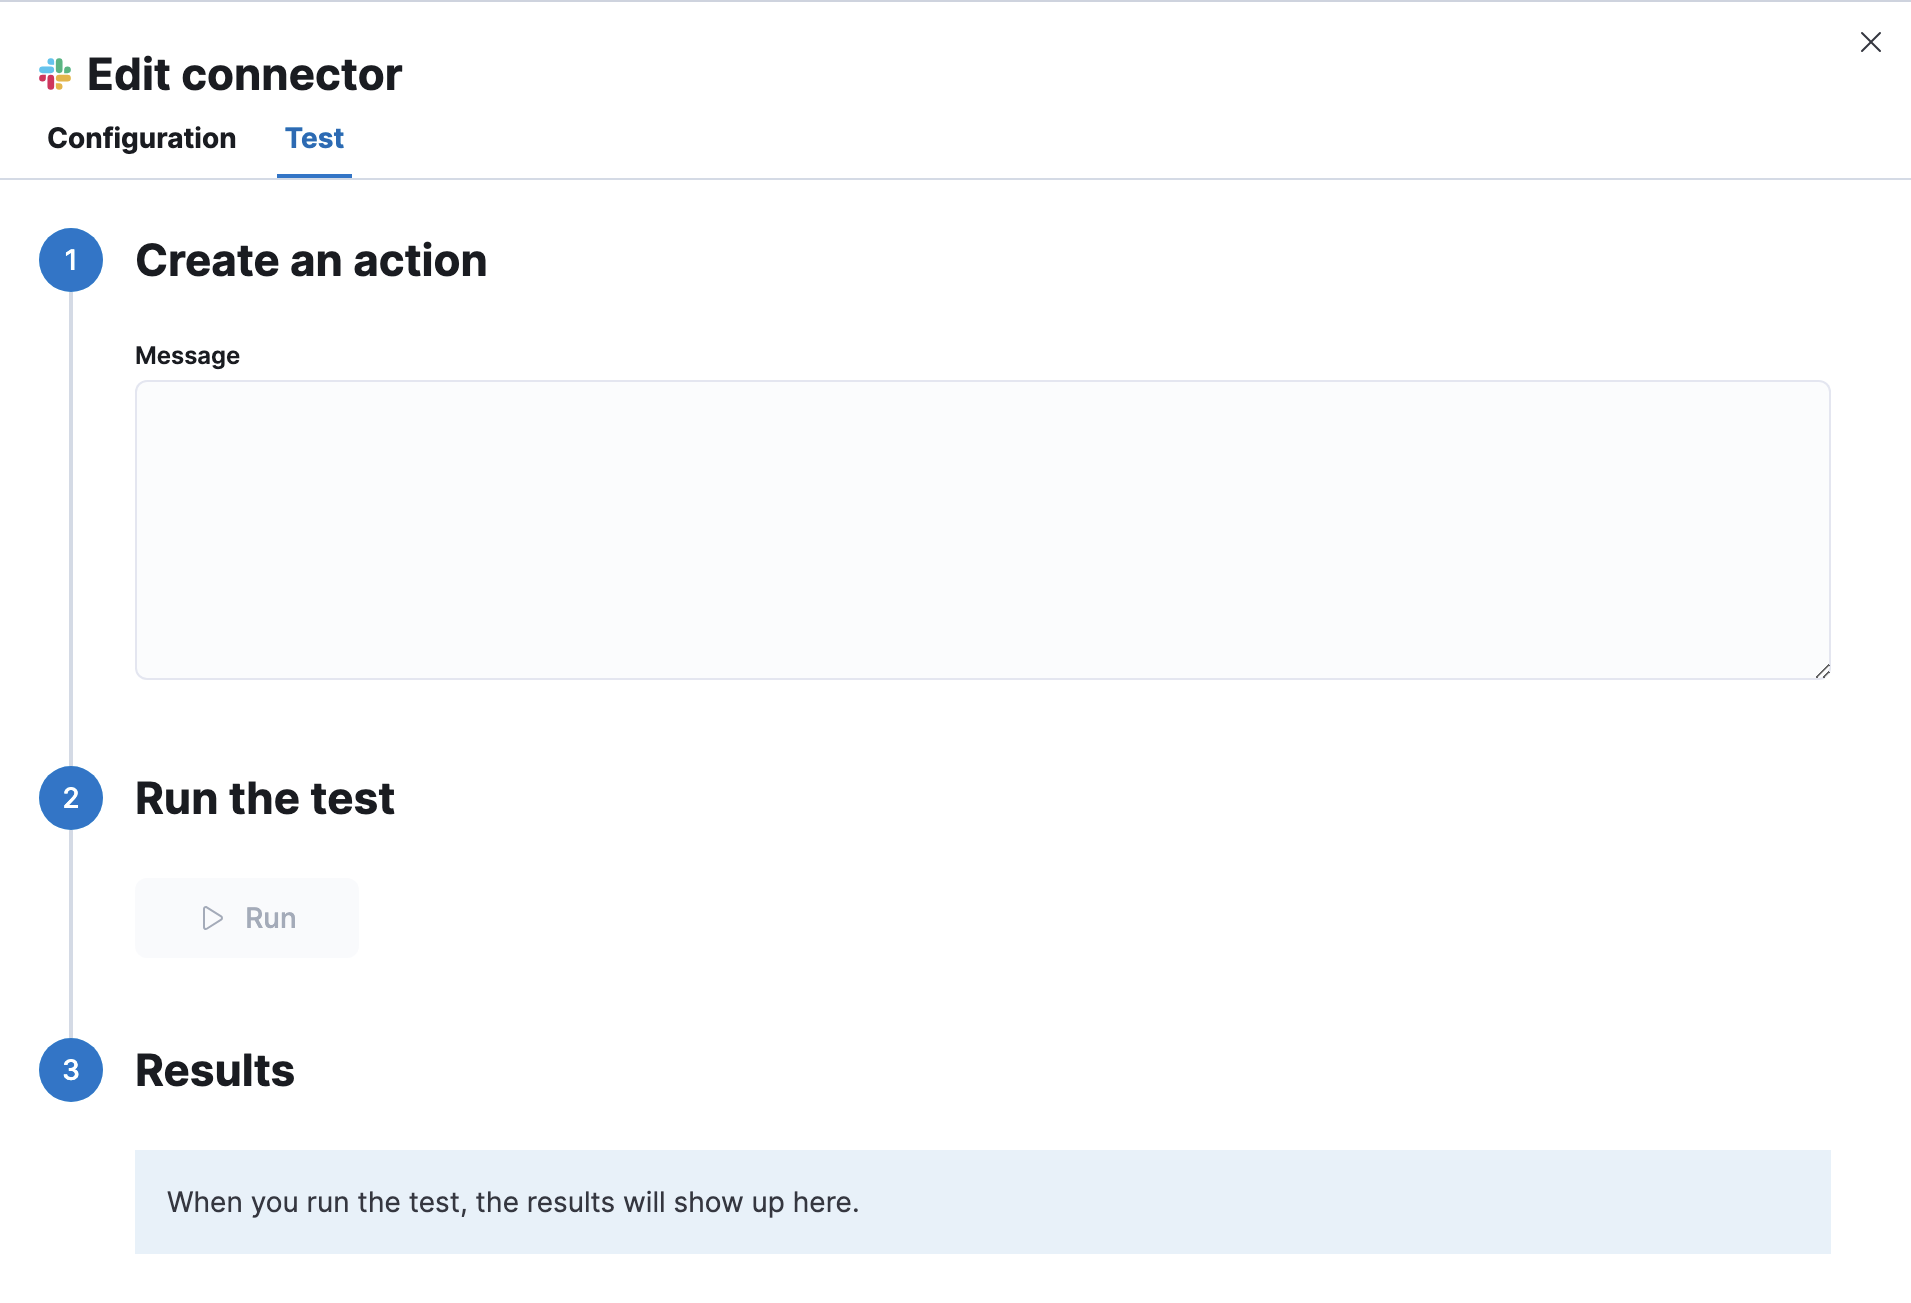
editYou can test connectors as you’re creating or editing the connector in Kibana. For example:

Slack connector actions have message text, which cannot contain Markdown, images, or other advanced formatting. For the web API type of connector, you must also choose one of the channel IDs.
Connector networking configuration
editUse the Action configuration settings to customize connector networking configurations, such as proxies, certificates, or TLS settings.
You can set configurations that apply to all your connectors or use xpack.actions.customHostSettings to set per-host configurations.
Configure a Slack account
editBefore you can create a Slack connector, you must configure your account and obtain the necessary URL or token.
Configure a Slack account for incoming webhooks
edit- Log in to slack.com as a team administrator.
- Create a Slack app, enable incoming webhooks, then create an incoming webhook. Refer to https://api.slack.com/messaging/webhooks.
- Copy the generated webhook URL so you can paste it into your Slack connector form.
-
If you are using the
xpack.actions.allowedHostssetting, make sure the hostname from the URL is added to the allowed hosts.
Configure a Slack account for Web API
edit- Create a Slack app. Refer to https://api.slack.com/authentication/basics#creating.
-
Add scope:
channels:read,groups:read,chat:writeandchat:write.public. Refer to https://api.slack.com/authentication/basics#scopes. - Install the app to a workspace. Refer to https://api.slack.com/authentication/basics#installing.
-
Copy the
Bot User OAuth Tokenso you can paste it into your Slack connector form. -
If you need to send messages to a private channel, you need to write
/invite @App_namein it. Putting "@" triggers Slack to start auto-suggesting, which is why it then becomes easy to find your app name in the list. -
To find a channel ID (for example,
C123ABC456), view the channel details.