Open and manage new cases
editOpen and manage new cases
editTo perform these tasks, you must have full access to the Observability case feature in Kibana.
Open a new case
editOpen a new case to keep track of issues and share the details with colleagues.
- Go to Cases → Create new case.
- If you defined templates, optionally select one to use its default field values. [preview] This functionality is in technical preview and may be changed or removed in a future release. Elastic will work to fix any issues, but features in technical preview are not subject to the support SLA of official GA features.
-
Give the case a name, severity, and description.
In the
Descriptionarea, you can use Markdown syntax to create formatted text. - Optionally, add a category, assignees, and tags. You can add users only if they meet the necessary prerequisites.
- If you defined custom fields, they appear in the Additional fields section. [8.15.0] Added in 8.15.0.
-
Under External incident management system, select a connector. If
you’ve previously added one, that connector displays as the default selection. Otherwise, the
default setting is
No connector selected. - After you’ve completed all of the required fields, click Create case.
Add email notifications
editYou can configure email notifications that occur when users are assigned to cases.
For hosted Kibana on Elasticsearch Service:
-
Add the email domains to the notifications domain allowlist.
You do not need to take any more steps to configure an email connector or update Kibana user settings, since the preconfigured Elastic-Cloud-SMTP connector is used by default.
For self-managed Kibana:
-
Create a preconfigured email connector.
At this time, email notifications support only preconfigured email connectors, which are defined in the
kibana.ymlfile. -
Set the
notifications.connectors.default.emailKibana setting to the name of your email connector. - If you want the email notifications to contain links back to the case, you must configure the server.publicBaseUrl setting.
When you subsequently add assignees to cases, they receive an email.
Add files
editAfter you create a case, you can upload and manage files on the Files tab:
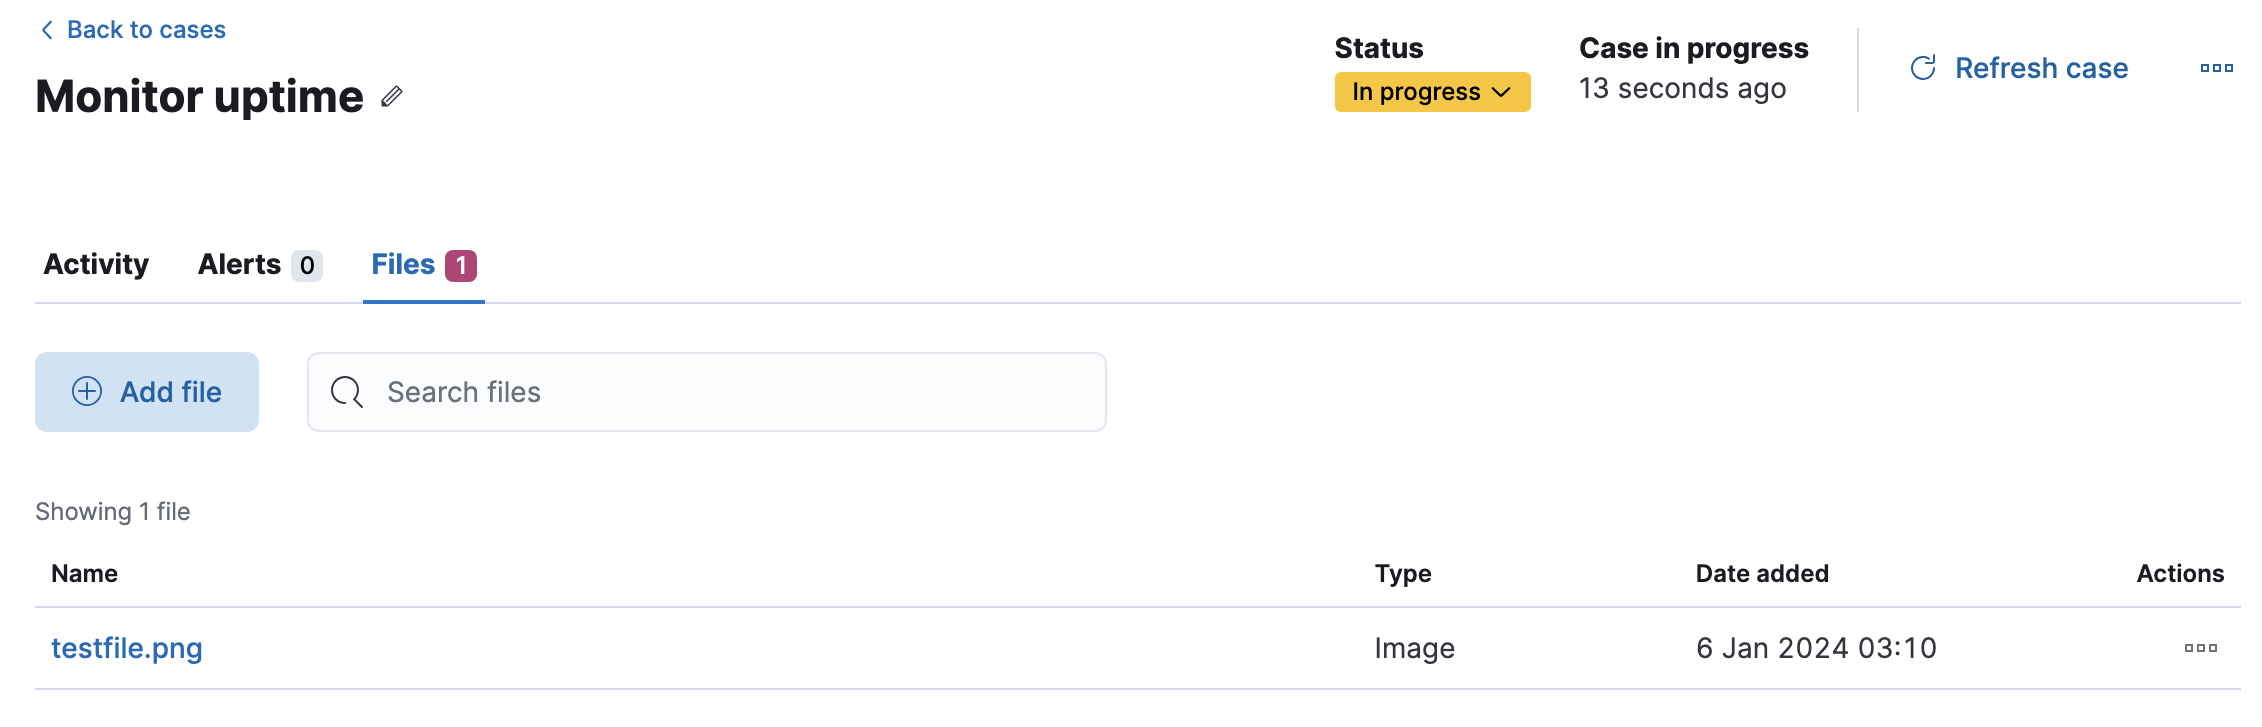
The acceptable file types and sizes are affected by your Kibana case settings.
To download or delete the file or copy the file hash to your clipboard, open the action menu (…). The available hash functions are MD5, SHA-1, and SHA-256.
When you upload a file, a comment is added to the case activity log. To view an image, click its name in the activity or file list.
Uploaded files are also accessible in Stack Management > Files. When you export cases as saved objects, the case files are not exported.
Send cases to external incident management systems
editTo send a case to an external system, click the button in the External incident management system section of the individual case page. This information is not sent automatically. If you make further changes to the shared case fields, you should push the case again.
For more information about configuring connections to external incident management systems, refer to Configure case settings.
Manage existing cases
editYou can search existing cases and filter them by attributes such as assignees, categories, severity, status, and tags. You can also select multiple cases and use bulk actions to delete cases or change their attributes.
To view a case, click on its name. You can then:
- Add a new comment.
- Edit existing comments and the description.
- Add or remove assignees.
- Add a connector (if you did not select one while creating the case).
- Send updates to external systems (if external connections are configured).
- Edit the category and tags.
- Change the status.
- Change the severity.
- Remove an alert.
- Refresh the case to retrieve the latest updates.
- Close the case.
- Reopen a closed case.