How to use transforms to track your most recent customer orders
Creating an entity-centric index that contains only the latest document for each entity can be useful in a number of situations. For example, maybe you're managing an ecommerce site and you want to track the latest order placed by each of your customers. Or maybe you want to run a campaign targeting customers who haven't been active over a certain period. What's the fastest and most efficient way to compile and organize such data?
Transforms in Elasticsearch enable you to create and maintain an entity-centric index based on the event index and a transforming function. Until recently, the only possible function was pivot, which is a continuous group-by plus aggregations. In version 7.12, we’ve added one more transforming function, called latest. It transforms a source index into a destination index so that the destination index only contains one latest document for each entity. In this blog post we will set up a transform that will do just that.
Performance considerations
Before latest was introduced in transforms, you could have achieved a similar effect by using pivot plus a scripted_metric aggregation. However, the script-based solution suffered from a number of issues:
- It requires code written in Painless, making it:
- harder for less advanced users to create and maintain
- error-prone (think of all the unintended bugs that are easy to make in the Painless code)
- It utilizes more resources in the cluster.
- It has slower performance.
The reason for the slowness is that for each checkpoint the transform performs the full scan of the source index in order to find the latest document for each entity. Because the script is a black box to the transform, it does not know to restrict the search to recent documents only. This makes the computational cost grow over time and puts unnecessary pressure on the cluster.
The latest function is designed to serve this one particular purpose, so it is optimized and the latest transform doesn’t need to search the whole source index. It knows that the latest document must be in the current checkpoint or there is no need to update the destination index.
Preparing the data set
For this blog, we will use Kibana’s “Sample eCommerce orders” data set.
If you’d like to follow along, the easiest way is to start a free trial in Elastic Cloud.
Once in Kibana, you can fetch the dataset from the “Sample data” directory by clicking the Add data button.
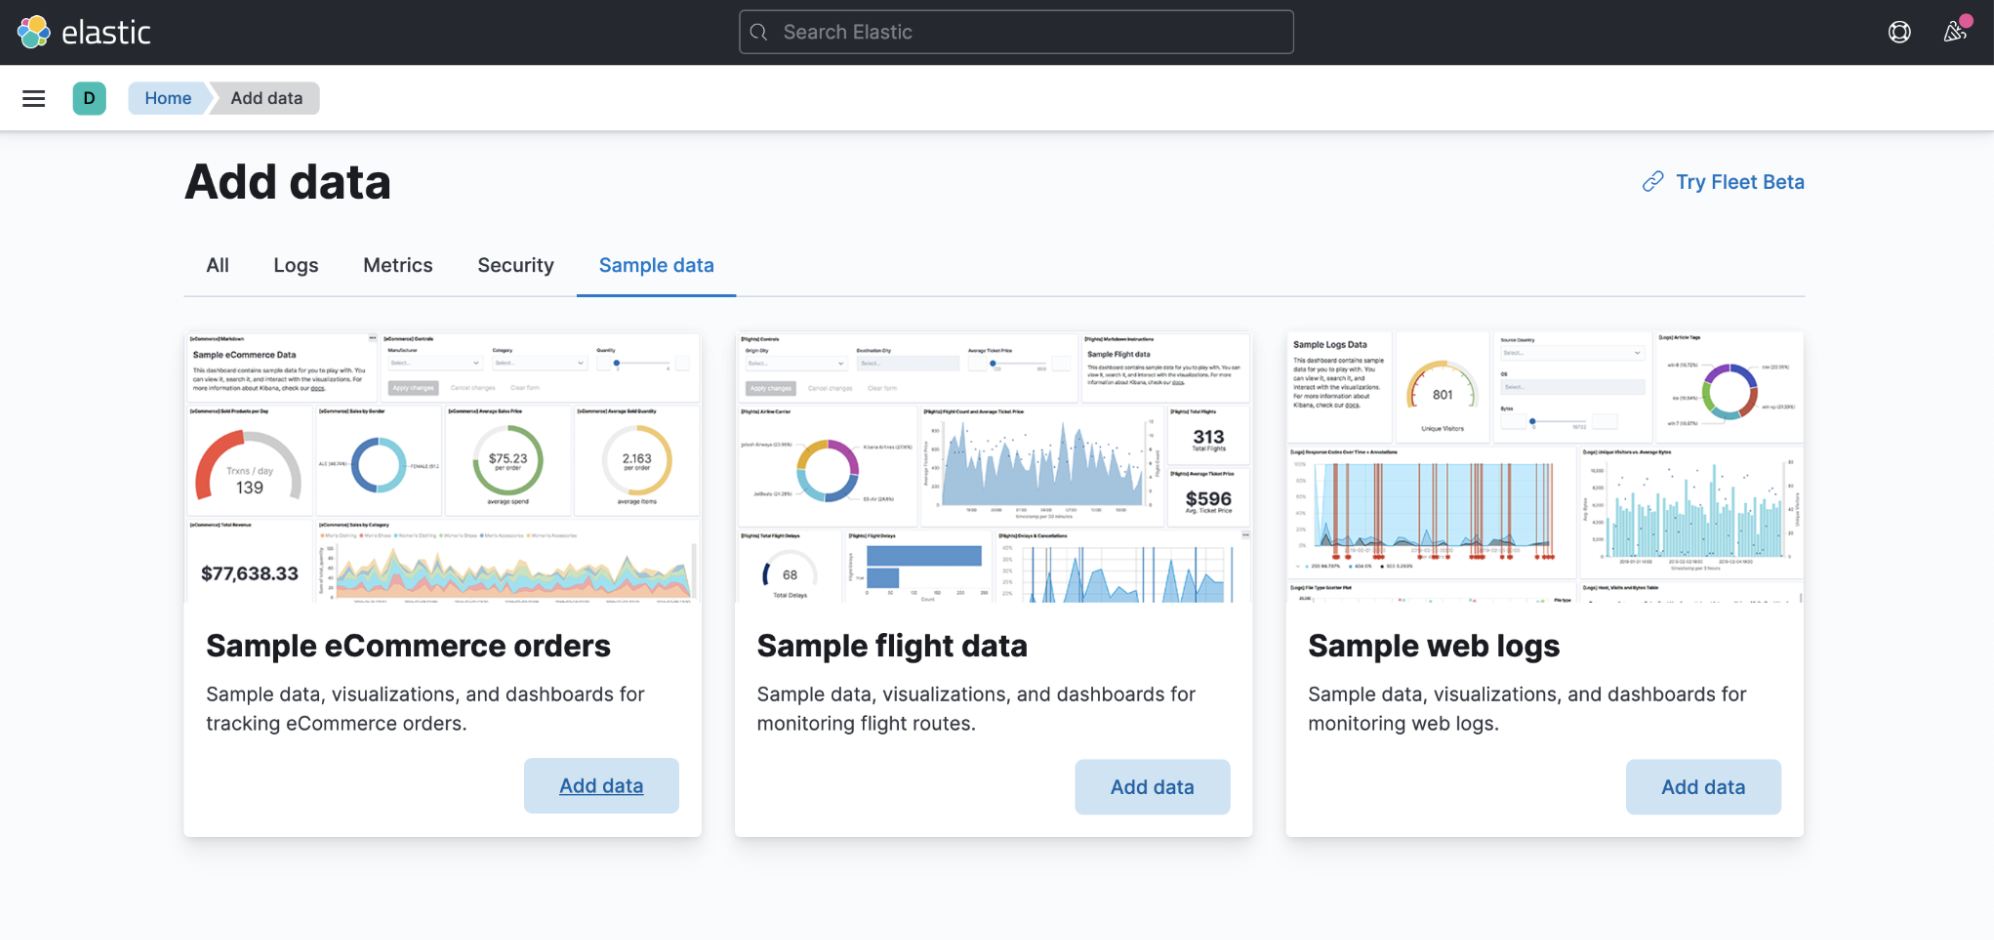
The kibana_sample_data_ecommerce index will be created. Each document in the index is an order (identified by a field called order_id) made by some customer (identified by the customer_id field).
We will transform the kibana_sample_data_ecommerce index into a new index (which we will call latest_order_per_customer) that contains only the latest order made by each customer.
Setting up the destination index template
First, we need the index template to be used by the destination index.
The rationale for performing this step is that, unlike pivot, latest does not infer the destination index mappings automatically. So without a pre-existing destination index (or index template), dynamic index mappings would be used, which is probably not what you want.
The mappings of the destination index should match the mappings of the source index, so let’s do the following:
- Determine the mappings of the source index in the Stack Management > Index Management page and copy the full mappings JSON to your clipboard.
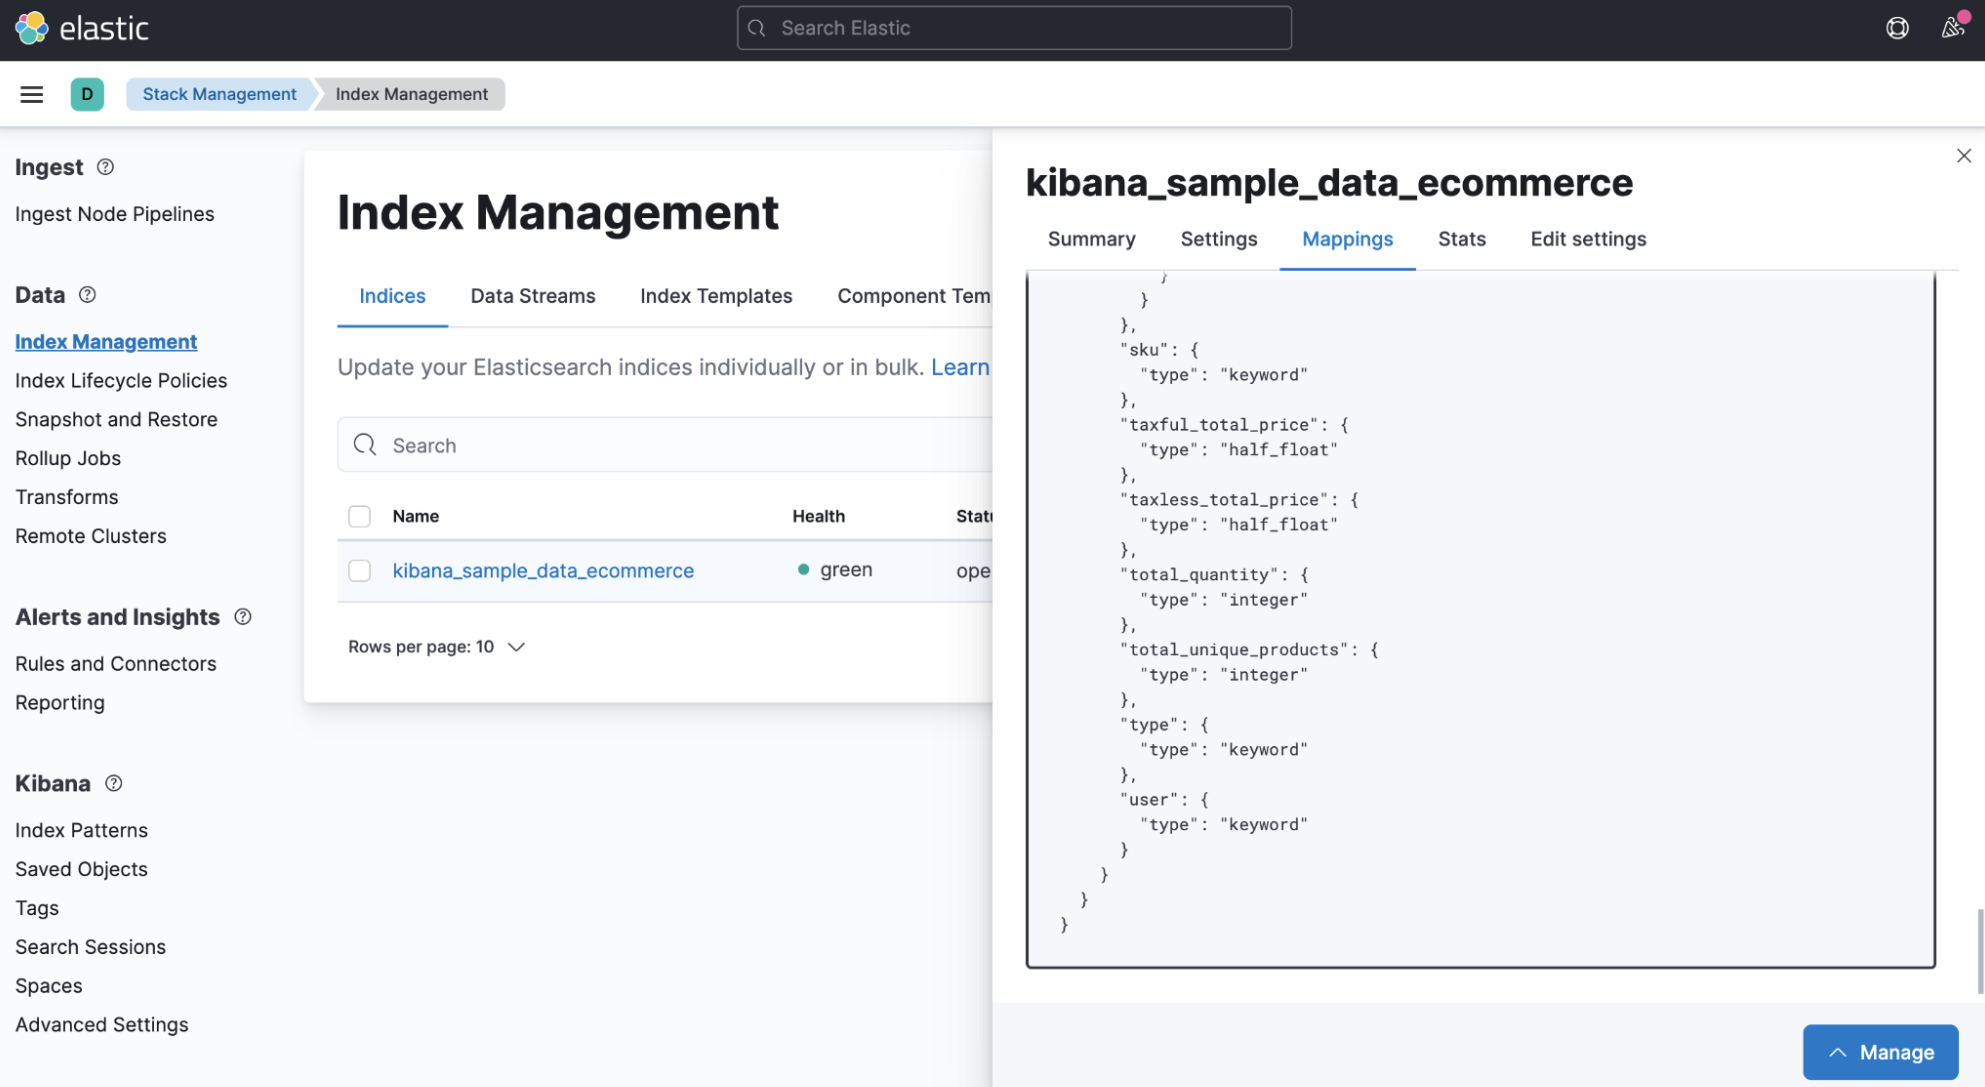
- Create a new index template in the Create Template page and set its pattern to
latest_order*to match the name of the destination index that you will specify later on in the transform config. - Populate the mappings section using the Load JSON option and paste the mappings from the clipboard.
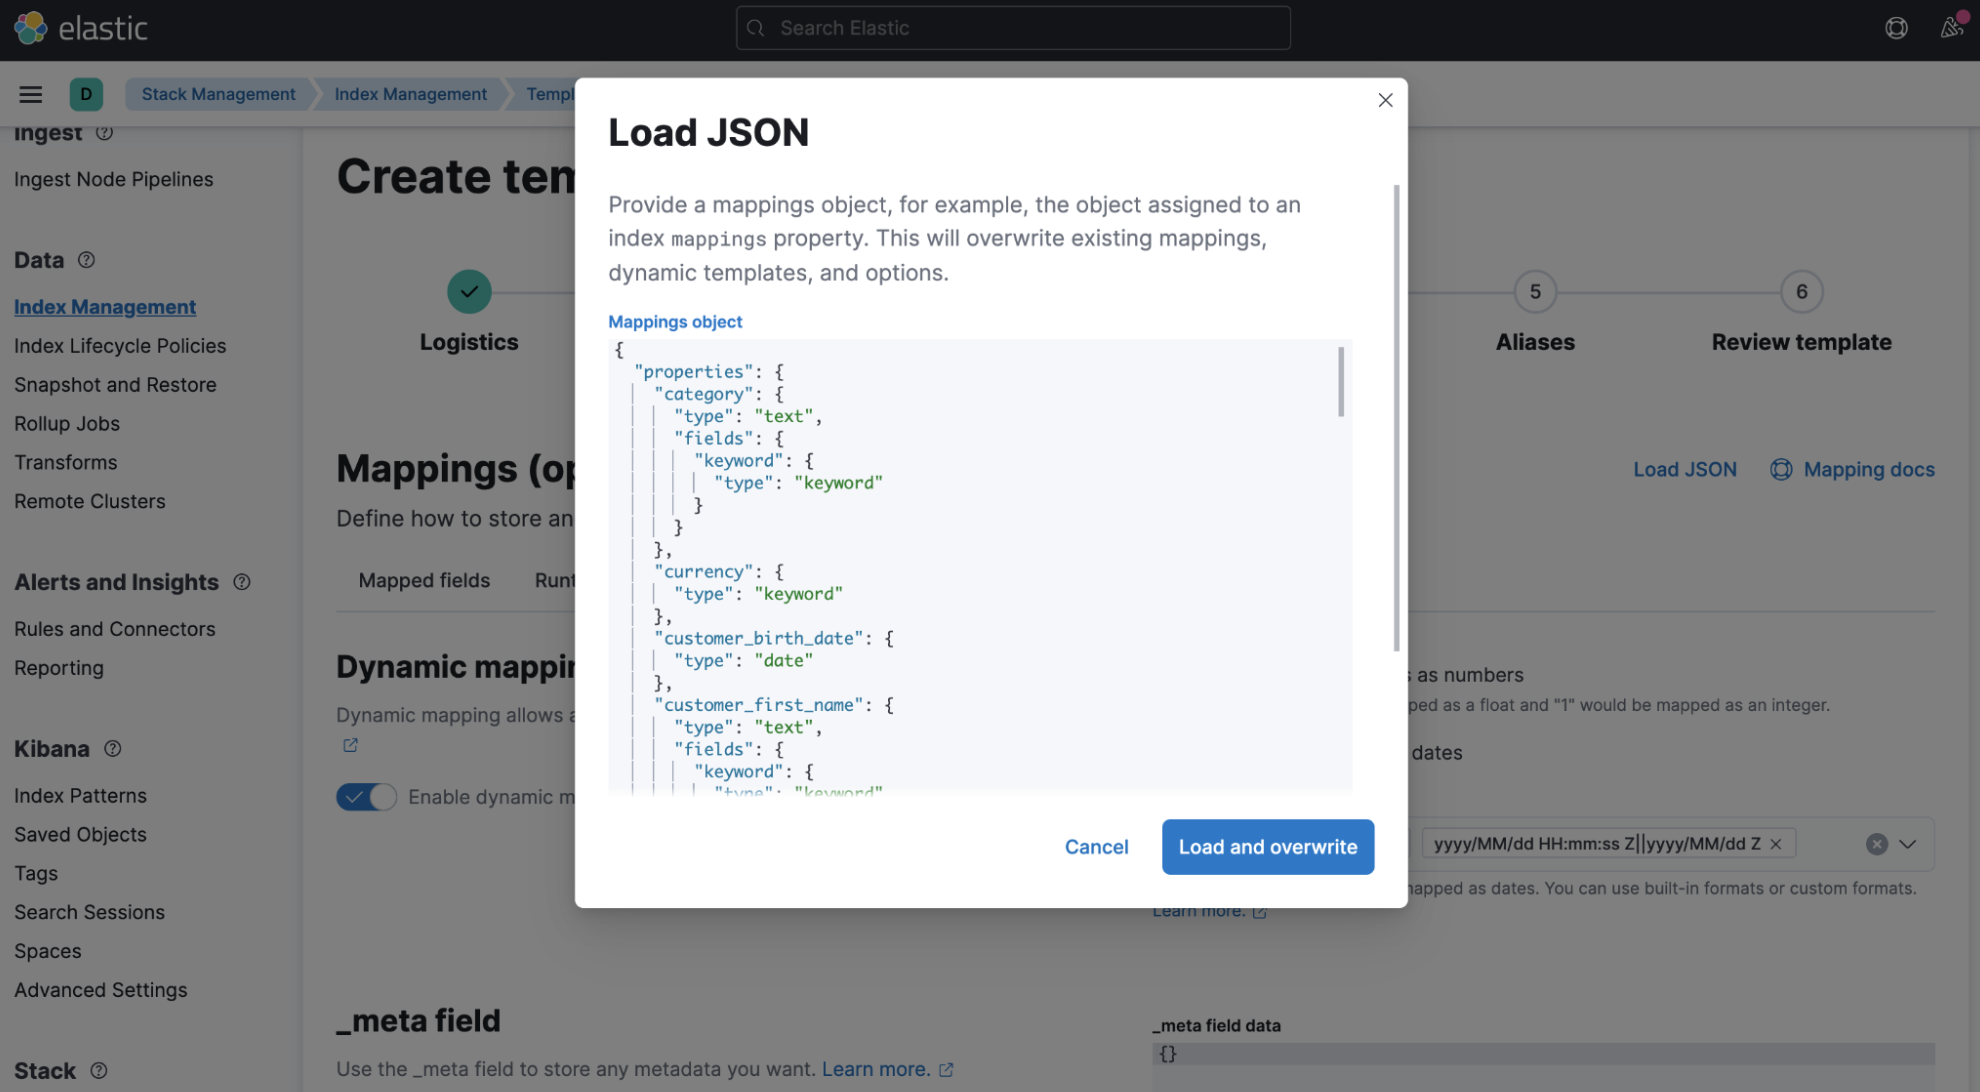
- Remove "mappings” and “_doc“ nesting levels so that the JSON looks as in the screenshot above.
With these correct mappings applied, the destination index is ready to be populated by the transform.
Setting up the transform
Now we are ready to create a transform that maintains the latest order for every customer.
- Go to Stack Management > Transforms, and choose the Latest button on the Create transform page:
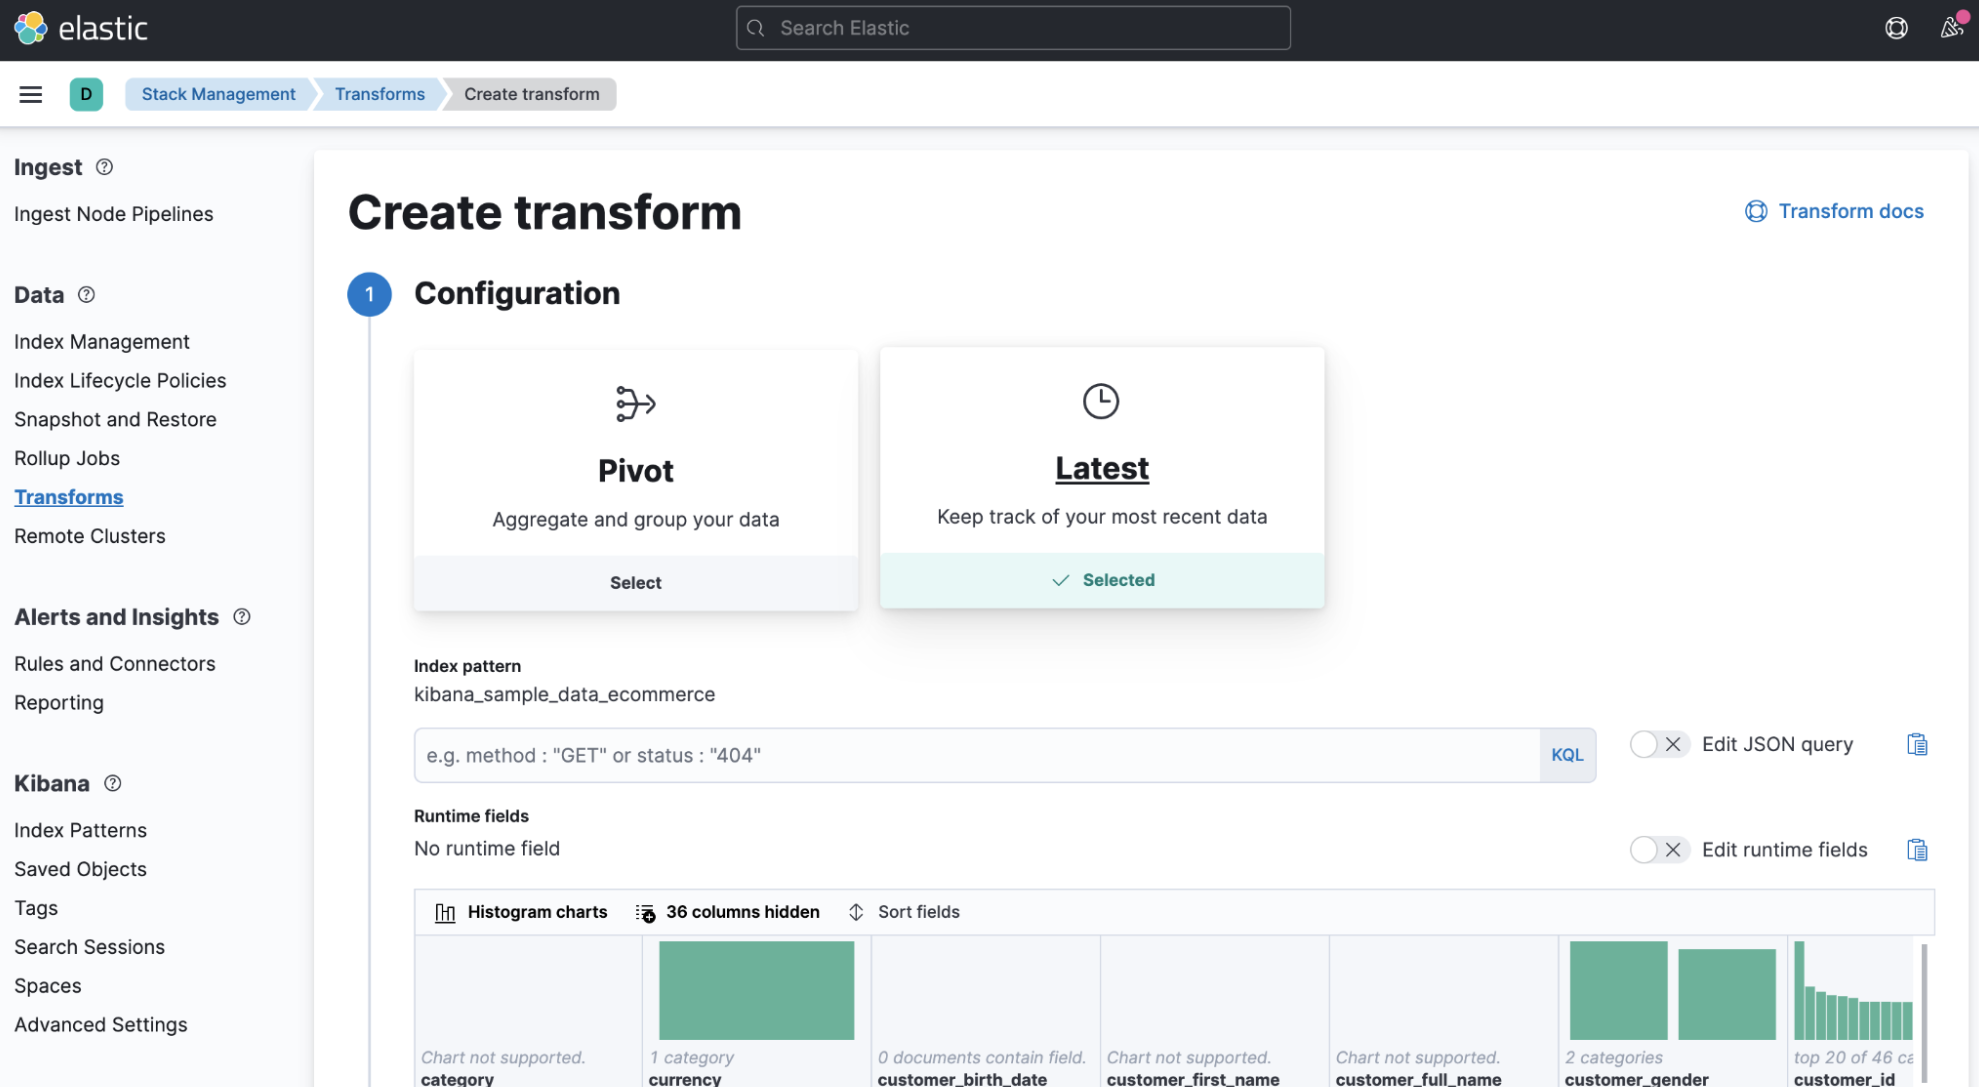
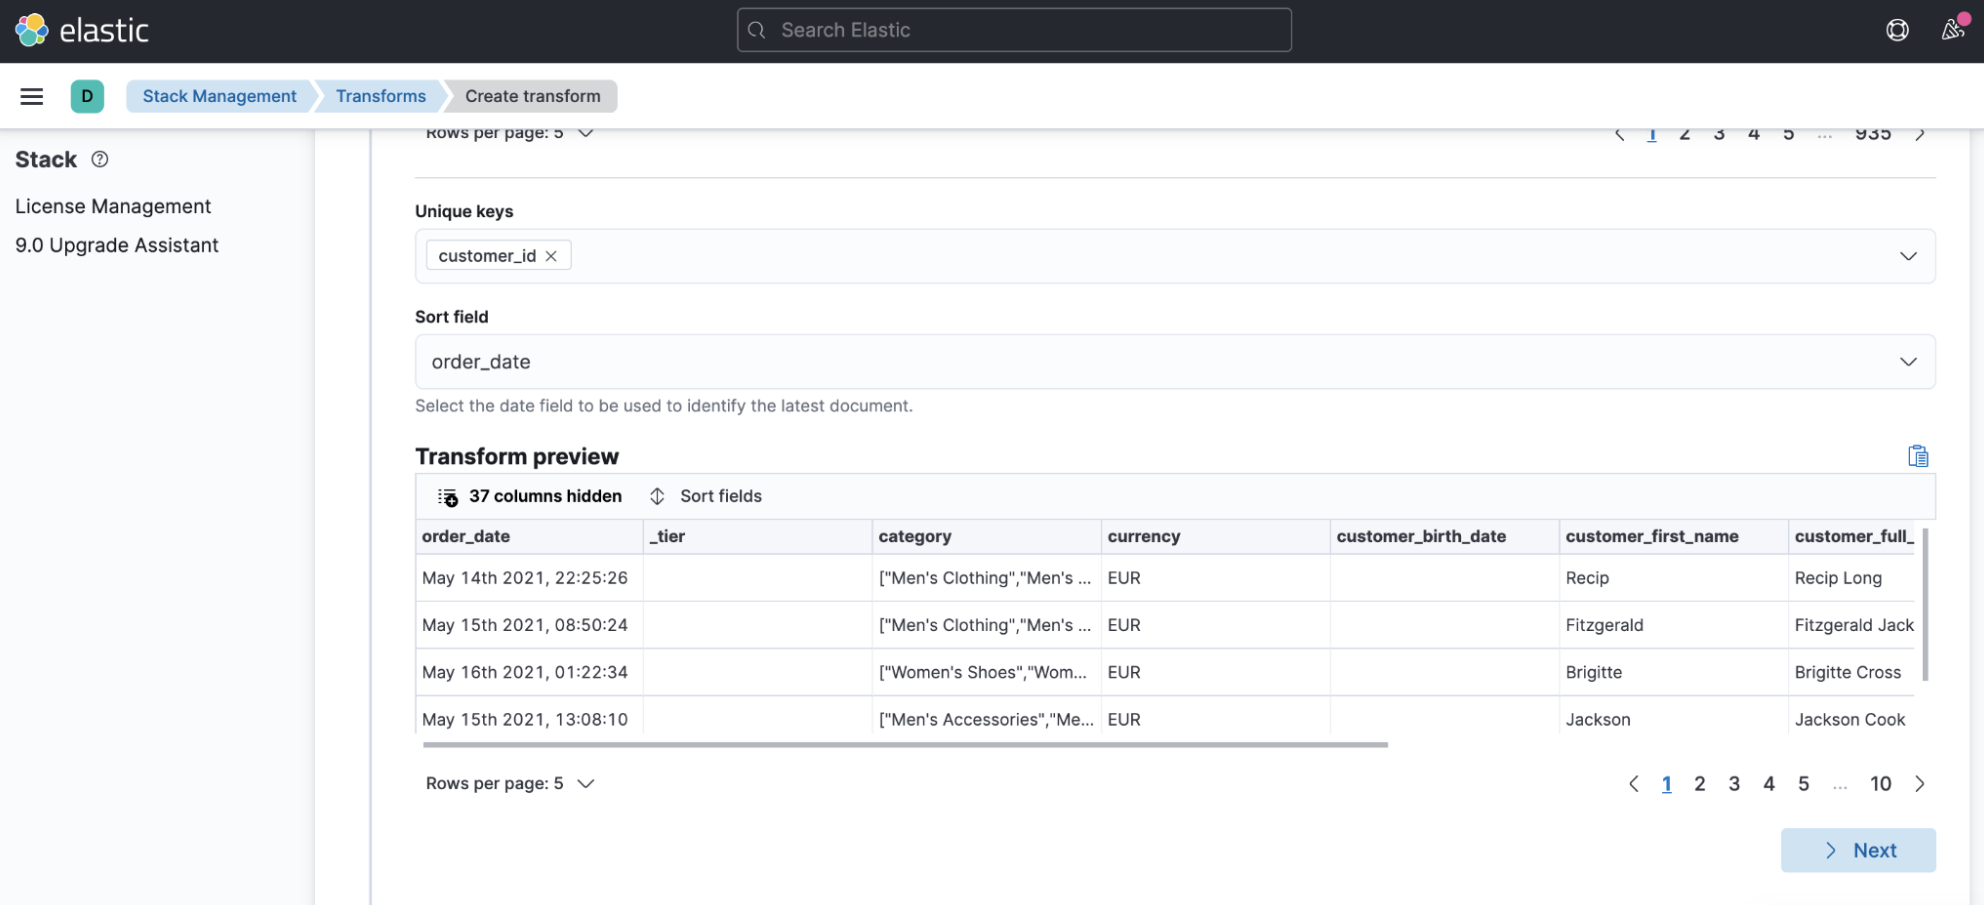
- Further down in the transform configuration, configure the Unique keys option to have a value of
customer_idand set the Sort field toorder_date:
Setting the transform to run continuously is important. A continuous transform doesn’t stop right after processing the historical data, but continues to process any new data that arrives in real time:
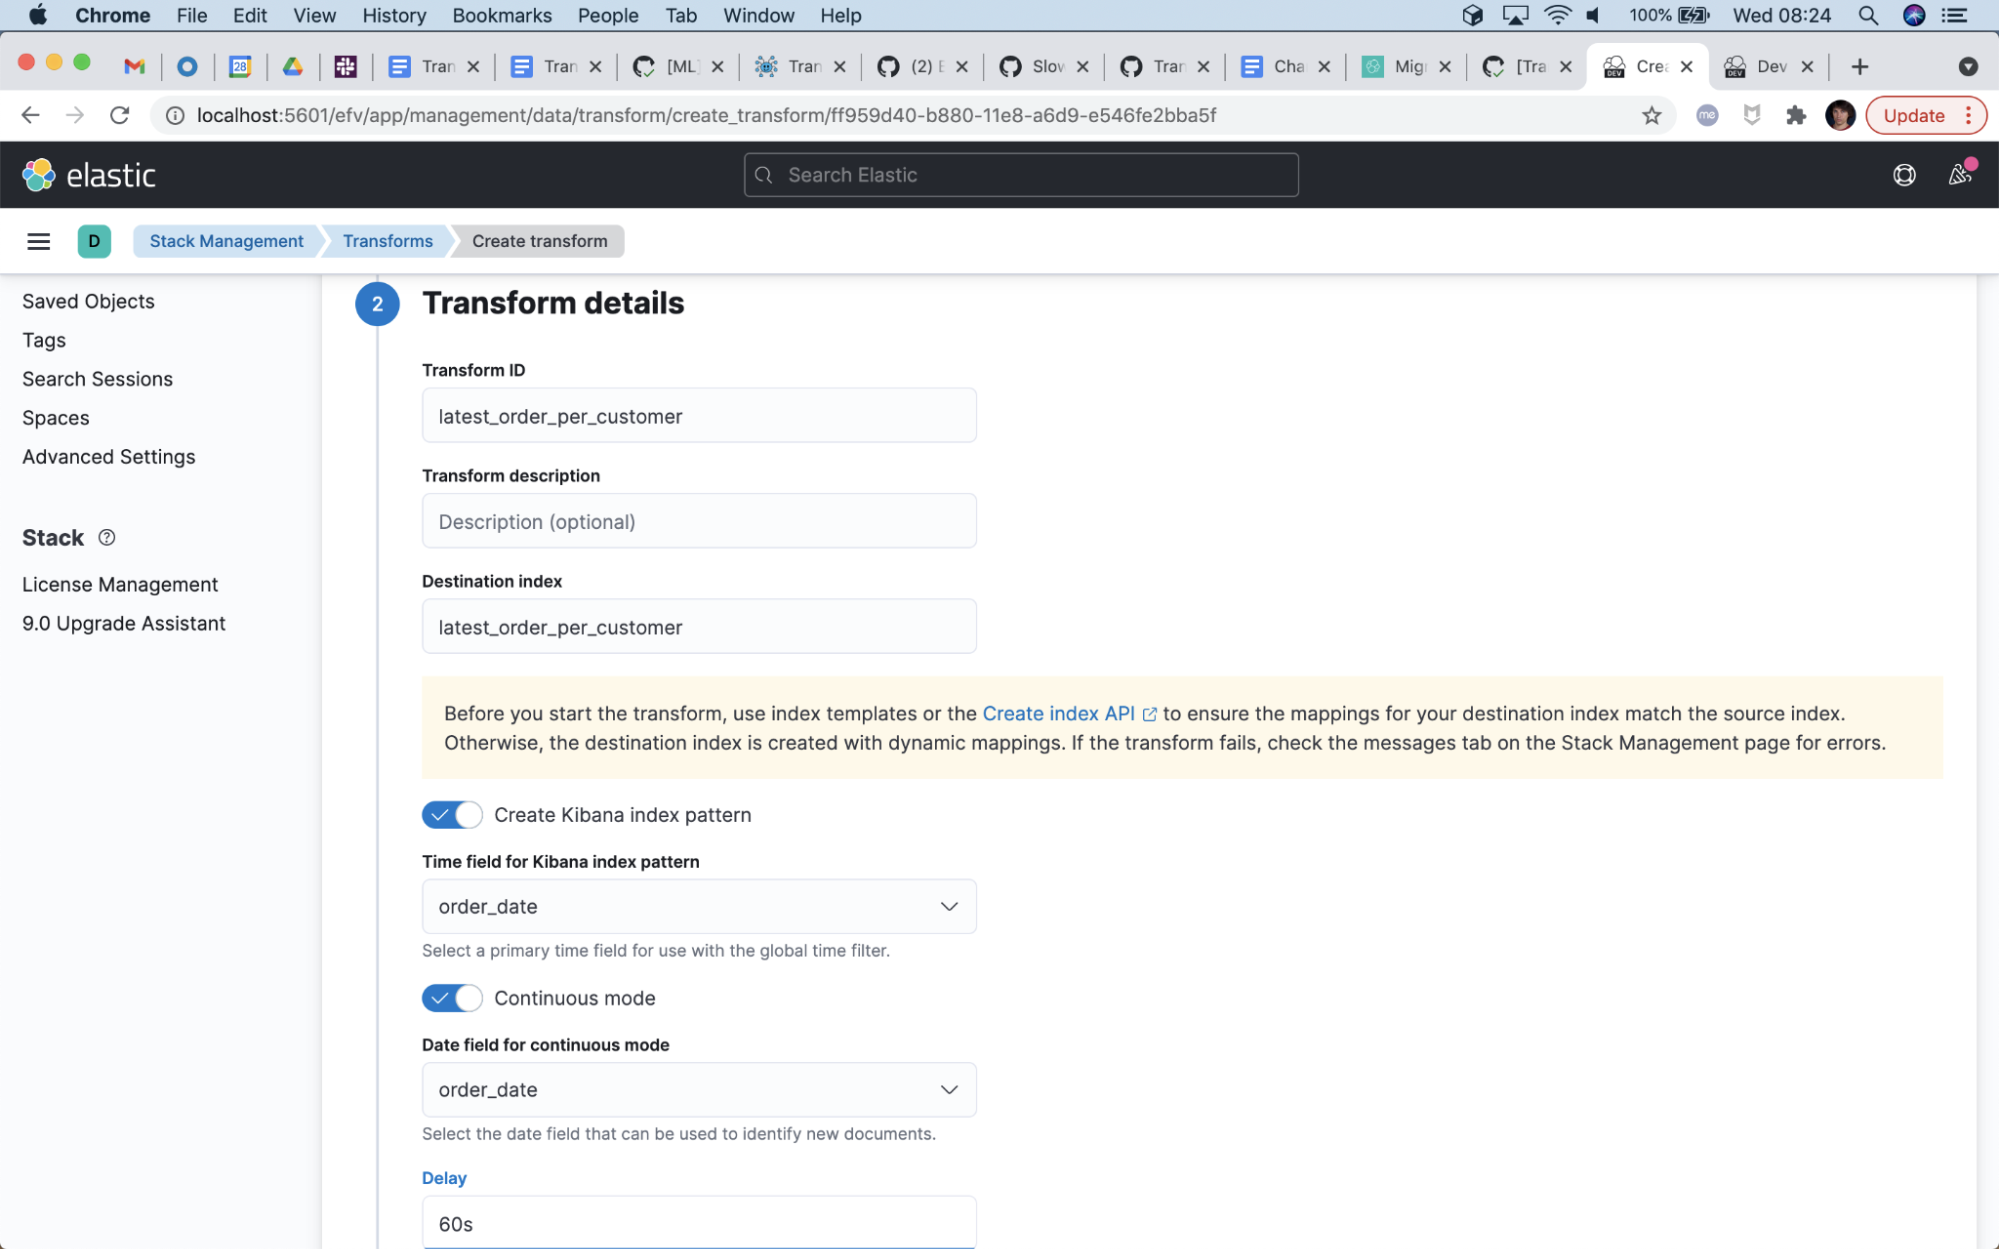
Make sure to use the destination index name that matches the index pattern you specified in your template.
Also, leave the “Create Kibana index pattern” option enabled.
- Finally, let’s click the Create and start button to launch the transform we’ve just configured:
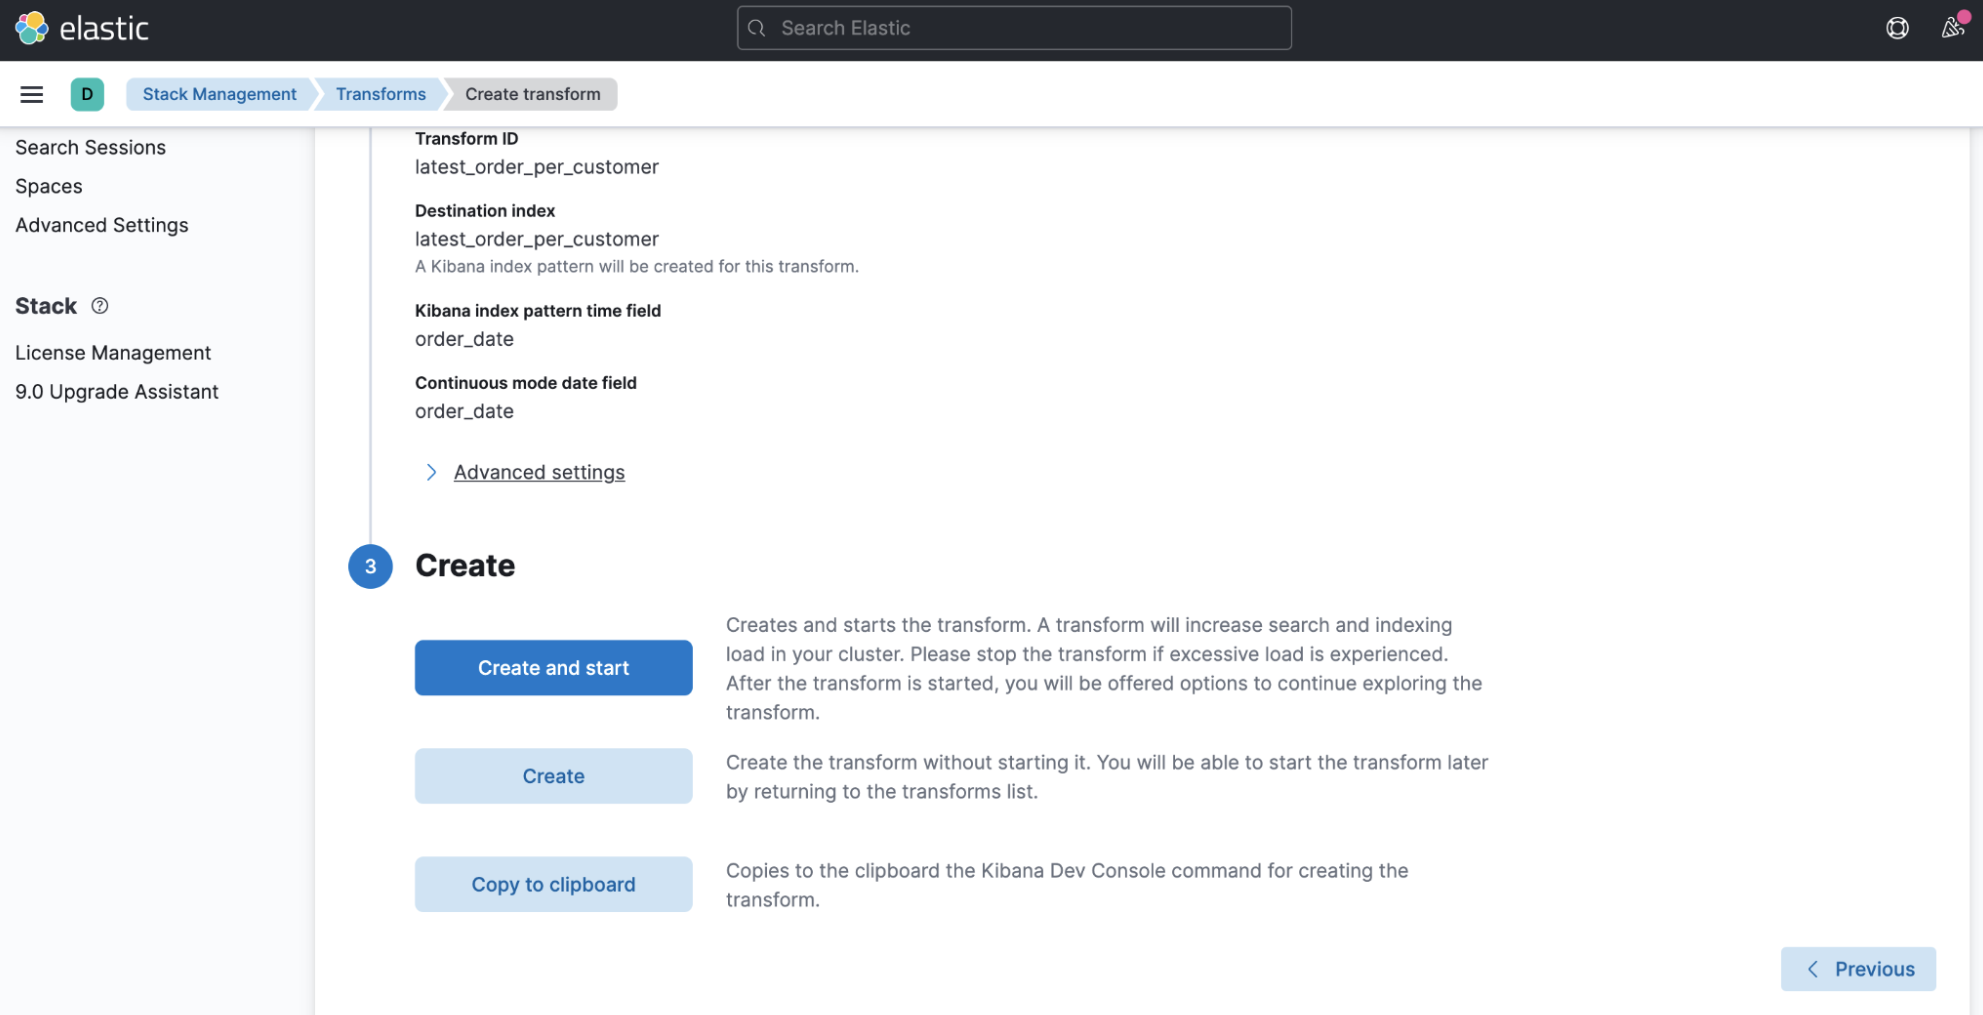
The running transform will now process the kibana_sample_data_ecommerce index and continuously update the destination index latest_order_per_customer with the latest order for each customer. If additional orders arrive, the transform will update the destination index appropriately.
Setting the retention policy
As described, the latest transform will continuously update the destination index with the latest order for each customer. But what if a customer no longer shops at our ecommerce site? The entry for this customer will remain in the destination index, but will never again receive any updates. If you want the old entries to be cleaned up, set a retention policy for the destination index in the transform.
- Go to transform’s Edit page, enter
order_dateas the Field and set30das the Max age:
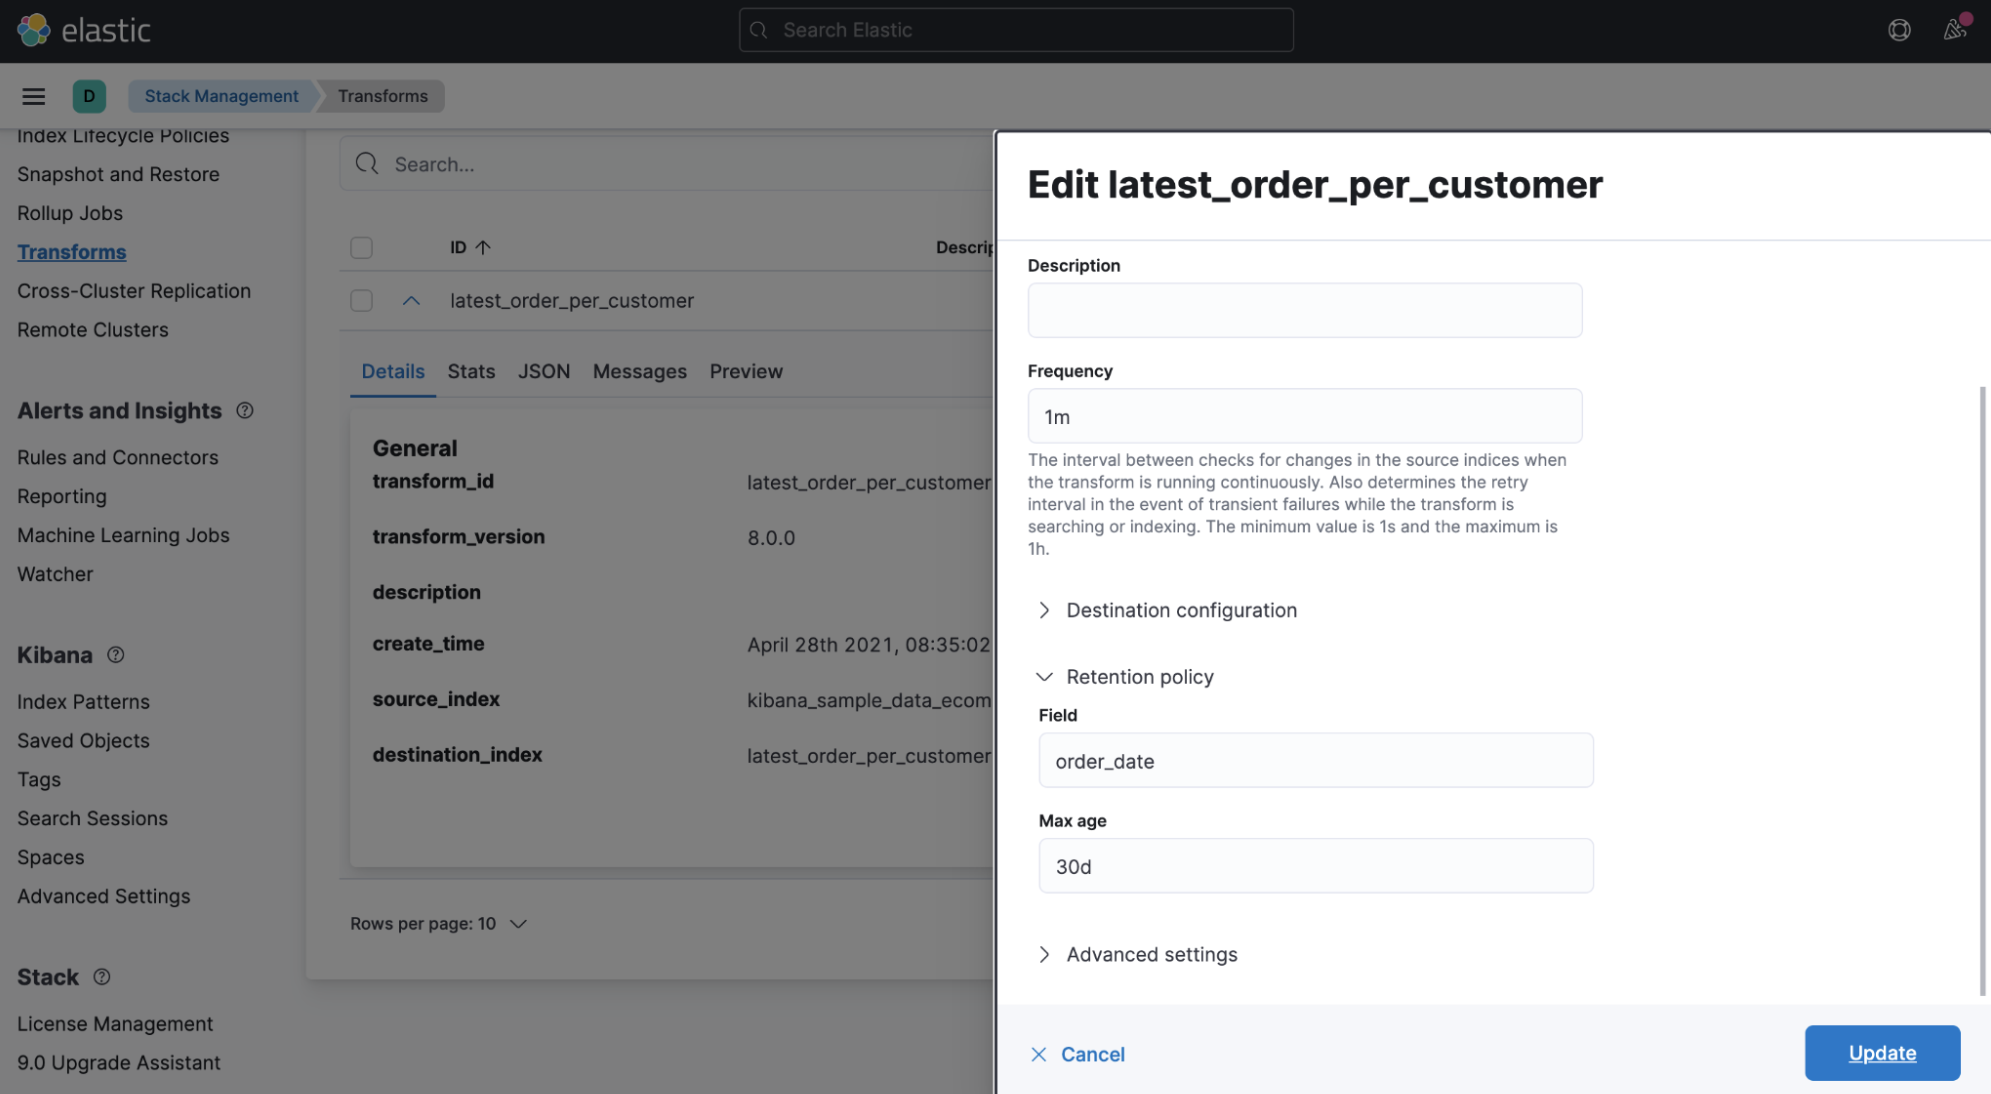
- Click the Update button to apply the new policy.
With this retention policy, any customer who has not placed an order within the last 30 days will be removed from the destination index.
By the way, retention_policy can also be used in pivot, not only in latest!
Conclusion
In summary, we’ve leveraged the newest option of transforms (the latest function) to allow us to track the latest order for each customer in a data set. We’ve also set up a sensible retention policy to automatically clean up and remove customers who don’t continue to purchase items within a certain time range.
There are many other possible use cases for latest, including:
- Identifying and incentivizing customers that did not order anything over a defined period
- Maintaining the latest heart beat status for every machine in a data center
- Maintaining the current air pollution measurements for every air pollution sensor (station)