Encryption at rest in Elastic Cloud: Bring your own key with AWS KMS


 Share on Twitter
Share on Twitter

 Share on LinkedIn
Share on LinkedIn

 Share on Facebook
Share on Facebook

 Share by Email
Share by email

 Print this page
Print
In the previous blog of this series, we unpacked the foundational concepts of encryption at rest and introduced you to Elastic Cloud’s “bring your own key” (BYOK) feature, which allows you to do encryption at rest with encryption keys managed by the KMS service of your cloud provider. Building on that knowledge, this blog dives into the technical nuances of implementing encryption at rest with AWS KMS keys and Elastic Cloud deployments, providing you with a secure and compliant environment for your sensitive data.
We will first walk through the architecture of the solution and its prerequisites, and then we will explore how to create an AWS KMS key and apply it to an Elastic Cloud Hosted deployment for encrypting data and snapshots at rest. Additionally, we’ll show you how to validate your setup and how to implement additional security policies, such as encryption key rotation and revocation.
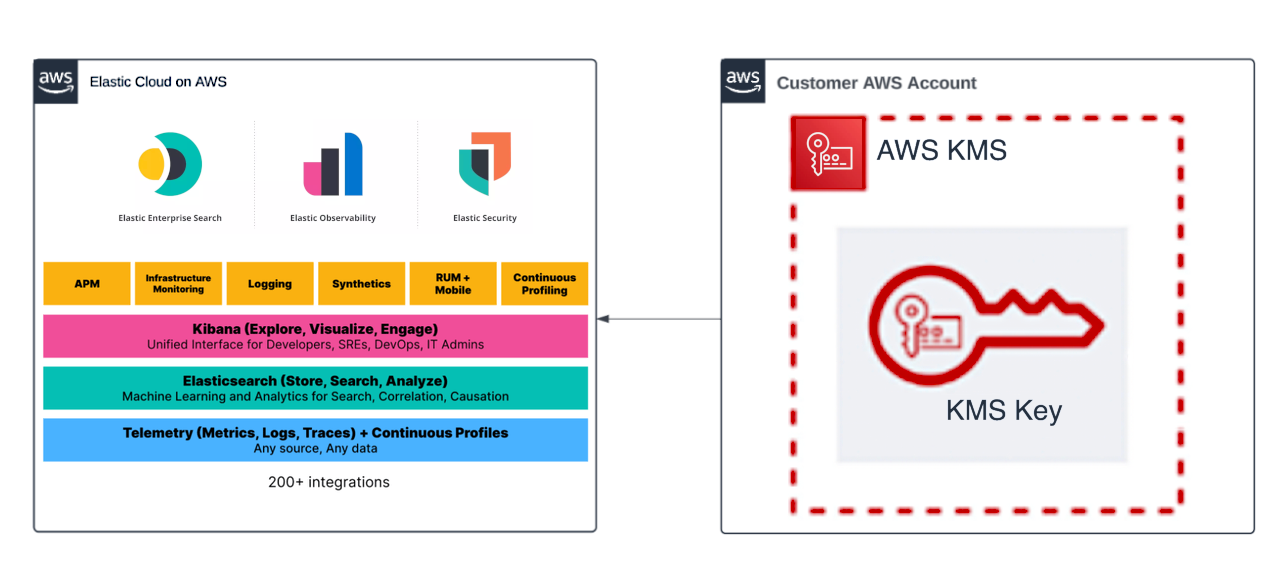
The Elastic Cloud and AWS KMS integration
Architecture
The following diagram showcases how Elastic Cloud integrates with AWS KMS to provide your application with Hosted Stack deployments encrypted with your own KMS keys.
Prerequisites
1. Get your own key: To use BYOK, you need a key that you control. You set this up in your AWS KMS account. Create a symmetric single-region key or multi-region replica key. The key must be available in each region in which you have deployments to encrypt. You can use the same key to encrypt multiple deployments, although security best practices recommend using a different one per deployment. Later, you will need to provide the Amazon Resource Name (ARN) of that key or key alias to Elastic Cloud. We currently support the following key material origin types:
KMS: AWS Created Key Material
External: Imported Key Material
External Key Store (XKS): Key Material Provided Via AWS XKS Proxy
2. Upgrade to Enterprise: BYOK is available for the Enterprise subscription level. This means if you're using Elastic on AWS, you can encrypt your data using your own key. Other cloud providers will have this feature later on.
Keep in mind: If you're using a custom snapshot repository instead of Elastic Cloud's default one, your snapshots won't automatically be encrypted with your key. However, the file system itself will still encrypt data being stored on disk.
3. Access control: Create AWS Identity and Access Management (IAM) policies to control access to the Elastic cluster.
Creating and configuring an AWS KMS key
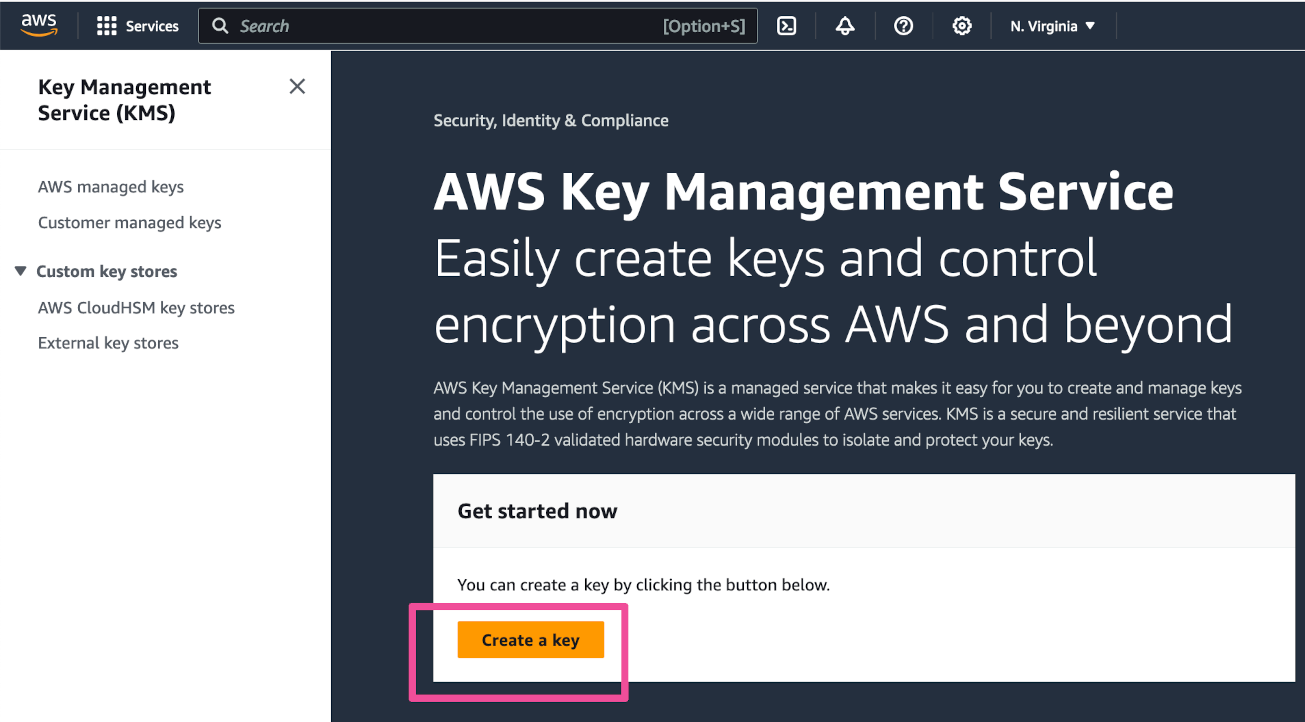
To start the key creation process, go to the KMS in the AWS console. Click Create a key.
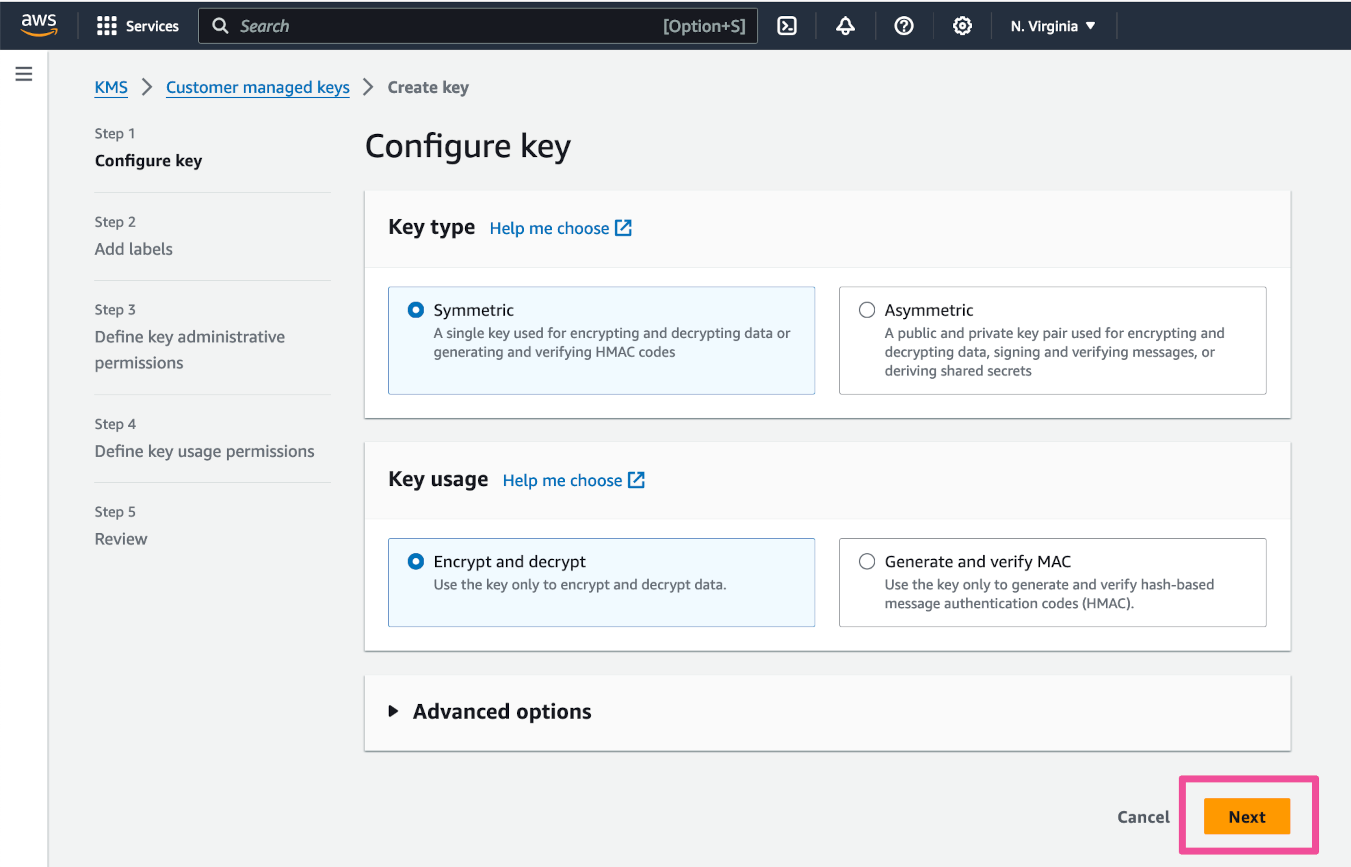
In Step 1 of the key creation process, click Next.
In Step 2 of the key creation process, enter an Alias for the key and click Next.

In Step 3, you have the option to add key administrators. Click Next.

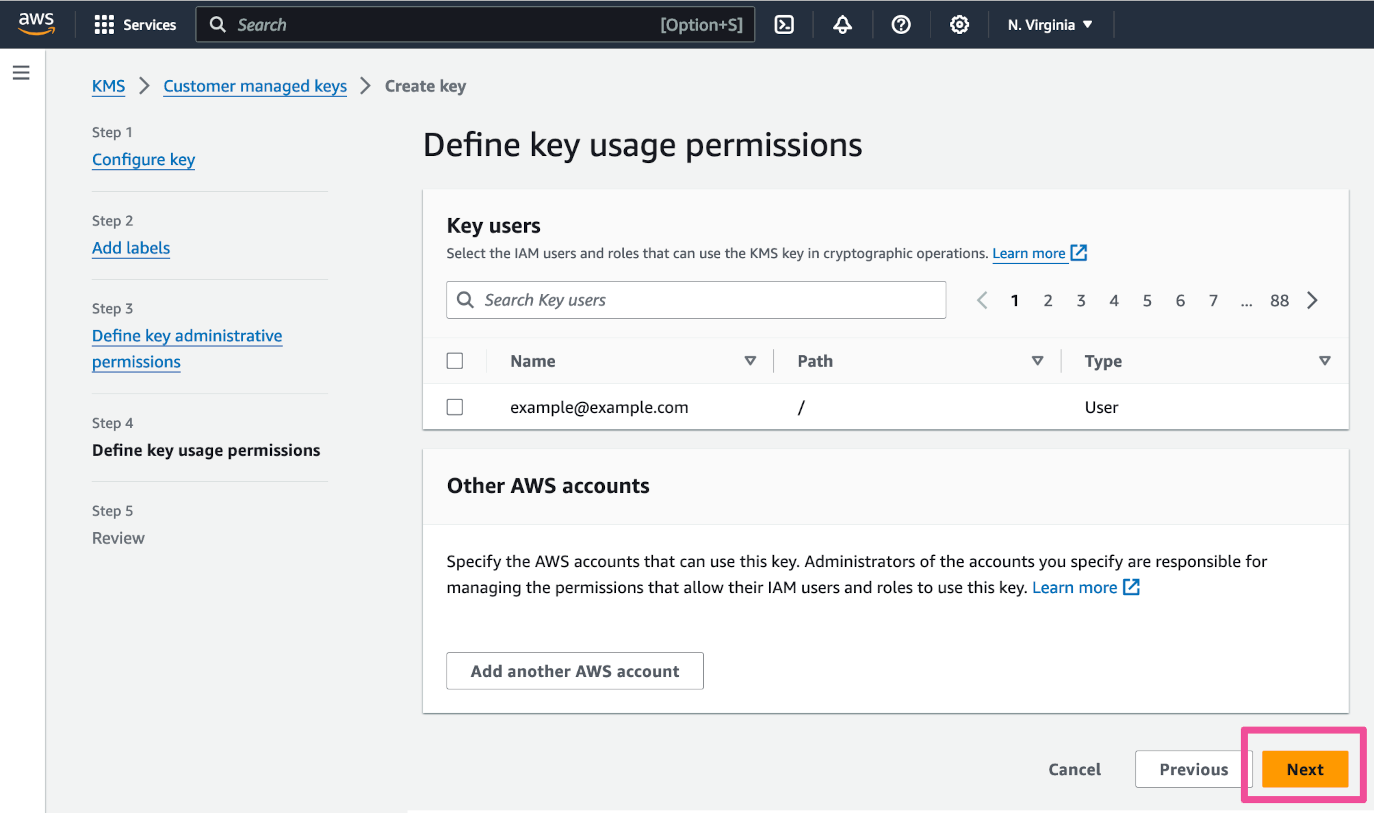
In Step 4, you have the option to add key users. Click Next.
Click Finish to create the KMS key.

Click View key to see the details of the newly created key.

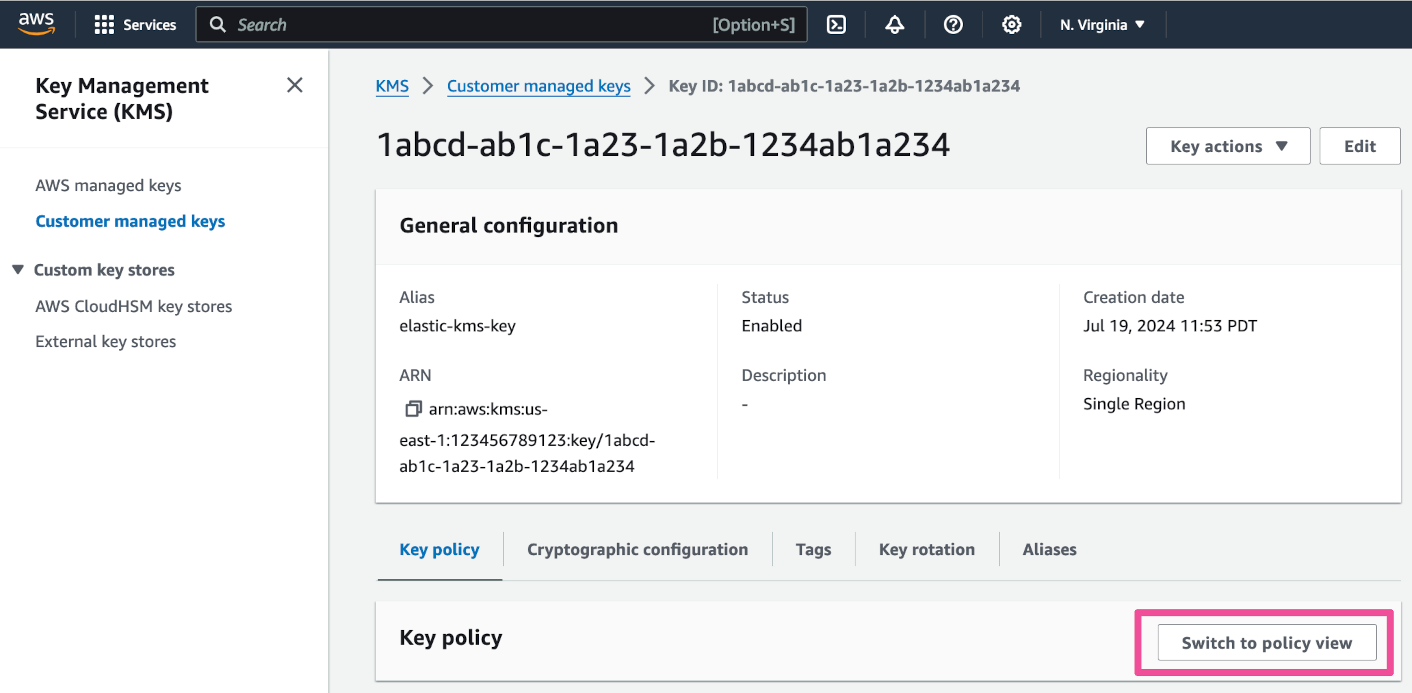
Start the process of updating the key to add Elastic to the key policy. Click Switch to policy view in the Key policy section.
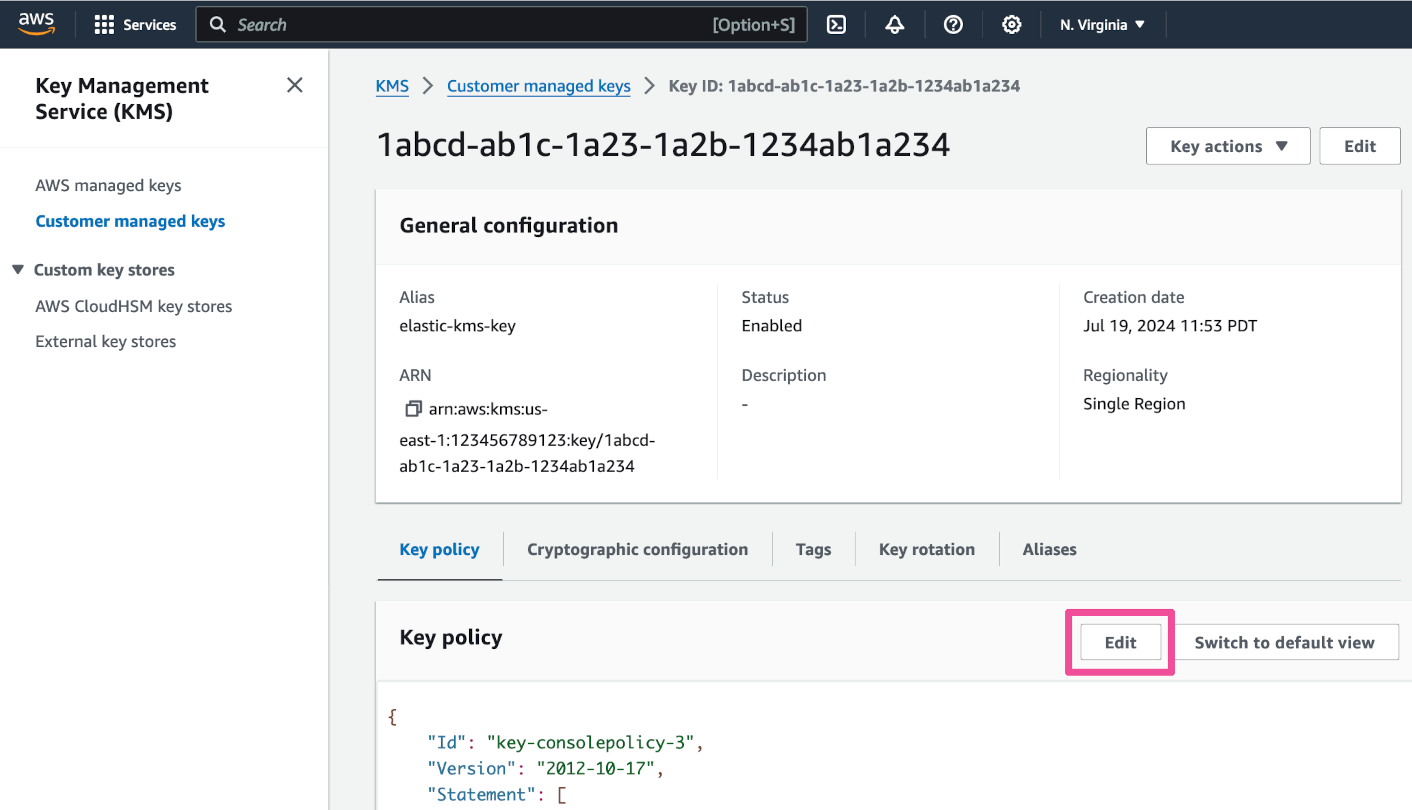
Click Edit to edit the key’s policy.
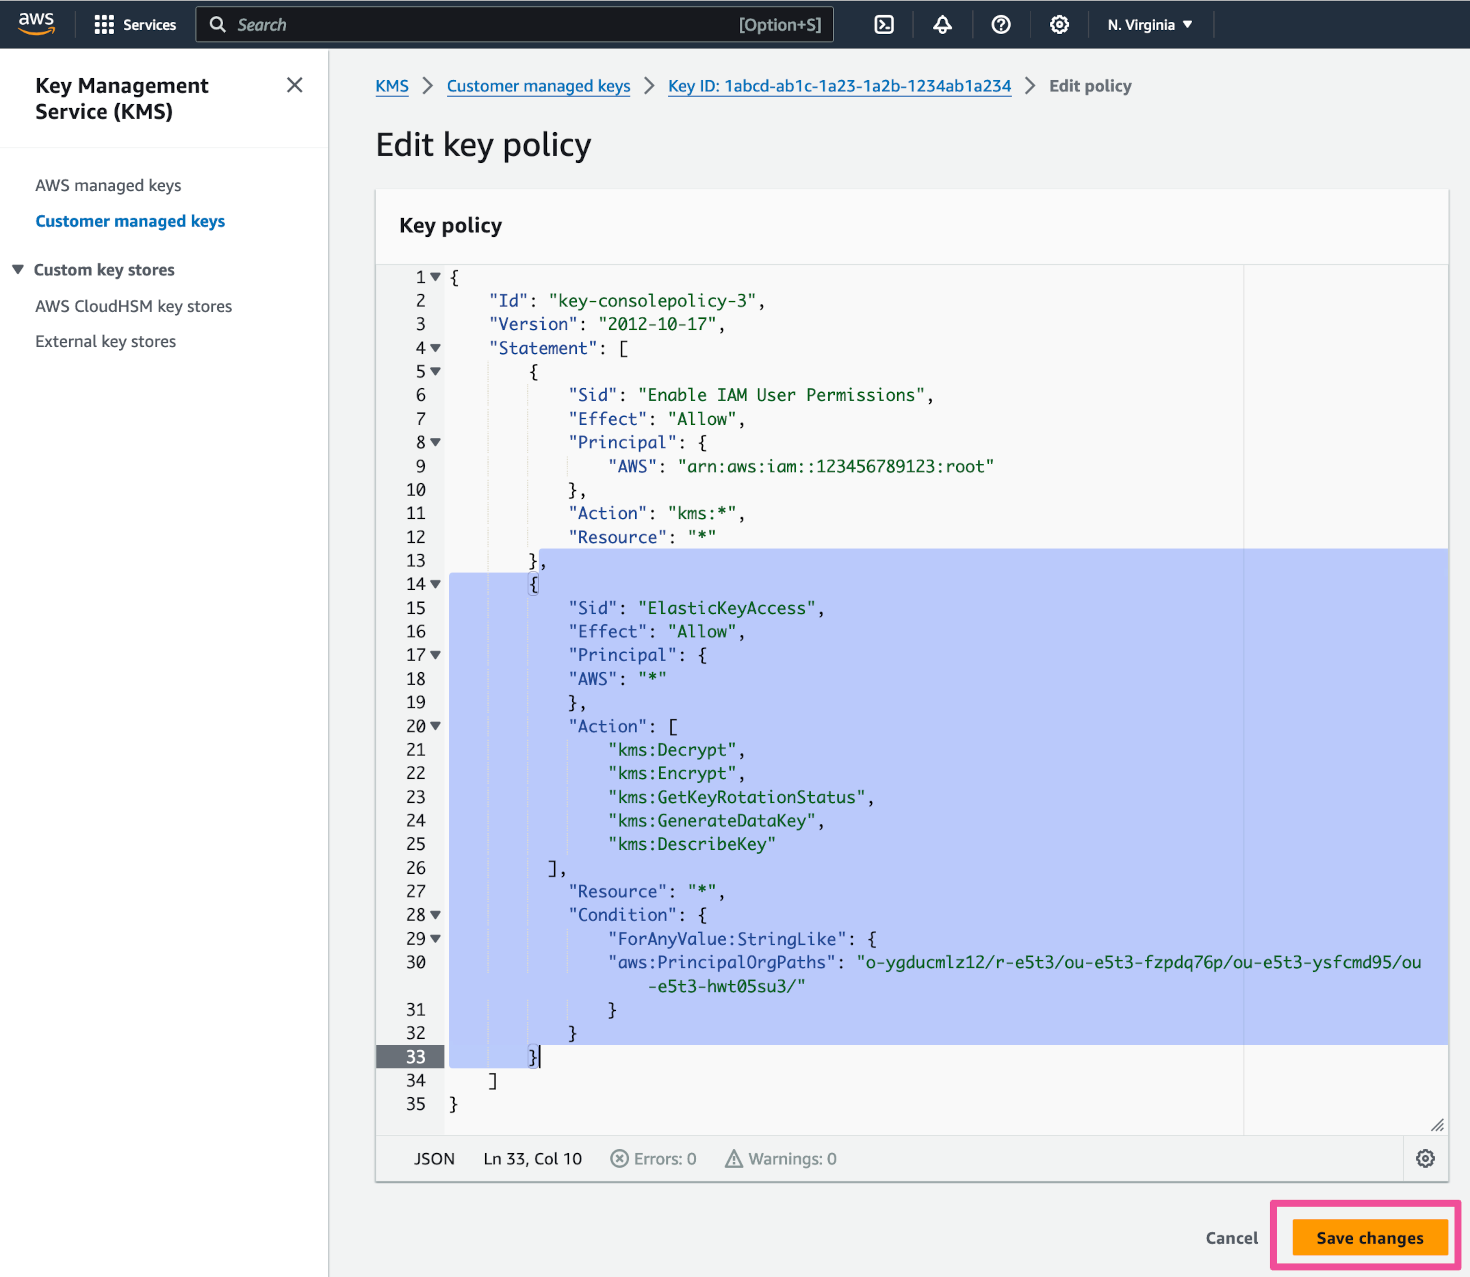
Copy the following code and paste it within the existing key policy.
,
{
  "Sid": "ElasticKeyAccess",
  "Effect": "Allow",
  "Principal": {
	"AWS": "*"
  },
  "Action": [
	"kms:Decrypt",
	"kms:Encrypt",
	"kms:GetKeyRotationStatus",
	"kms:GenerateDataKey",
	"kms:DescribeKey"
  ],
  "Resource": "*",
  "Condition": {
	"ForAnyValue:StringLike": {
  		"aws:PrincipalOrgPaths": "o-ygducmlz12/r-e5t3/ou-e5t3-fzpdq76p/ou-e5t3-ysfcmd95/ou-e5t3-hwt05su3/"
   	}
  }
}Your updated key policy should look something like this. Note that PrincipleOrgPaths is a fixed value, which refers to the Elastic tenant. Click Save changes.
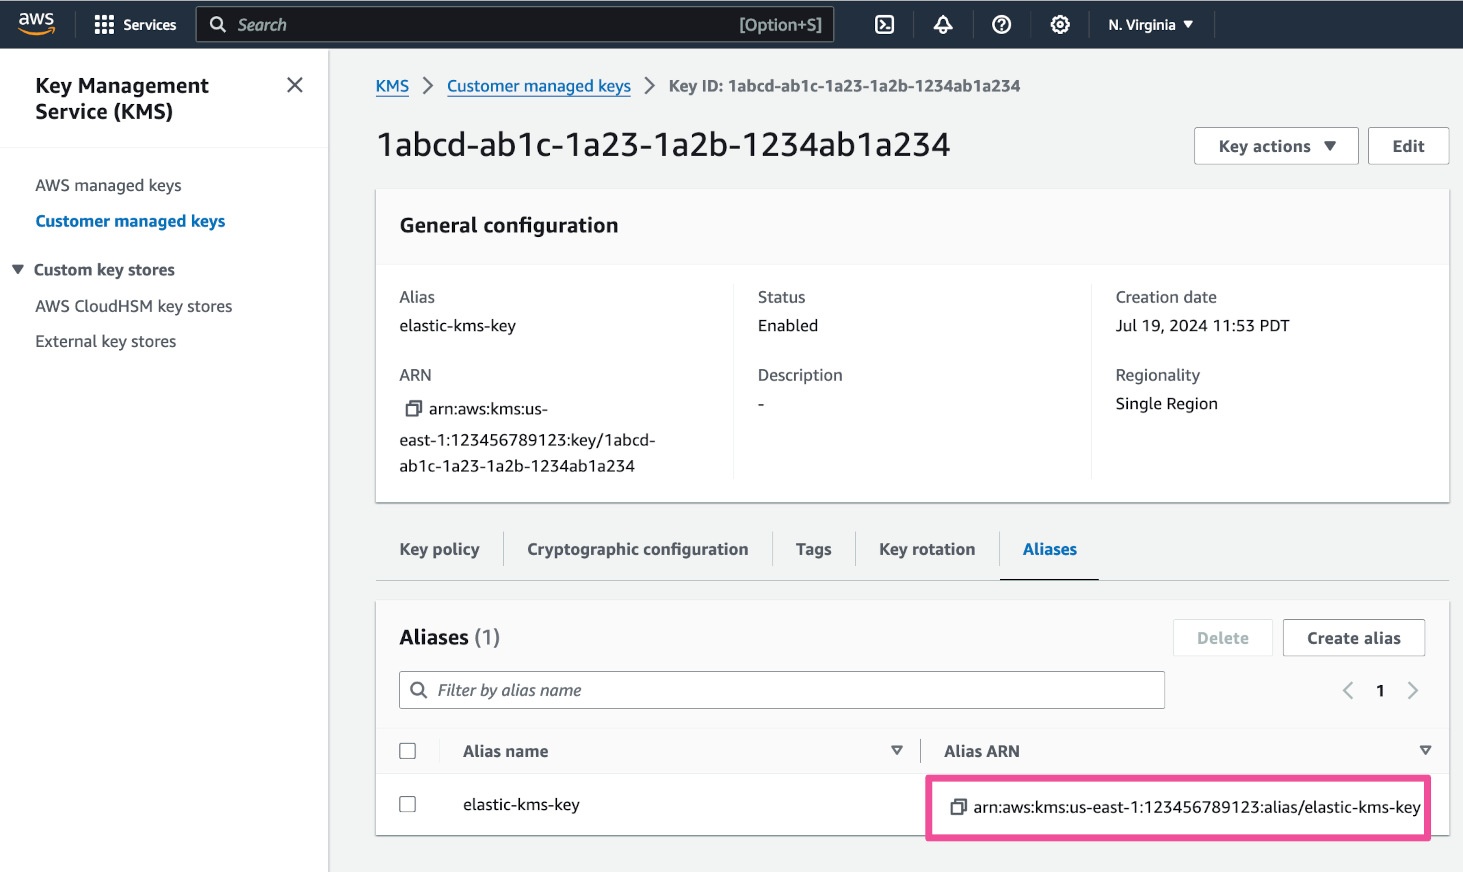
Now that your KMS key is ready for use, click the Aliases tab to access the key alias.
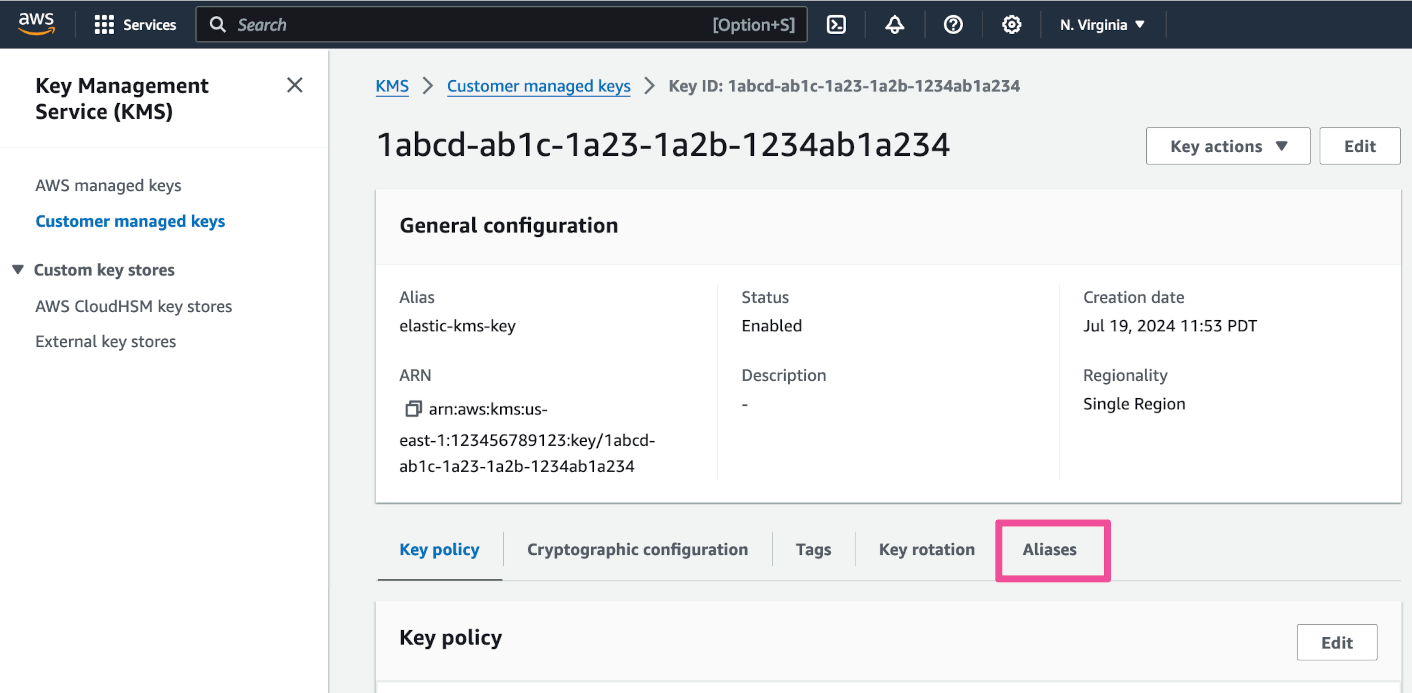
Copy the key Alias ARN. Save it in a safe place for use in a later step.
Integrating an AWS KMS key with Elastic Cloud
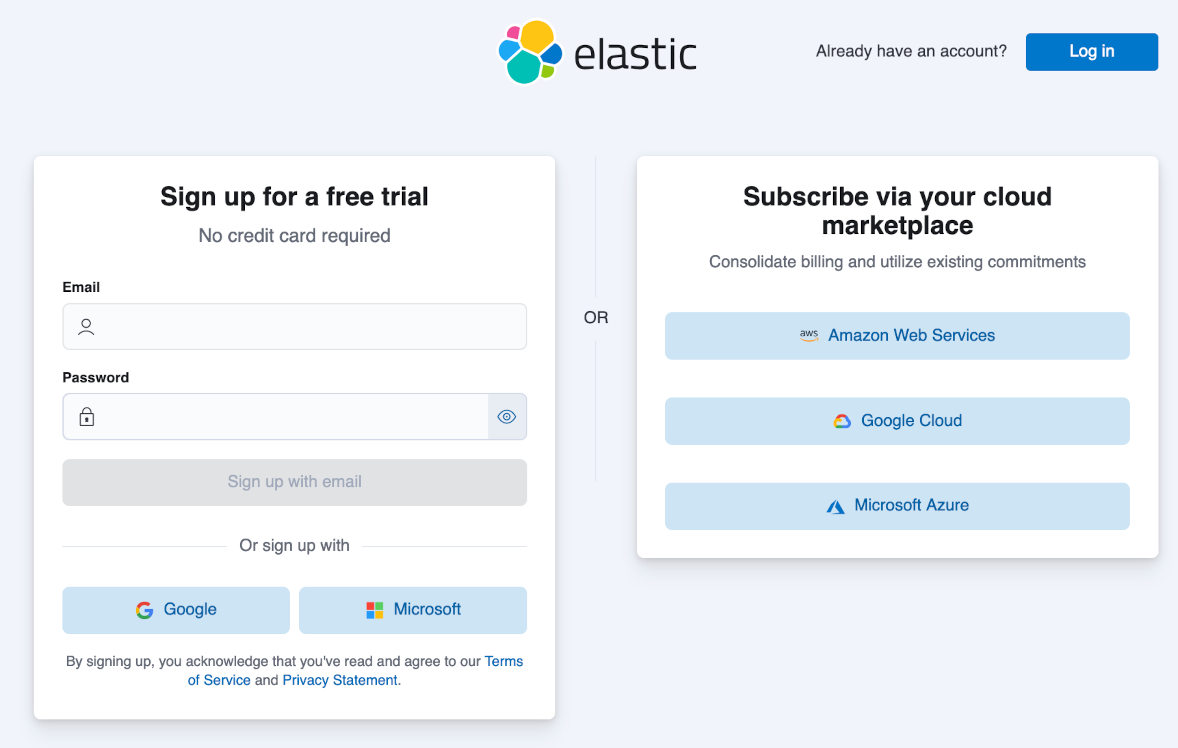
Now you can create a new Elastic deployment that uses the AWS KMS key you just created. Start by signing in to the Elastic Cloud console.
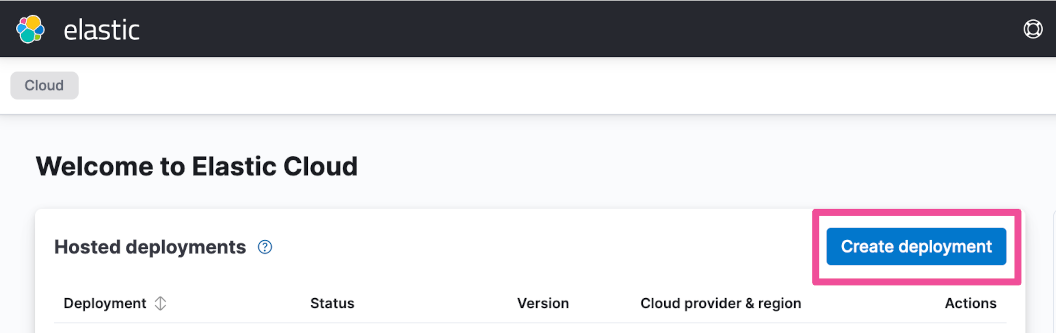
After you’ve signed in to the console, click the Create deployment button.
Enter a name for your deployment and select Amazon Web Services as your Cloud provider.
Then expand the Advanced settings section and enable the Use a customer-managed encryption key option. Paste in the AWS KMS key’s Alias ARN that you copied at the end of the previous section. Click Create deployment.
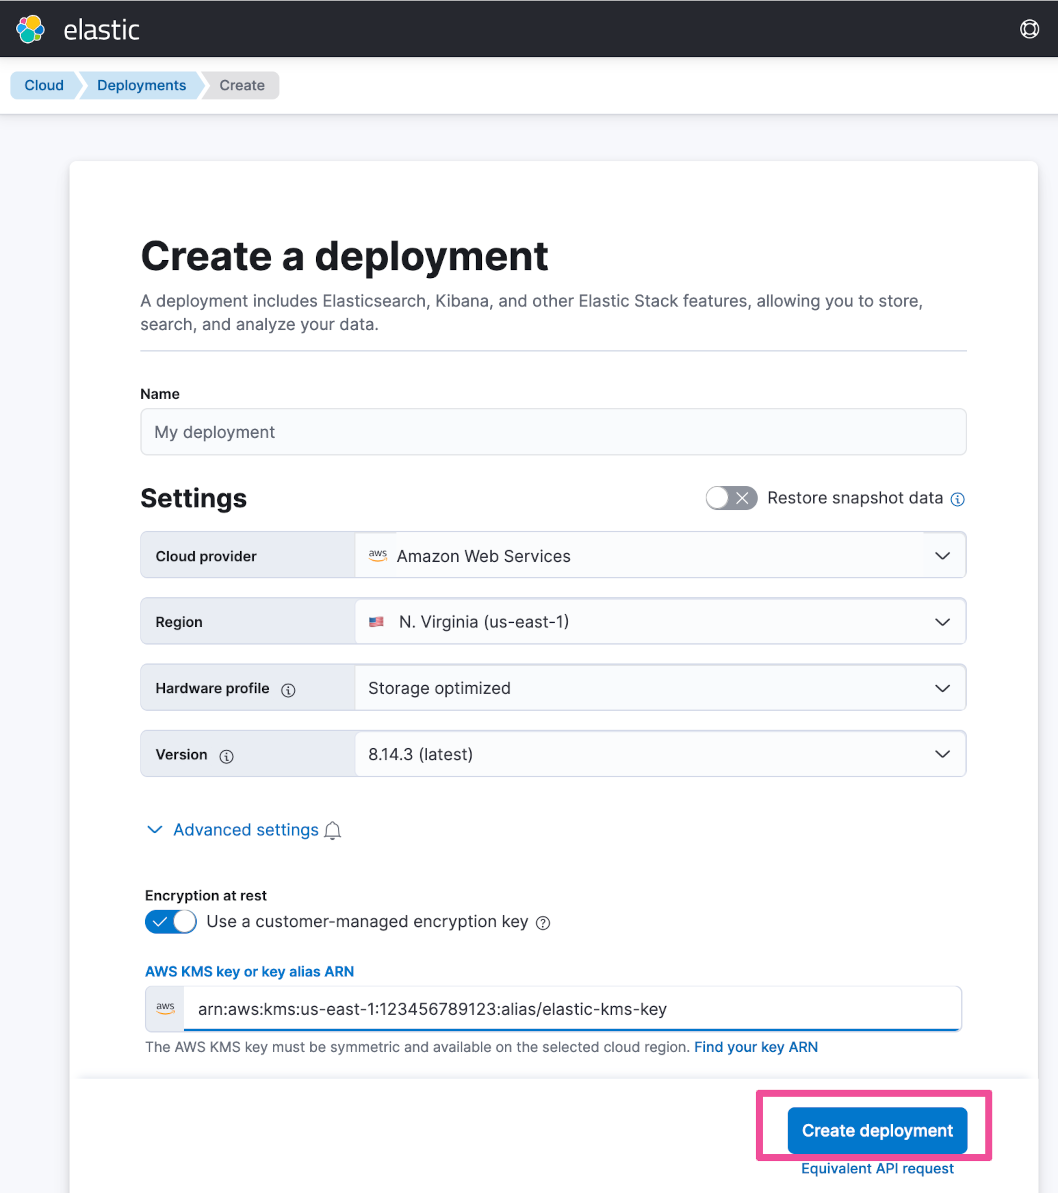
The deployment is now created and encrypted using the specified key.
Verification and troubleshooting
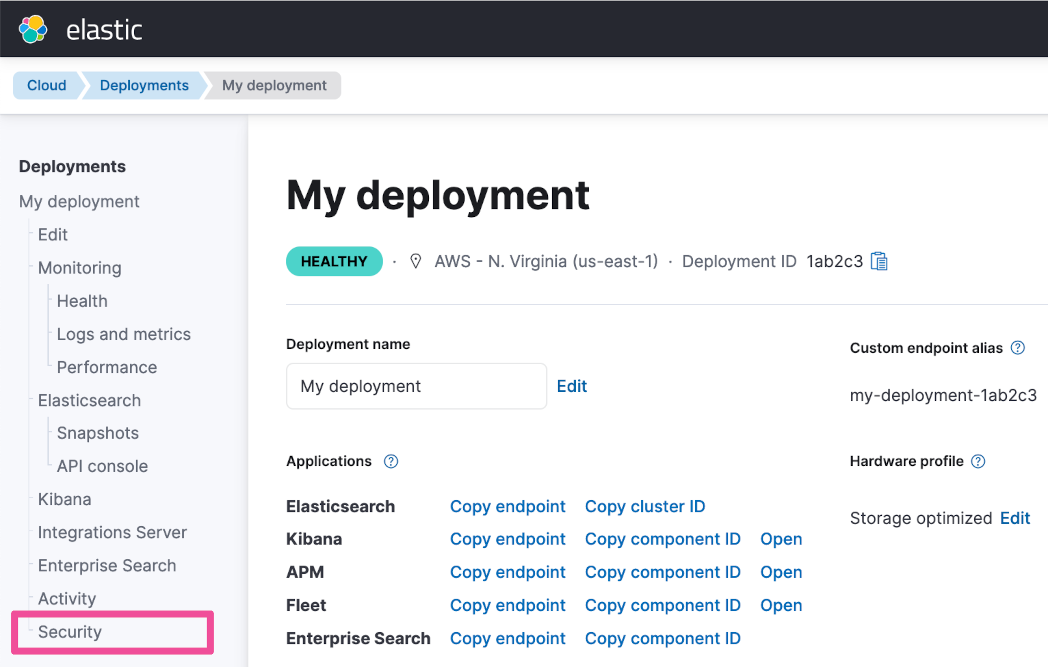
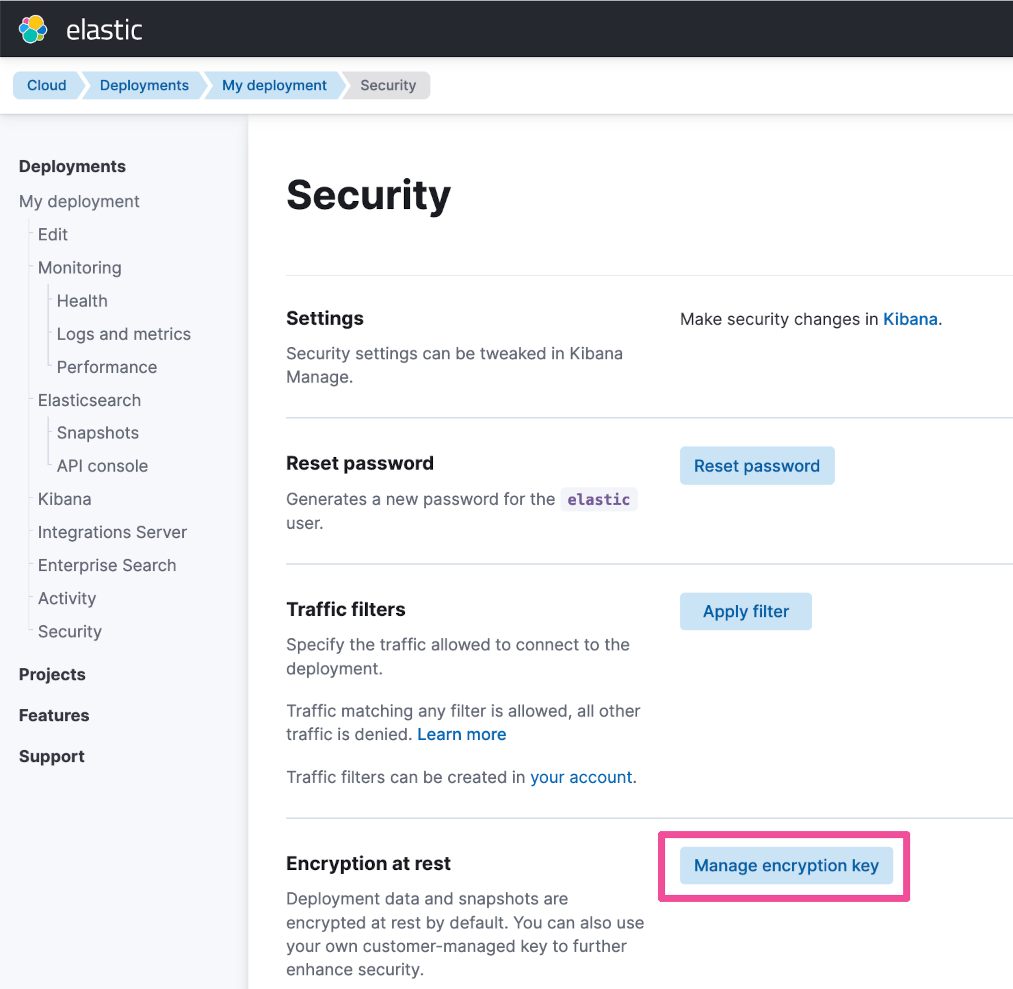
In the Elasticsearch Service Console, you can check that your hosted deployment is correctly encrypted with the key you specified. To do that, go to the deployment’s Security page by selecting Security from the left navigation menu.
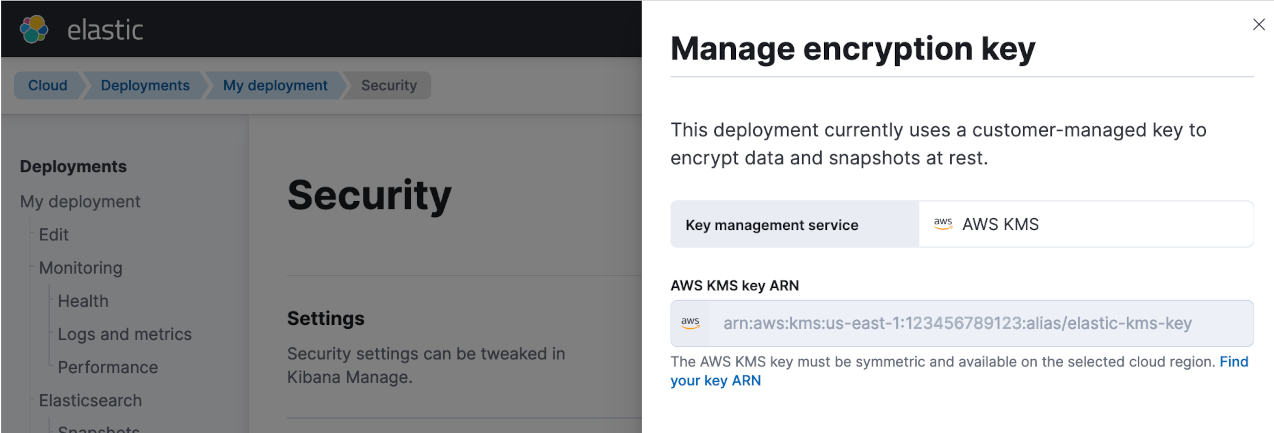
Select Manage encryption key in the Encryption at rest section.
You should see your AWS KMS key Alias ARN listed in the AWS KMS key ARN field.
Key rotation and revocation
Elastic Cloud Hosted deployments that have been encrypted with AWS KMS keys also support AWS KMS key security policies and features, such as key rotation and key revocation. Key rotation minimizes the risk of data leaks due to key compromise. Key revocation is an additional security measure, where access to encrypted data via a compromised key is terminated, either via disabling/deleting the key or by changing the key’s IAM policy.
AWS KMS keys are automatically rotated after one year by default, but this rotation period can be customized. KMS keys can also be manually rotated within AWS as necessary. Elastic seamlessly handles AWS KMS key rotations so the data in your Elastic Cloud deployment will remain encrypted and accessible via your most current AWS KMS key.
If the current key is ever compromised, you can manually revoke the key in AWS KMS. This is a “break-glass” operation to use in case of a security breach. No more than 30 minutes from when a key is revoked, Elastic Cloud will lock the deployment’s data directories and prompt you to delete the deployment. You can restore the key if it’s unintentionally revoked. The deployment will resume operation once the key is restored.
Conclusion
You’ve now seen the entire process of how BYOK can be used for encryption of an Elastic deployment running on AWS. First the AWS KMS key was created and given the policy settings required for Elastic to manage and rotate the key’s credentials over time. Then, an Elastic Cloud deployment was created to utilize that very same key for encryption of the data contained within the deployment.
Stay tuned for a follow-up blog post to this one, which will cover how to BYOK to Elastic Cloud deployments running on Microsoft Azure using the Azure Key Vault.
Try it out for yourself today. Create an Elastic Cloud deployment with your own AWS KMS key to enhance the overall security of your Elastic Cloud deployment.
The release and timing of any features or functionality described in this post remain at Elastic's sole discretion. Any features or functionality not currently available may not be delivered on time or at all.
Share
- Share on Twitter
Share on Twitter
- Share on LinkedIn
Share on LinkedIn
- Share on Facebook
Share on Facebook
- Share by Email
Share by email
- Print this page
Print

