- Kibana Guide: other versions:
- What is Kibana?
- What’s new in 8.1
- Kibana concepts
- Quick start
- Set up
- Install Kibana
- Configure Kibana
- Alerting and action settings
- APM settings
- Banners settings
- Enterprise Search settings
- Fleet settings
- i18n settings
- Logging settings
- Logs settings
- Metrics settings
- Monitoring settings
- Reporting settings
- Search sessions settings
- Secure settings
- Security settings
- Spaces settings
- Task Manager settings
- Telemetry settings
- URL drilldown settings
- Start and stop Kibana
- Access Kibana
- Securing access to Kibana
- Add data
- Upgrade Kibana
- Configure security
- Configure reporting
- Configure logging
- Configure monitoring
- Command line tools
- Production considerations
- Discover
- Dashboard and visualizations
- Canvas
- Maps
- Build a map to compare metrics by country or region
- Track, visualize, and alert on assets in real time
- Map custom regions with reverse geocoding
- Heat map layer
- Tile layer
- Vector layer
- Plot big data
- Search geographic data
- Configure map settings
- Connect to Elastic Maps Service
- Import geospatial data
- Troubleshoot
- Reporting and sharing
- Machine learning
- Graph
- Alerting
- Observability
- APM
- Security
- Dev Tools
- Fleet
- Osquery
- Stack Monitoring
- Stack Management
- REST API
- Get features API
- Kibana spaces APIs
- Kibana role management APIs
- User session management APIs
- Saved objects APIs
- Data views API
- Index patterns APIs
- Alerting APIs
- Action and connector APIs
- Cases APIs
- Import and export dashboard APIs
- Logstash configuration management APIs
- Machine learning APIs
- Short URLs APIs
- Get Task Manager health
- Upgrade assistant APIs
- Kibana plugins
- Troubleshooting
- Accessibility
- Release notes
- Developer guide
Create and manage rules
editCreate and manage rules
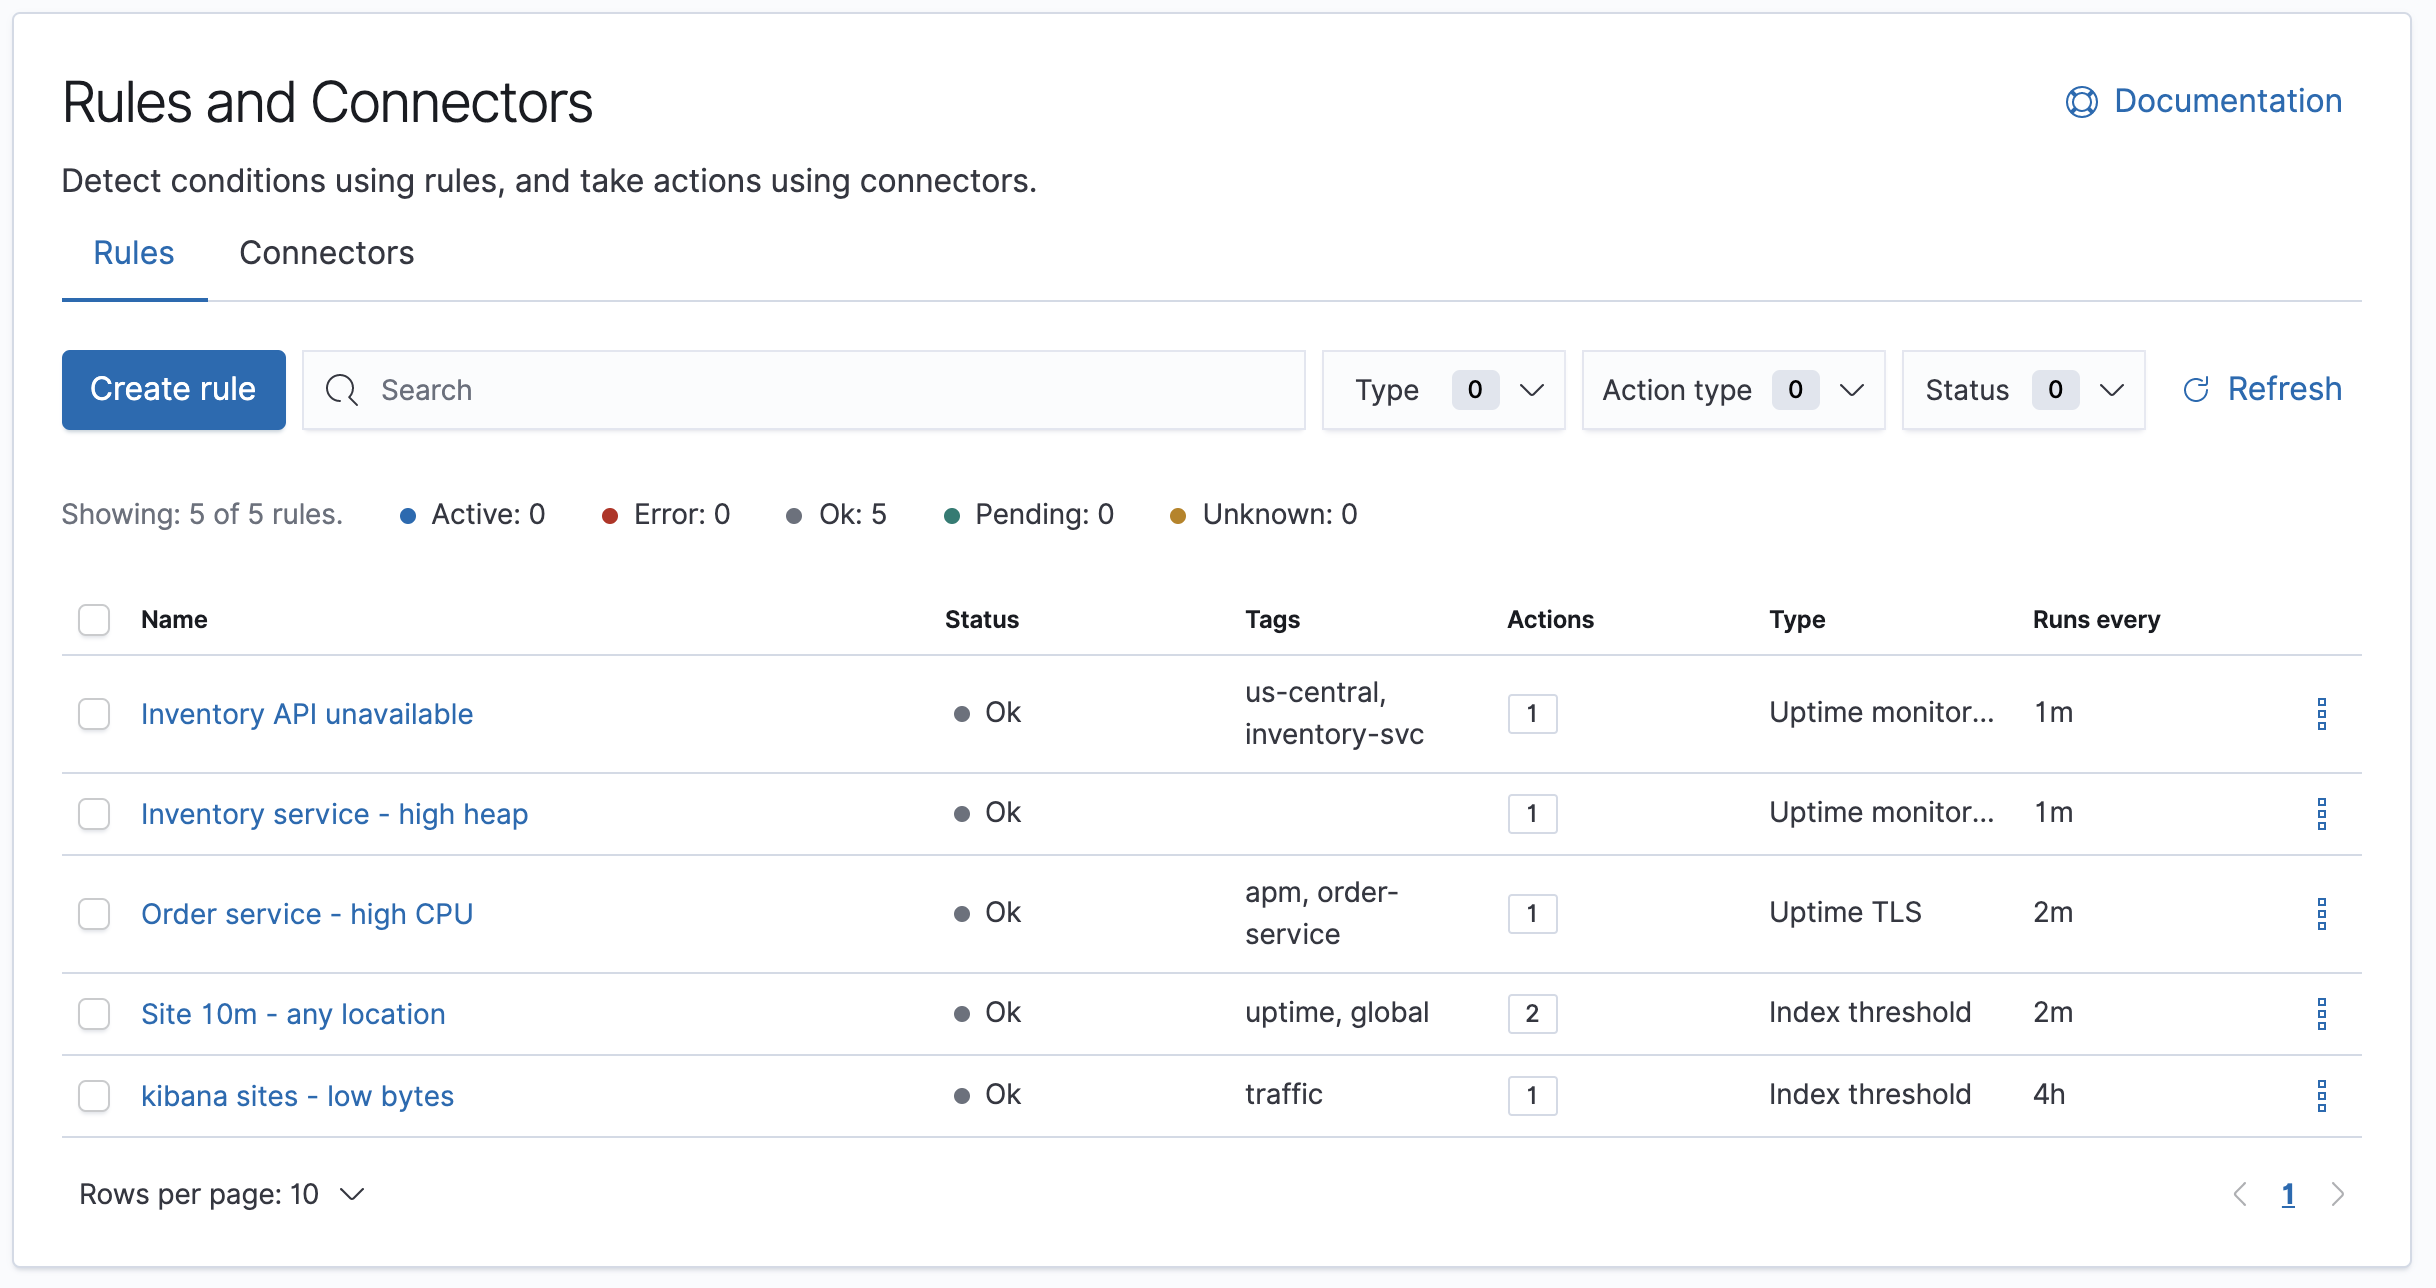
editThe Rules UI provides a cross-app view of alerting. Different Kibana apps like Observability, Security, Maps and Machine Learning can offer their own rules. The Rules UI provides a central place to:
- Create and edit rules
- Manage rules including enabling/disabling, muting/unmuting, and deleting
- Drill-down to rule details
For more information on alerting concepts and the types of rules and connectors available, see Alerting.
Required permissions
editAccess to rules is granted based on your privileges to alerting-enabled features. See Alerting Security for more information.
Create and edit rules
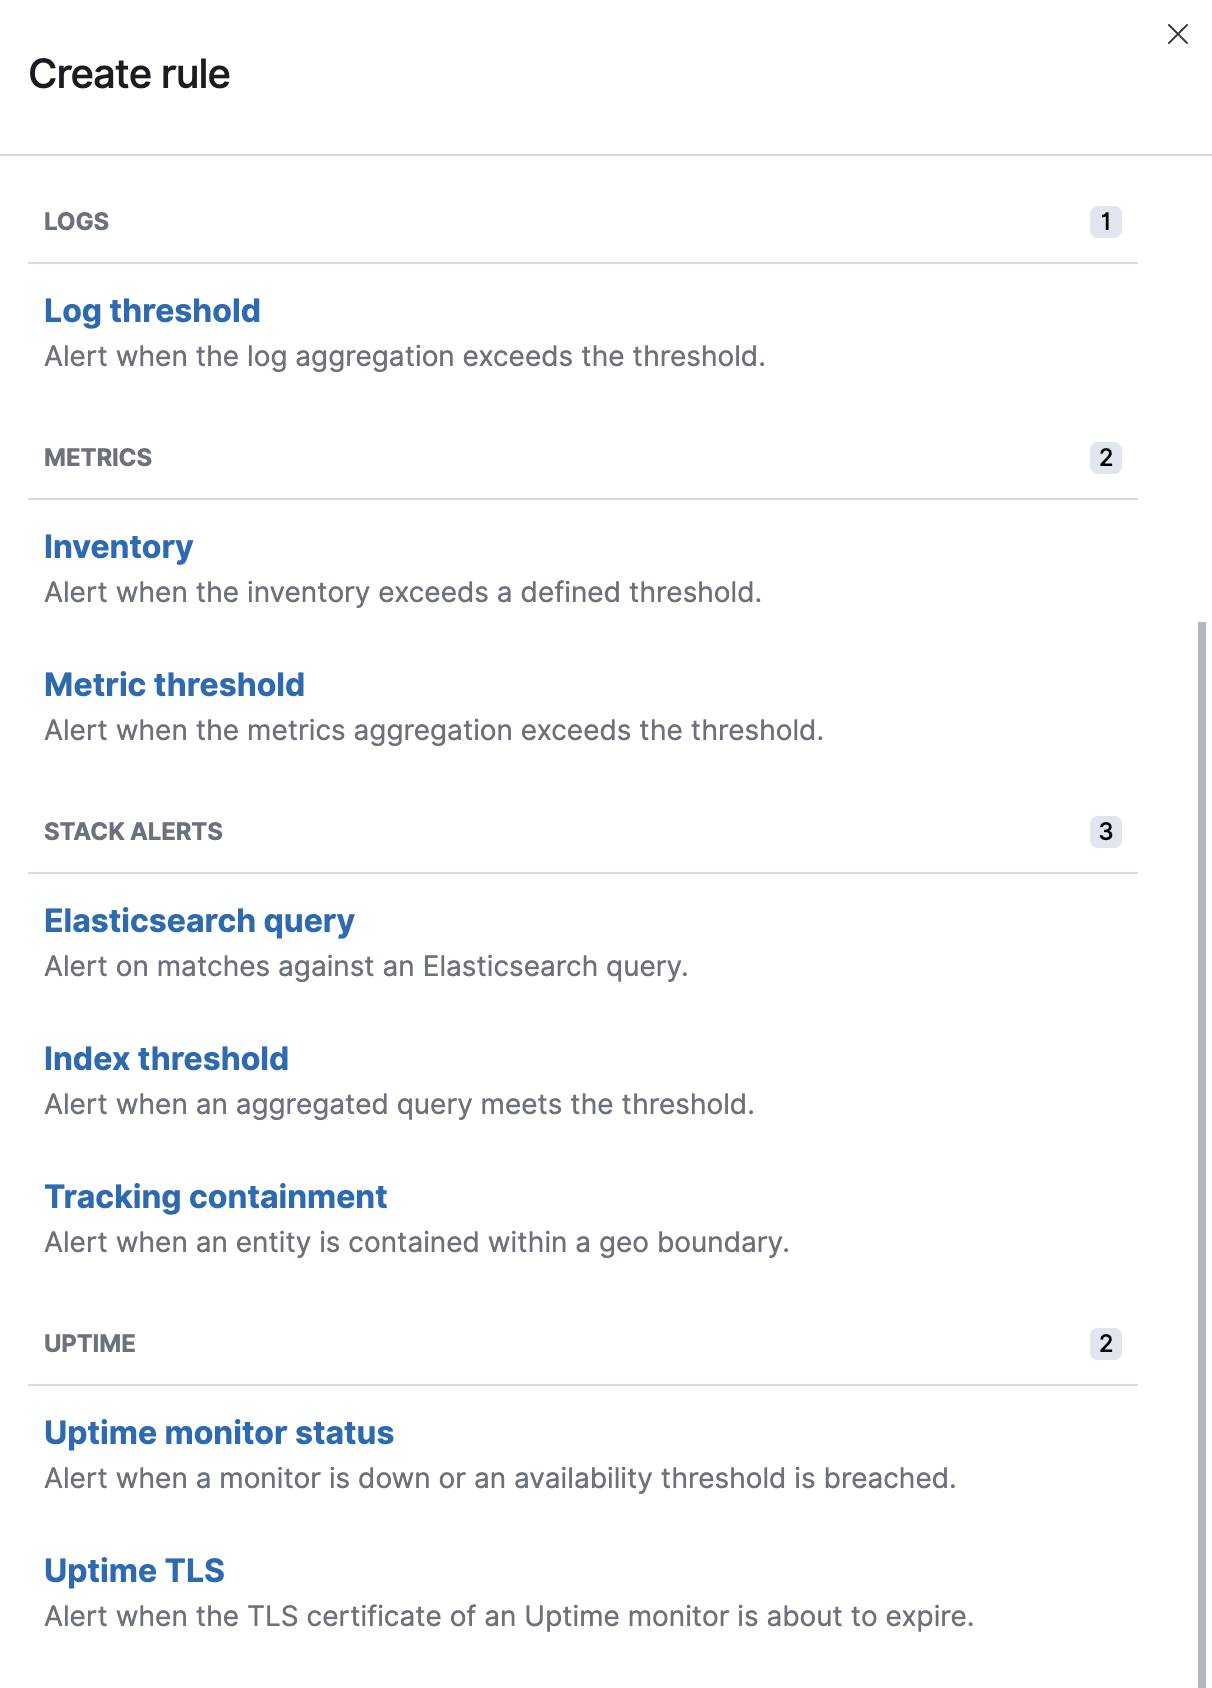
editMany rules must be created within the context of a Kibana app like Metrics, APM, or Uptime, but others are generic. Generic rule types can be created in the Rules management UI by clicking the Create button. This will launch a flyout that guides you through selecting a rule type and configuring its conditions and action type. Refer to Stack rules for details on what types of rules are available and how to configure them.
After a rule is created, you can re-open the flyout and change a rule’s properties by clicking the Edit button shown on each row of the rule listing.
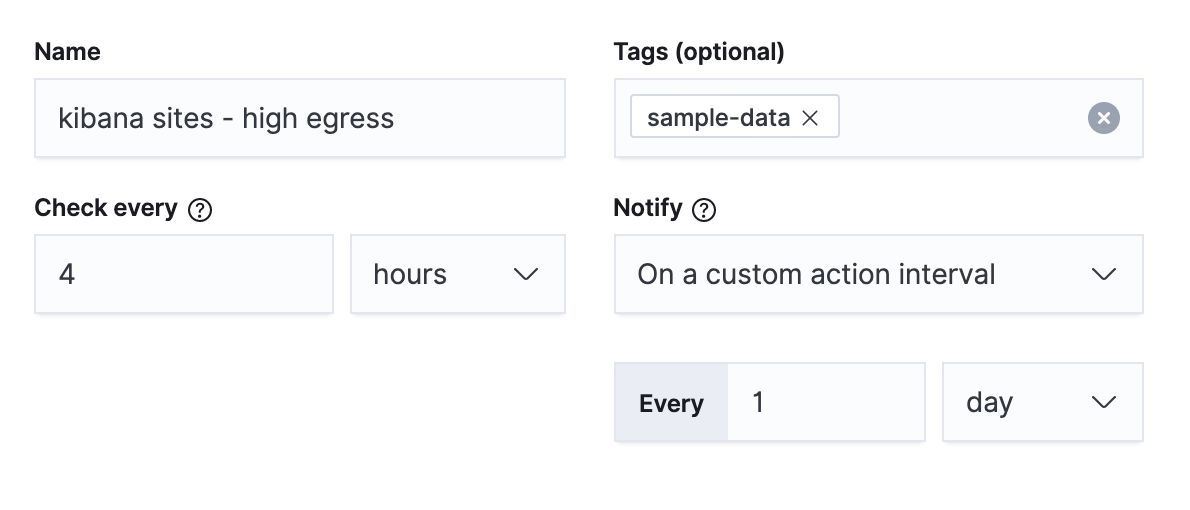
General rule details
editAll rules share the following four properties.
- Name
- The name of the rule. While this name does not have to be unique, the name can be referenced in actions and also appears in the searchable rule listing in the Management UI. A distinctive name can help identify and find a rule.
- Tags
- A list of tag names that can be applied to a rule. Tags can help you organize and find rules, because tags appear in the rule listing in the Management UI, which is searchable by tag.
- Check every
- This value determines how frequently the rule conditions are checked. Note that the timing of background rule checks is not guaranteed, particularly for intervals of less than 10 seconds. See Alerting production considerations for more information.
- Notify
-
This value limits how often actions are repeated when an alert remains active across rule checks. See Create and manage rules for more information.
- Only on status change: Actions are not repeated when an alert remains active across checks. Actions run only when the alert status changes.
- Every time alert is active: Actions are repeated when an alert remains active across checks.
- On a custom action interval: Actions are suppressed for the throttle interval, but repeat when an alert remains active across checks for a duration longer than the throttle interval.
Since actions are executed per alert, a rule can end up generating a large number of actions. Take the following example where a rule is monitoring three servers every minute for CPU usage > 0.9, and the rule is set to notify Every time alert is active:
- Minute 1: server X123 > 0.9. One email is sent for server X123.
- Minute 2: X123 and Y456 > 0.9. Two emails are sent, one for X123 and one for Y456.
- Minute 3: X123, Y456, Z789 > 0.9. Three emails are sent, one for each of X123, Y456, Z789.
In the above example, three emails are sent for server X123 in the span of 3 minutes for the same rule. Often, it’s desirable to suppress these re-notifications. If you set the rule Notify setting to On a custom action interval with an interval of 5 minutes, you reduce noise by only getting emails every 5 minutes for servers that continue to exceed the threshold:
- Minute 1: server X123 > 0.9. One email is sent for server X123.
- Minute 2: X123 and Y456 > 0.9. One email is sent for Y456.
- Minute 3: X123, Y456, Z789 > 0.9. One email is sent for Z789.
To get notified only once when a server exceeds the threshold, you can set the rule’s Notify setting to Only on status change.
Rule type and conditions
editDepending upon the Kibana app and context, you might be prompted to choose the type of rule to create. Some apps will pre-select the type of rule for you.
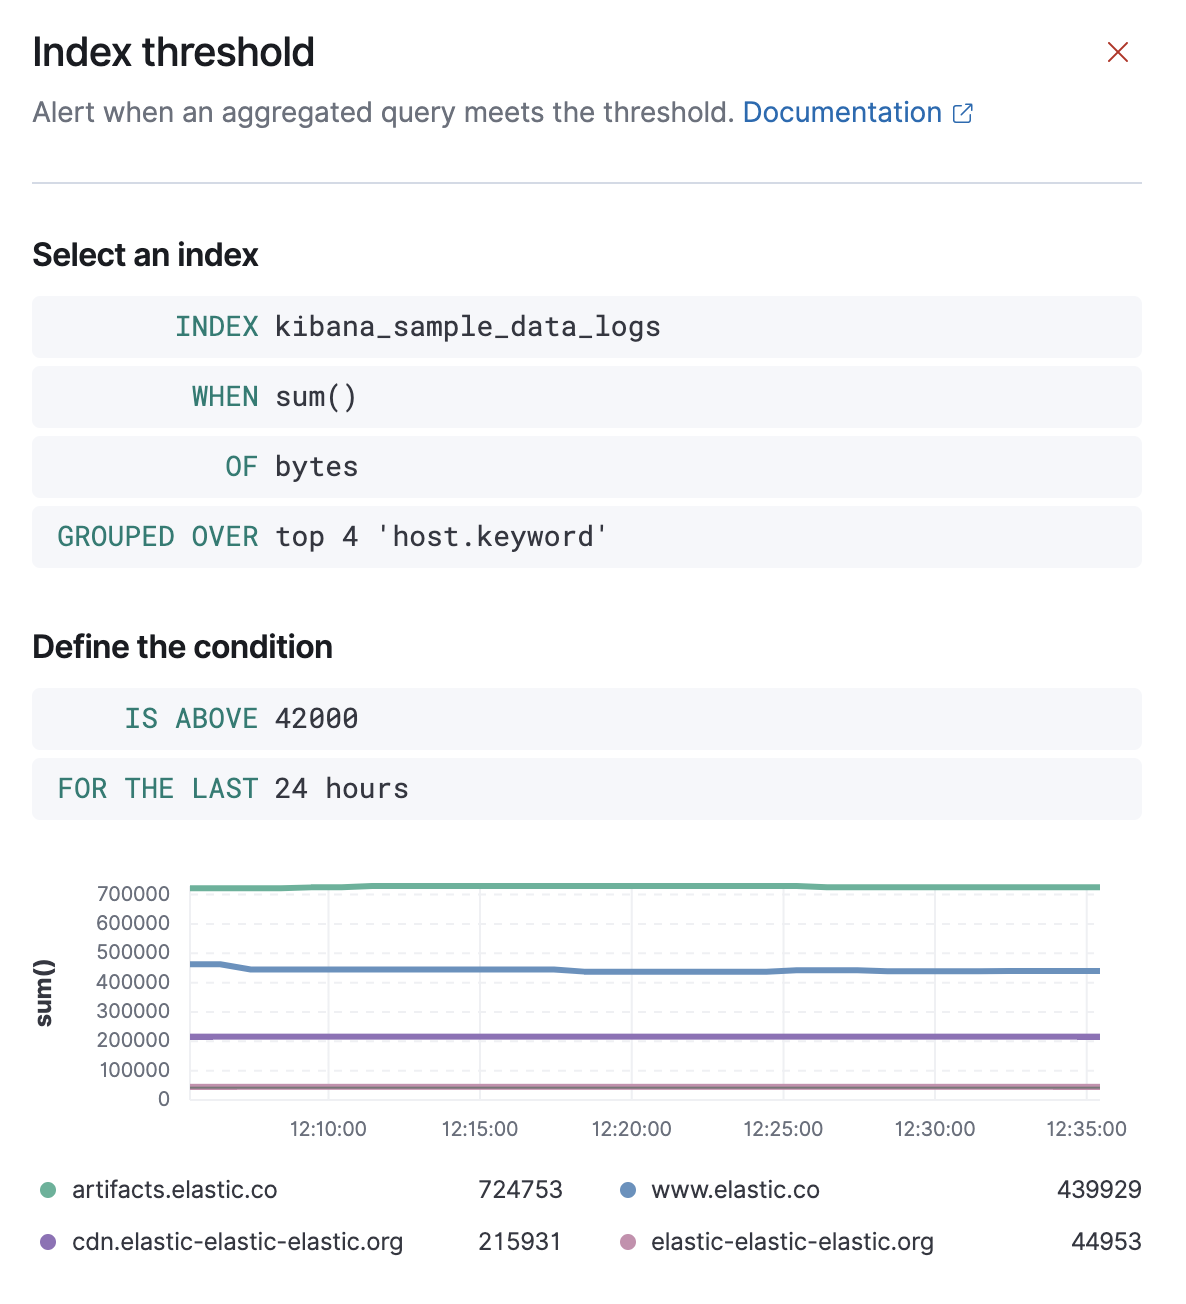
Each rule type provides its own way of defining the conditions to detect, but an expression formed by a series of clauses is a common pattern. Each clause has a UI control that allows you to define the clause. For example, in an index threshold rule, the WHEN clause allows you to select an aggregation operation to apply to a numeric field.
Action type and details
editTo receive notifications when a rule meets the defined conditions, you must add one or more actions. Start by selecting a type of connector for your action:
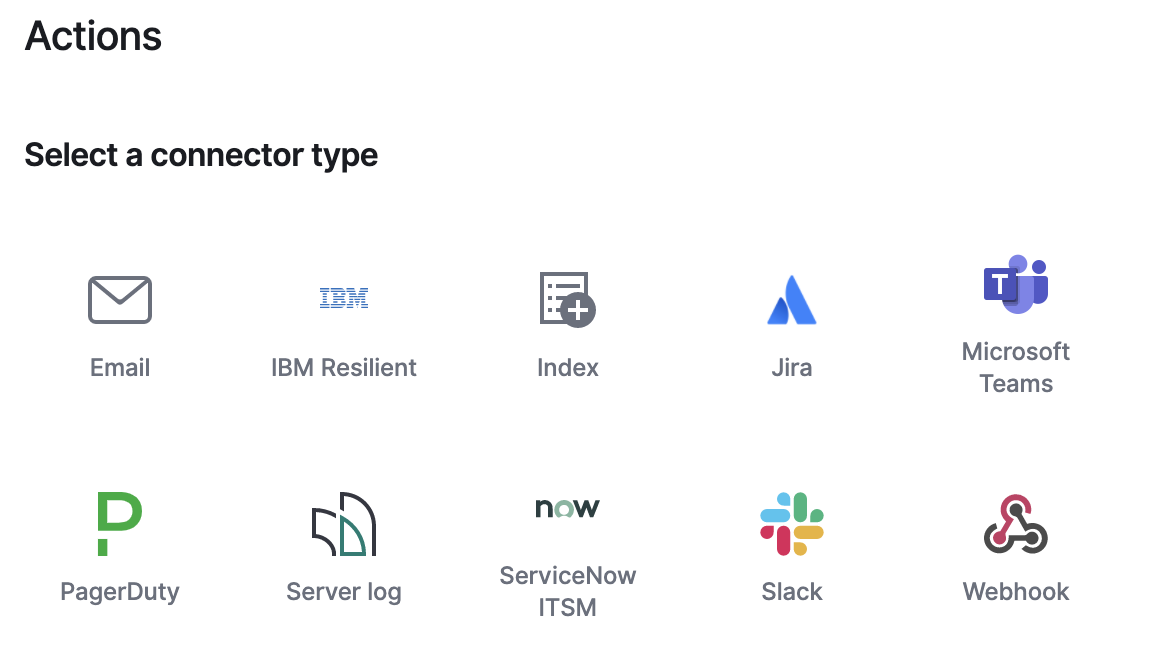
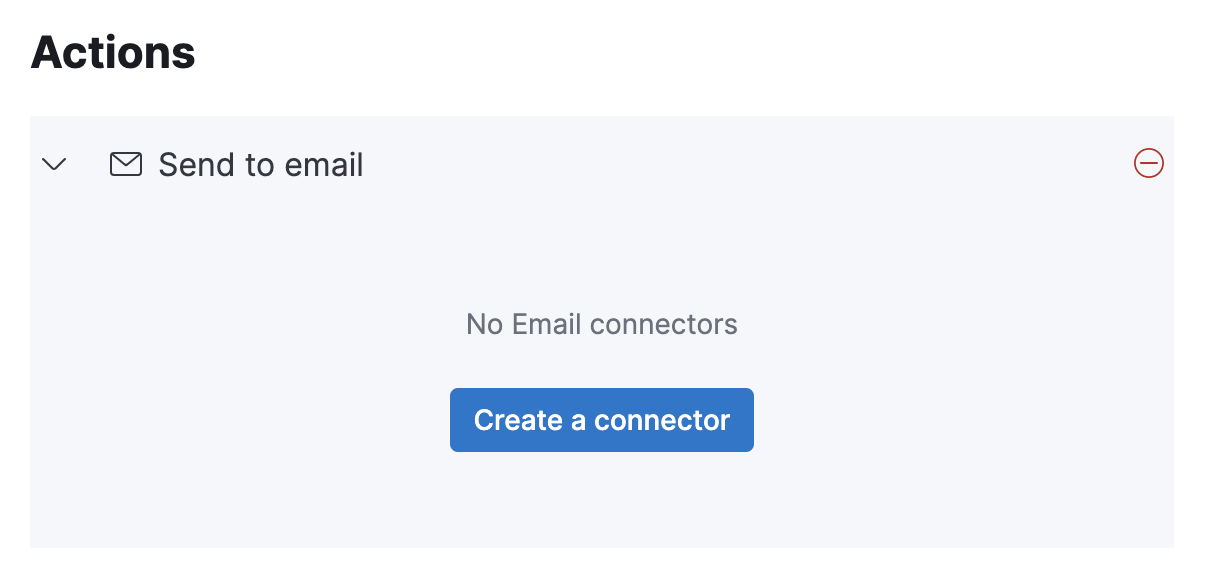
Each action must specify a connector instance. If no connectors exist for the selected type, click Add connector to create one.
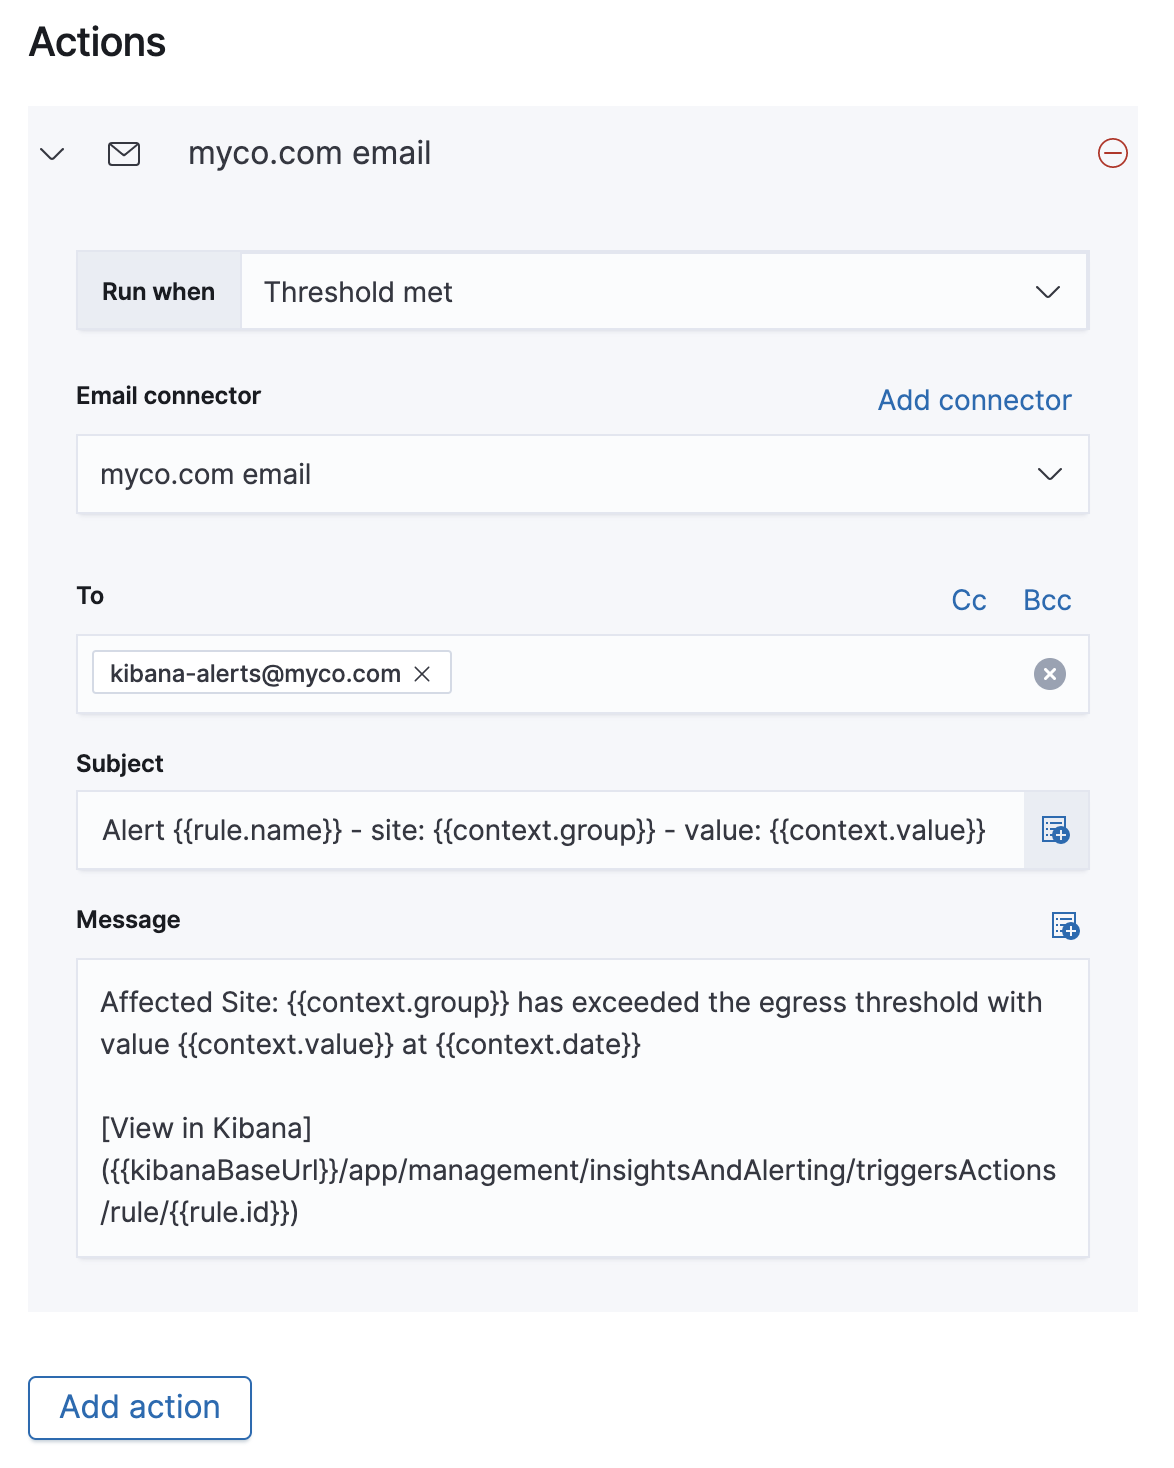
Once you have selected a connector, use the Run When dropdown to choose the action group to associate with this action. When a rule meets the defined condition, it is marked as Active and alerts are created and assigned to an action group. In addition to the action groups defined by the selected rule type, each rule also has a Recovered action group that is assigned when a rule’s conditions are no longer detected.
Each action type exposes different properties. For example, an email action allows you to set the recipients, the subject, and a message body in markdown format. See Connectors for details on the types of actions provided by Kibana and their properties.
Action variables
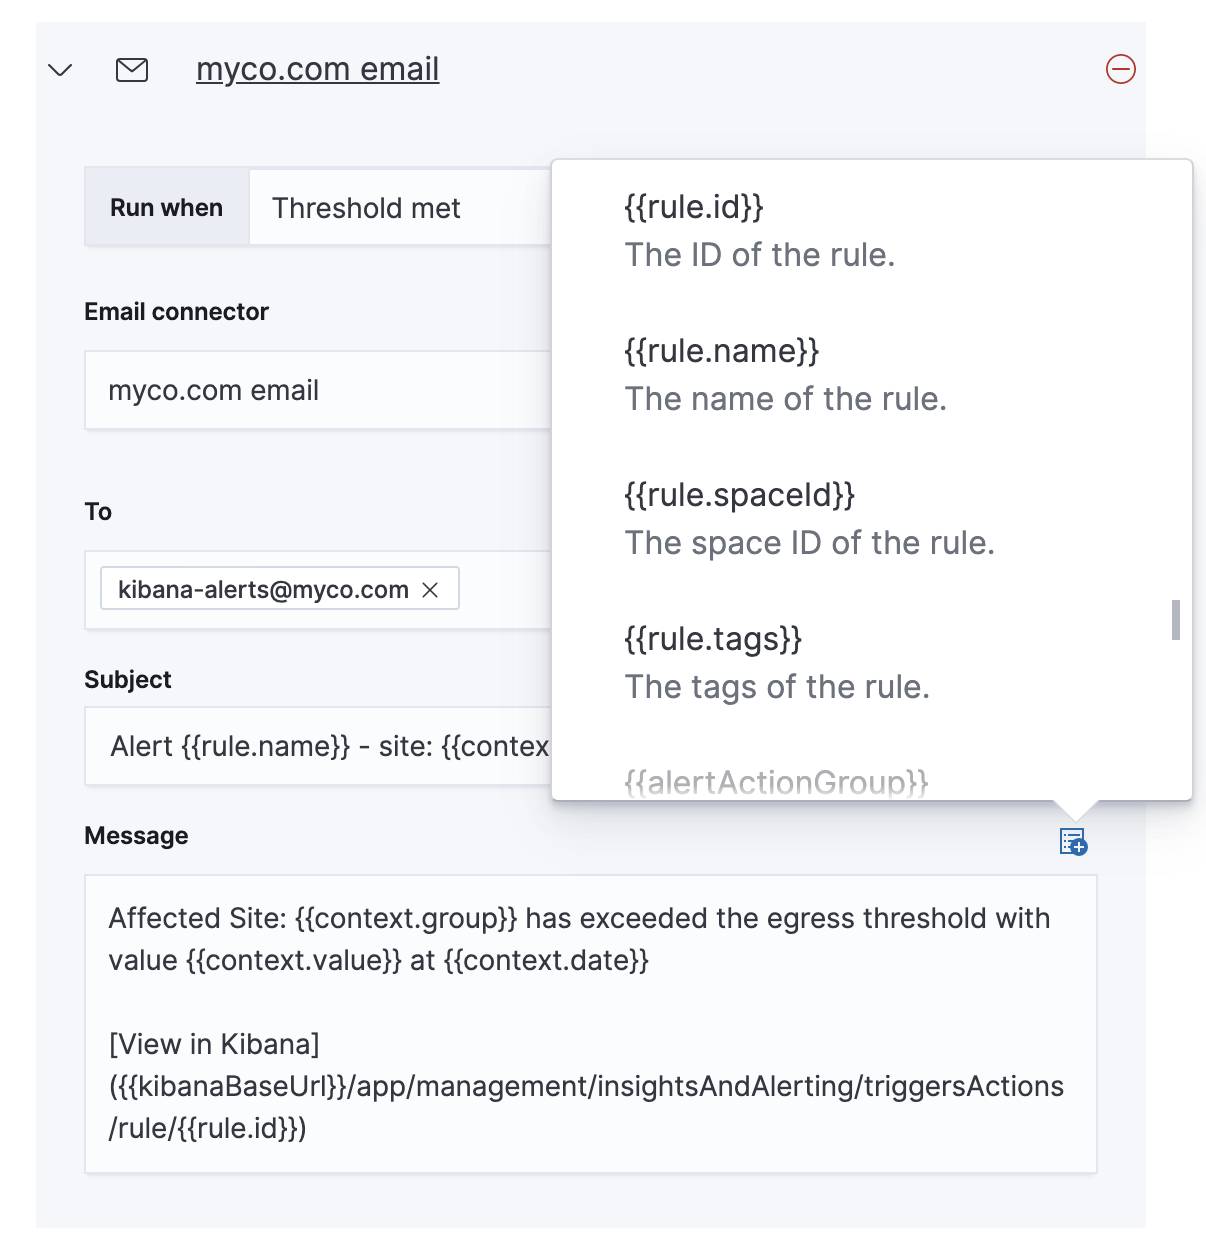
editUsing the Mustache template syntax {{variable name}}, you can pass rule values at the time a condition is detected to an action. You can access the list of available variables using the "add variable" button. Although available variables differ by rule type, all rule types pass the following variables:
-
rule.id - The ID of the rule.
-
rule.name - The name of the rule.
-
rule.spaceId - The ID of the space for the rule.
-
rule.tags - The list of tags applied to the rule.
-
date - The date the rule scheduled the action, in ISO format.
-
alert.id - The ID of the alert that scheduled the action.
-
alert.actionGroup - The ID of the action group of the alert that scheduled the action.
-
alert.actionSubgroup - The action subgroup of the alert that scheduled the action.
-
alert.actionGroupName - The name of the action group of the alert that scheduled the action.
-
kibanaBaseUrl -
The configured
server.publicBaseUrl. If not configured, this will be empty.
Some cases exist where the variable values will be "escaped", when used in a context where escaping is needed:
-
For the Email connector, the
messageaction configuration property escapes any characters that would be interpreted as Markdown. -
For the Slack connector, the
messageaction configuration property escapes any characters that would be interpreted as Slack Markdown. -
For the Webhook connector, the
bodyaction configuration property escapes any characters that are invalid in JSON string values.
Mustache also supports "triple braces" of the form {{{variable name}}}, which indicates no escaping should be done at all. Care should be used when using this form, as it could end up rendering the variable content in such a way as to make the resulting parameter invalid or formatted incorrectly.
Each rule type defines additional variables as properties of the variable context. For example, if a rule type defines a variable value, it can be used in an action parameter as {{context.value}}.
For diagnostic or exploratory purposes, action variables whose values are objects, such as context, can be referenced directly as variables. The resulting value will be a JSON representation of the object. For example, if an action parameter includes {{context}}, it will expand to the JSON representation of all the variables and values provided by the rule type.
You can attach more than one action. Clicking the "Add action" button will prompt you to select another rule type and repeat the above steps again.

Actions are not required on rules. You can run a rule without actions to understand its behavior, and then configure actions later.
Mute and disable rules
editThe rule listing allows you to quickly mute/unmute, disable/enable, and delete individual rules by clicking menu button to open the actions menu. Muting means that the rule checks continue to run on a schedule, but that alert will not trigger any action.
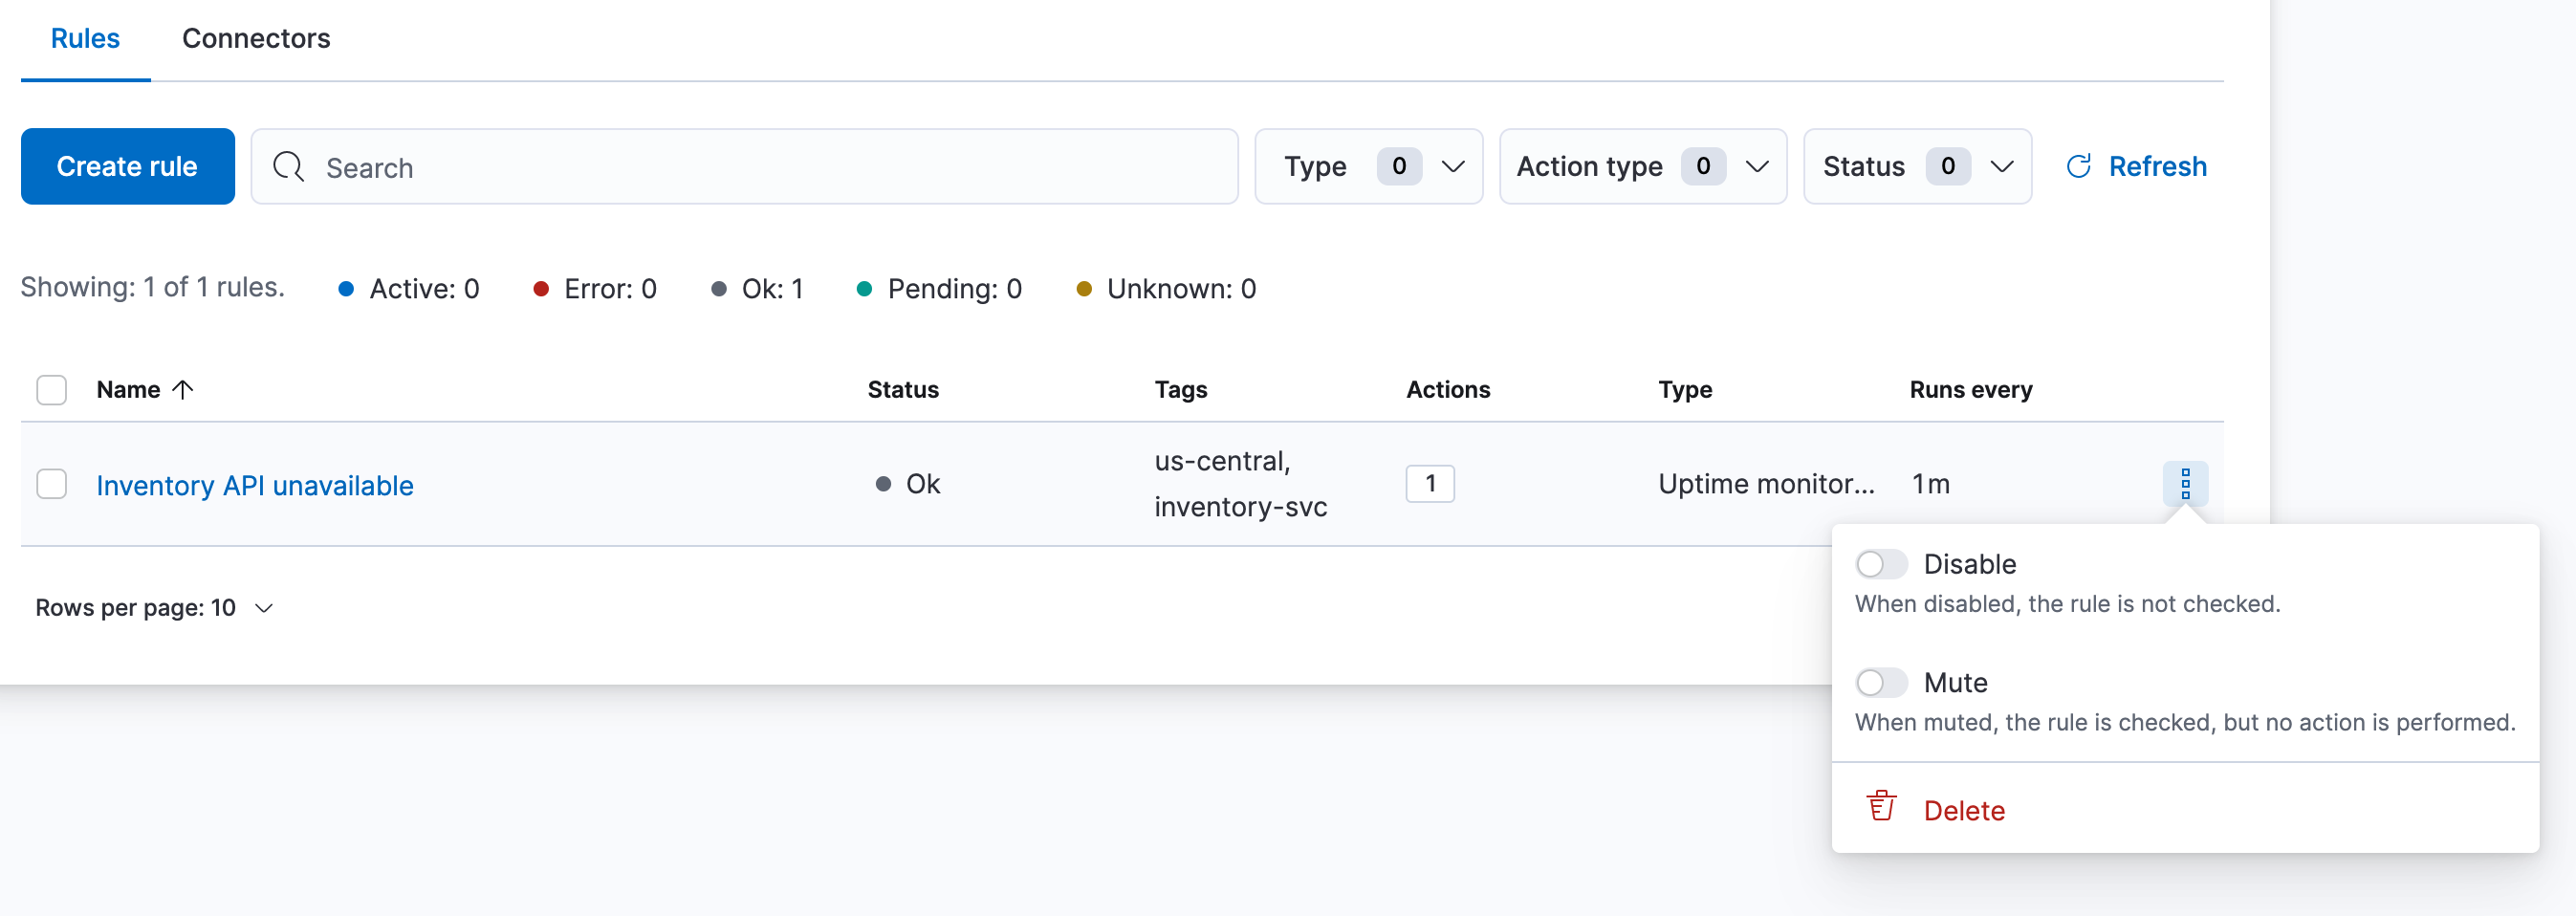
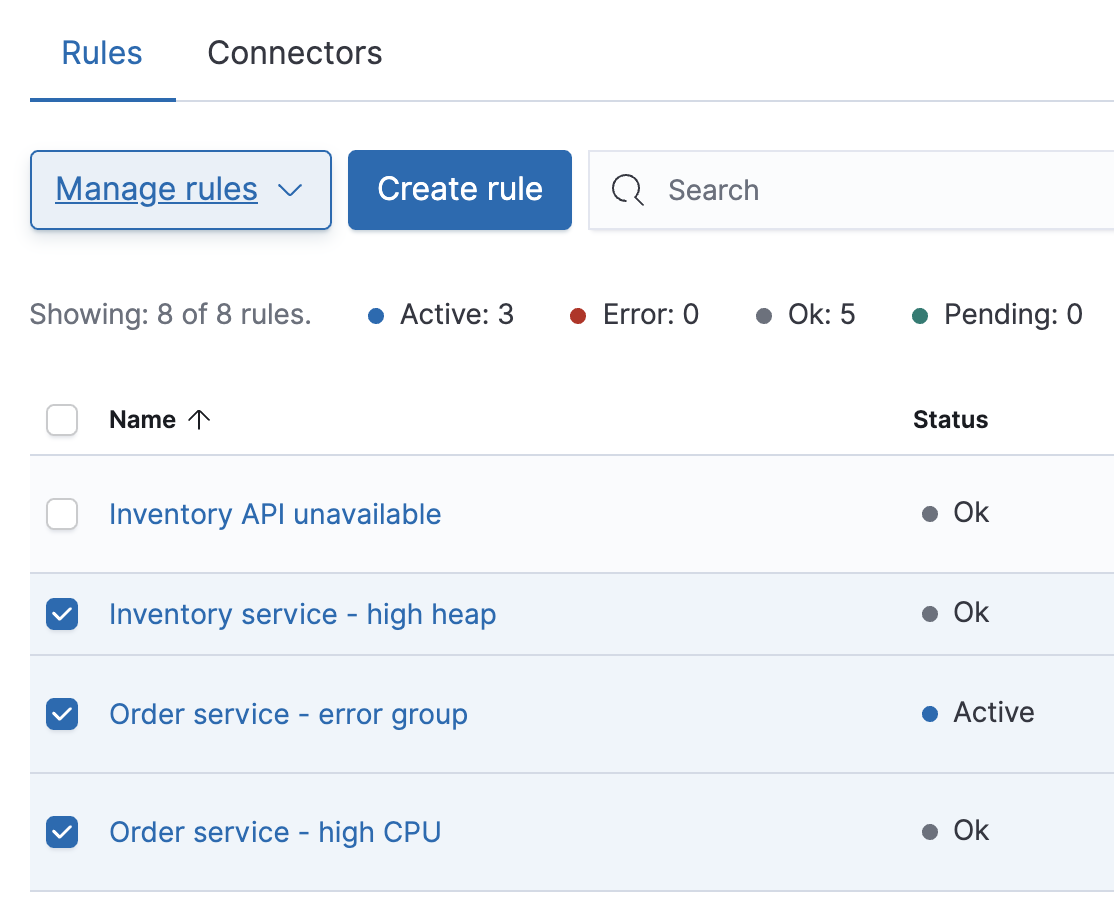
You can perform these operations in bulk by multi-selecting rules, and then clicking the Manage rules button:
Rule status
editA rule can have one of the following statuses:
-
active - The conditions for the rule have been met, and the associated actions should be invoked.
-
ok - The conditions for the rule have not been met, and the associated actions are not invoked.
-
error - An error was encountered during rule execution.
-
pending - The rule has not yet executed. The rule was either just created, or enabled after being disabled.
-
unknown - A problem occurred when calculating the status. Most likely, something went wrong with the alerting code.
Import and export rules
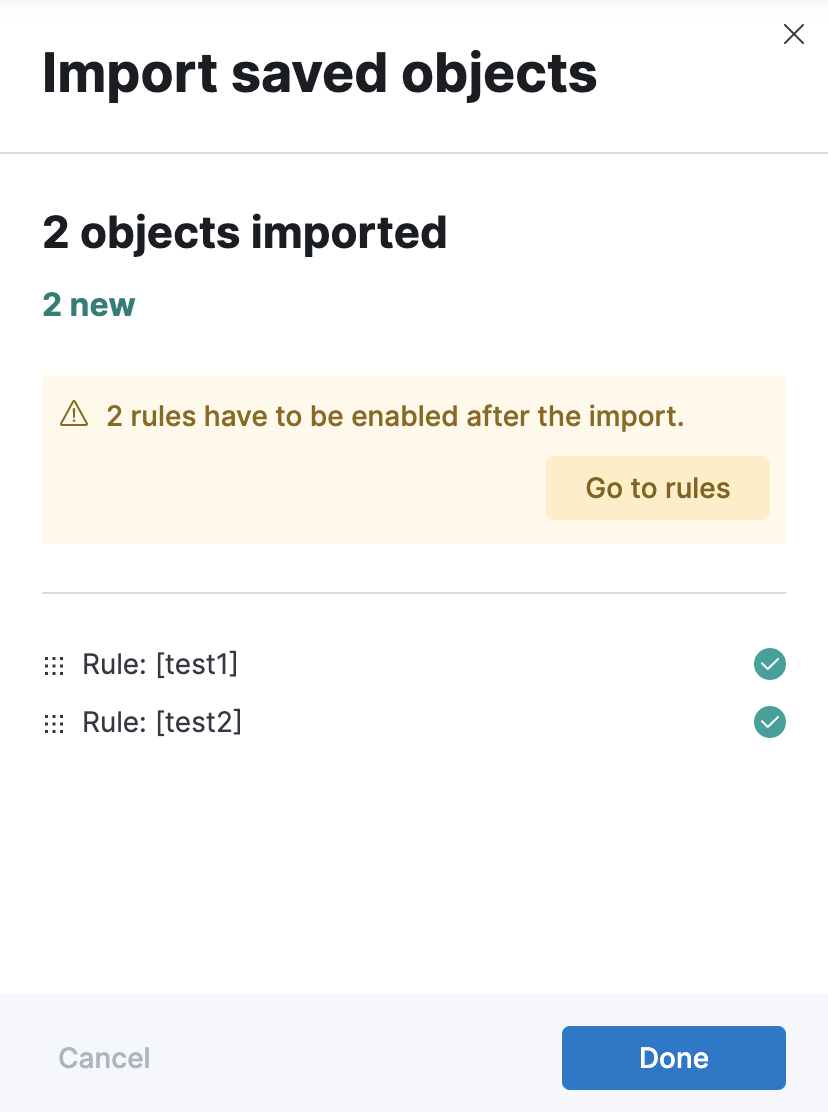
editTo import and export rules, use the Saved Objects Management UI.
Some rule types cannot be exported through this interface:
Security rules can be imported and exported using the Security UI.
Stack monitoring rules are automatically created for you and therefore cannot be managed via the Saved Objects Management UI.
Rules are disabled on export. You are prompted to re-enable rule on successful import.
Drilldown to rule details
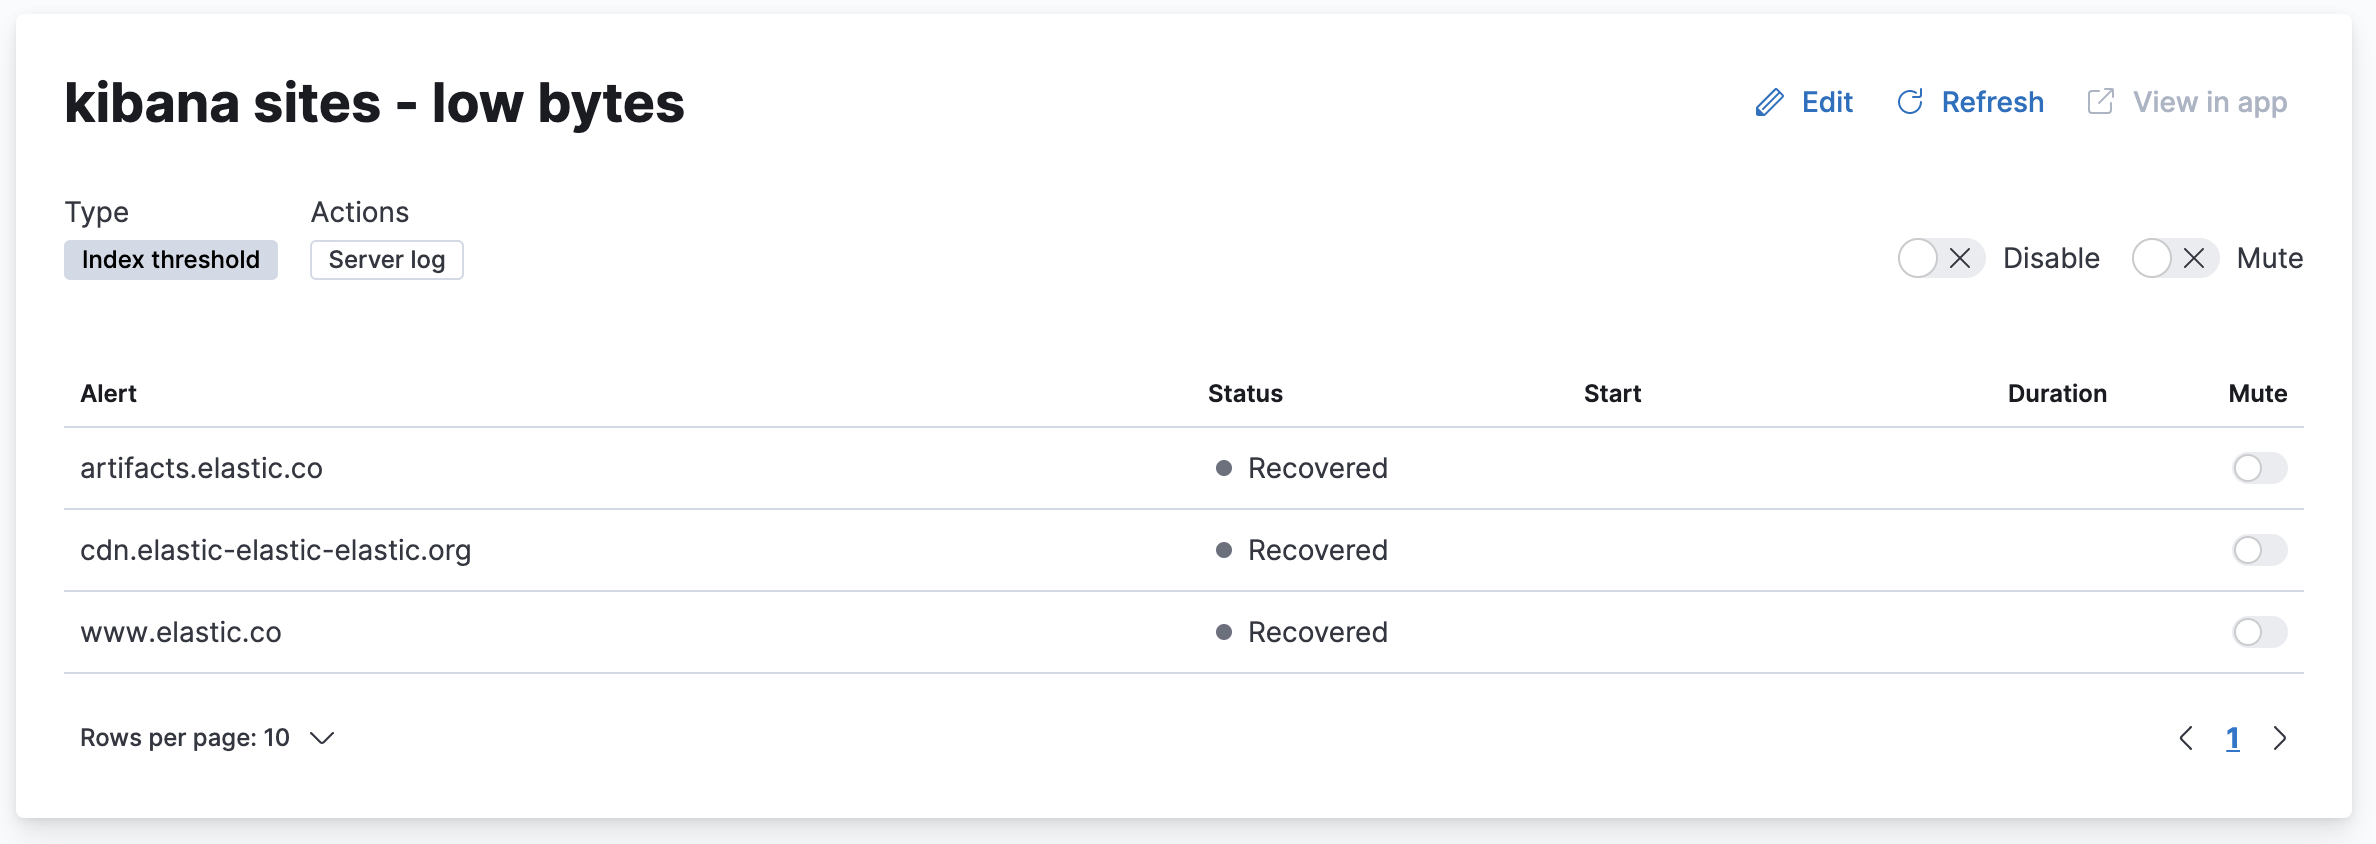
editSelect a rule name from the rule listing to access the Rule details page, which tells you about the state of the rule and provides granular control over the actions it is taking.
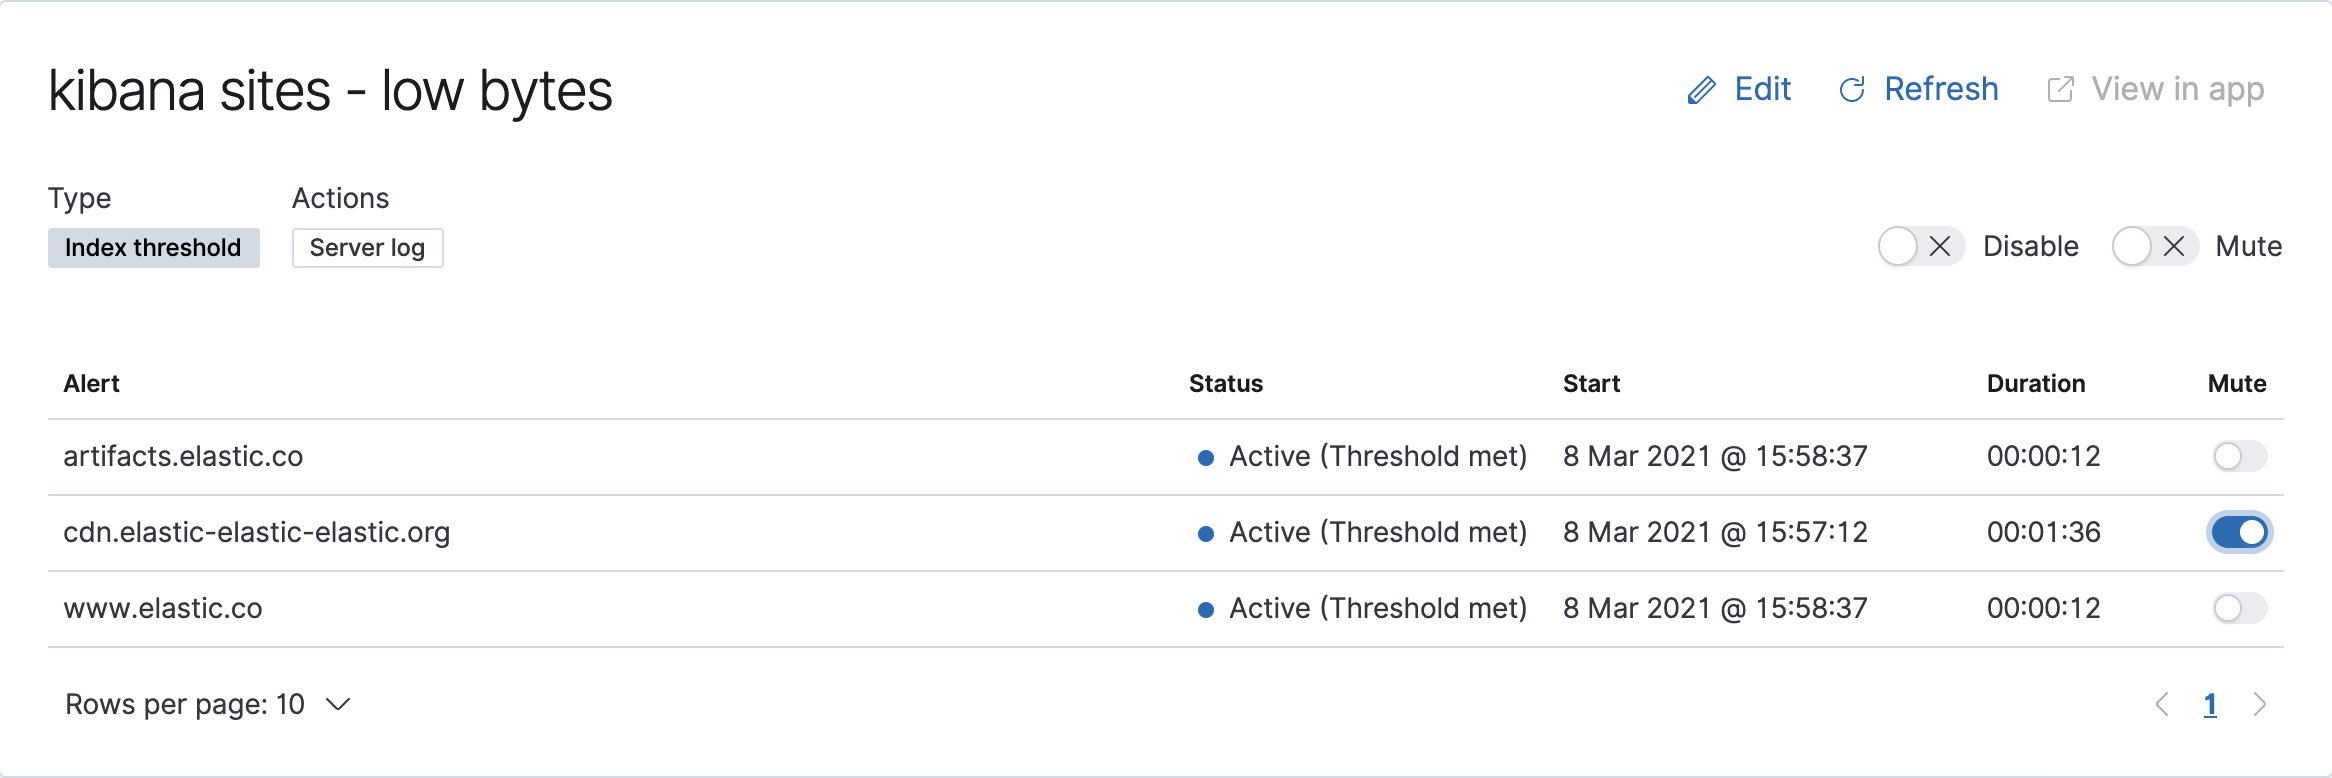
In this example, the rule detects when a site serves more than a threshold number of bytes in a 24 hour period. Three sites are above the threshold. These are called alerts - occurrences of the condition being detected - and the alert name, status, time of detection, and duration of the condition are shown in this view.
Upon detection, each alert can trigger one or more actions. If the condition persists, the same actions will trigger either on the next scheduled rule check, or (if defined) after the re-notify period on the rule has passed. To prevent re-notification, you can suppress future actions by clicking on the switch to mute an individual alert.
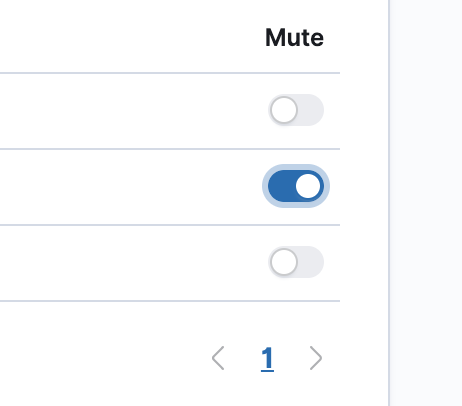
Alerts will come and go from the list depending on whether they meet the rule conditions or not - unless they are muted. If a muted instance no longer meets the rule conditions, it will appear as inactive in the list. This prevents an alert from triggering actions if it reappears in the future.
If you want to suppress actions on all current and future alerts, you can mute the entire rule. Rule checks continue to run and the alert list will update as alerts activate or deactivate, but no actions will be triggered.
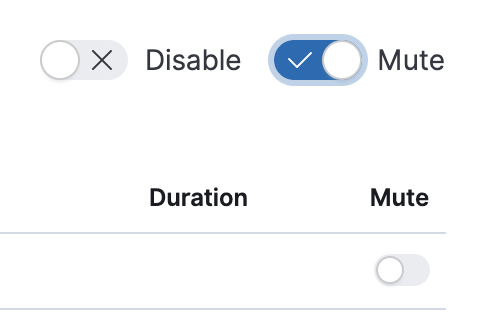
You can also disable a rule altogether. When disabled, the rule stops running checks altogether and will clear any alerts it is tracking. You may want to disable rules that are not currently needed to reduce the load on Kibana and Elasticsearch.

On this page