Create a workpad
editCreate a workpad
editA Canvas workpad provides you with a workspace where you can build presentations of your live data.
To create a workpad, choose one of the following options:
Start with a blank workpad
editTo use the background colors, images, and data of your choice, start with a blank workpad.
- Open the menu, then go to Canvas.
- On the Canvas workpads view, click Create workpad.
- Add a Name to your workpad.
- In the Width and Height fields, specify the size.
-
Select the layout.
For example, click 720p for a traditional presentation layout.
-
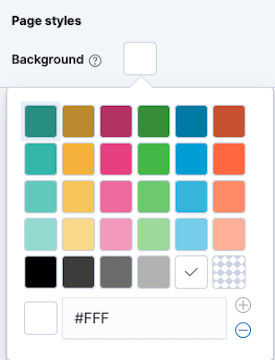
Click the Background color picker, then select the background color for your workpad.
Create a workpad from a template
editIf you’re unsure about where to start, you can use one of the preconfigured templates that come with Canvas.
- Open the menu, then go to Canvas.
- On the Canvas workpads view, select Templates.
- Click the preconfigured template that you want to use.
- Add your own Name to the workpad.
Import an existing workpad
editWhen you want to use a workpad that someone else has already started, import the JSON file into Canvas.
- Open the menu, then go to Canvas.
- On the Canvas workpads view, click and drag the file to the Import workpad JSON file field.
Use a sample data workpad
editEach of the sample data sets comes with a Canvas workpad that you can use for your own workpad inspiration.
- Add a sample data set.
- On the Add Data page, click View data, then select Canvas.
Apply a set of styles to the entire workpad
editTo make your workpad look exactly the way you want, use the editor to apply CSS overrides.
- Expand Global CSS overrides.
-
Enter the CSS.
For example, to change the background on every page, enter:
.canvasPage { background-color: #3990e6; } - Click Apply stylesheet.
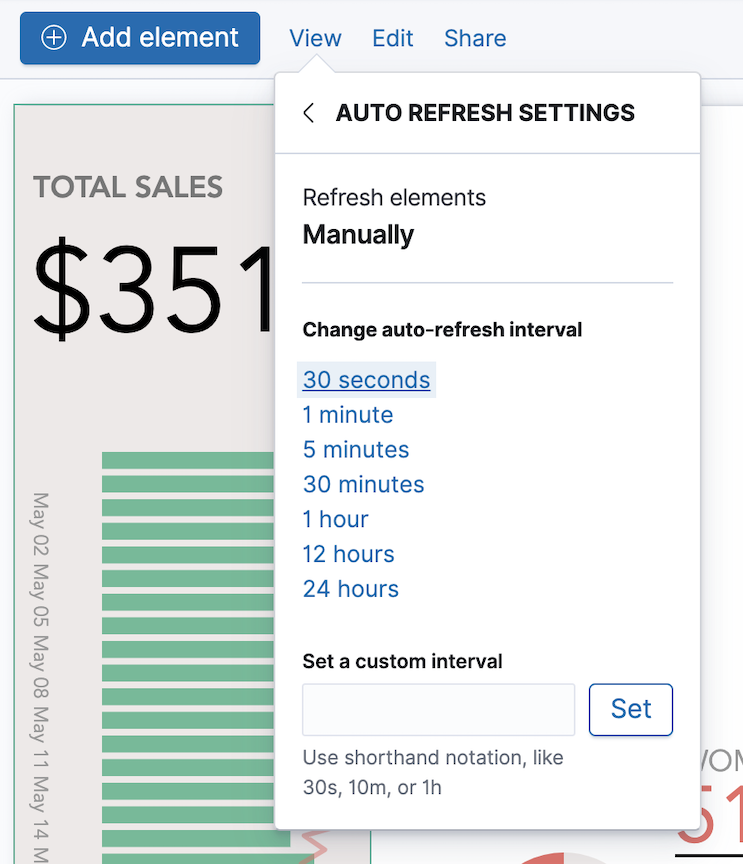
Change the auto-refresh interval
editChange how often the data refreshes on your workpad.
- Click View > Auto refresh settings.
-
Select the interval you want to use, or Set a custom interval.
To manually refresh the data, click
 .
.
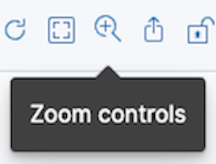
Use the zoom options
editTo get a closer look at a portion of your workpad, use the zoom options.
- Click View > Zoom.
-
Select the zoom option.
Add pages
editOrganize your ideas onto separate pages by adding more pages.
- Click Page 1, then click +.
-
On the Page editor panel, select the page transition from the Transition dropdown.